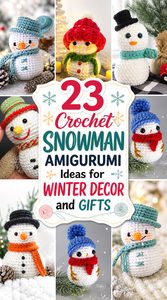
Crochet snowman amigurumi can range from palm-sized ornaments to substantial winter display pieces, and those differences matter far more than scarf color. Some designs minimize sewing, some rely on separately attached features, and others change the usual snowball construction entirely with rectangles, textured stitches, flat “melting” bases, or seated bodies.
This collection brings together 23 distinct approaches so you can compare construction, scale, display style, finishing, and gifting considerations before choosing a tutorial. You’ll find hanging snowmen, a keychain, soft plush figures, a snowman-and-snowwoman pair, a jumbo family display, and several options with different hats and facial treatments. Each idea links to its original creator’s tutorial for the exact construction details.
Quick List
- Crochet Classic Scarf Snowman Amigurumi
- Crochet One-Piece Top-Hat Snowman
- Crochet Mini Coal-Button Snowman
- Crochet No-Sew Scarf Snowman
- Crochet Top-Hat Snowman Tree Ornament
- Crochet Small Standing Snowman With Weighted-Base Option
- Crochet Traditional Scarf-and-Hat Snowman
- Crochet Snowman Keychain Amigurumi
- Crochet Winter-Hat Snowman Ornament
- Crochet Chunky Low-Sew Snowman Plush
- Crochet Jumbo Snowman Family Display
- Crochet Snowman With a Crocheted-Eye Option
- Crochet Bow-Scarf Snowman Ornament
- Crochet Baby Snowman With Pom-Pom Beanie
- Crochet Melting Snowman and Snowwoman Decor Pair
- Crochet Rectangle-Built Snowman Amigurumi
- Crochet Seamless No-Sew Snowman Figure
- Crochet Hat-and-Scarf Winter Snowman Decor
- Crochet Blanket-Yarn Snowman Plushie
- Crochet Wheat-Stitch Snowman Display
- Crochet Beanie-and-Scarf Snowman Amigurumi
- Crochet Sitting Snowman With Toque or Top Hat
- Crochet Brimmed Top-Hat Snowman Amigurumi
Choose a Snowman by Construction, Not Just Appearance
Two finished snowmen can look similar while requiring very different finishing work. A one-piece or no-sew body reduces major assembly seams, but accessories such as hats, scarves, noses, or facial details may still require attachment. Traditional amigurumi made from separate head and body sections gives you more control over proportions but makes alignment important: a slightly off-center head becomes especially noticeable once a carrot nose and hat establish a clear front.
Ornaments introduce another issue. The hanging loop must sit above the project’s actual center of balance rather than simply at the visual center of the hat. Seated and melting snowmen solve standing differently, while weighted shelf figures depend on their bases. Decide first whether you want something to hang, sit, stand, travel on a keyring, or be handled as a plush.
Yarn, Stuffing, and Shape Work Together
Smooth cotton or acrylic-style yarn generally makes individual stitches and facial placement easier to see, while chenille and blanket-style yarn create a softer plush surface but can hide stitch structure. Changing yarn thickness also changes the finished scale, so a hat, eye size, hanger, or accessory that looks balanced in one yarn may need reconsideration in another.
Stuffing affects the silhouette just as strongly. Too little can leave a round snowman looking collapsed; excessive stuffing can spread the fabric and distort neck shaping. Add and redistribute filling while checking the figure from the front, side, and back rather than judging it from one angle. For snowmen intended to stand, also check the base on a flat surface before closing the body. A visually round base is not necessarily a stable one.
Check Small Parts Before Gifting an Amigurumi Snowman
Snowmen often include more small details than their simple shape suggests: plastic eyes, buttons, pom-poms, beads, stick-like arms, weighted filling, glued decorations, or hanging cords. The intended recipient should influence which details you use. Plastic “safety” eyes should not automatically be treated as suitable for a baby or young child; several snowman designers specifically recommend embroidered alternatives when small detachable parts are a concern.
The same caution applies to display techniques. A weighted base can be useful for shelf decor, while rigid sticks or glued decorations can help create a particular look, but those choices are different from designing a washable, heavily handled plush. If you are adapting a tutorial for a child or pet household, review every attachment rather than only the main crocheted body.
1. Crochet Classic Scarf Snowman Amigurumi
 SAVE
This classic snowman uses the instantly recognizable combination of a rounded white body, carrot-style nose, scarf, and winter hat. It is a useful starting point if you want a recognizable snowman silhouette without turning the project into a miniature costume exercise. Wonder Crochet’s tutorial presents the figure as a complete amigurumi project and also notes the possibility of adding a string for ornament use.
Compared with the dedicated ornaments later in this collection, this version works better as a small plush first and a hanging decoration second. That distinction matters when deciding how firmly to stuff it and whether you want the accessories fixed permanently.
Keep the Two Snowball Shapes Visually Distinct
A snowman reads clearly when the head and lower section retain separate rounded forms instead of becoming one straight cylinder. As you stuff, look at the neck transition before closing the project. If filling migrates heavily into that area, redistribute it so the smaller upper shape remains recognizable without forcing an exaggerated pinch.
Let the Scarf Define the Neck Rather Than Hide It
A scarf can visually sharpen the transition between head and body, but an overly bulky scarf may cover much of a compact amigurumi. Check the accessory against the finished stuffed figure rather than choosing its bulk from the yarn label alone. If you change yarn weight, preserve the visual relationship between scarf and body instead of simply scaling every component independently.
Plan Ornament Conversion Before Adding the Hanger
If you want to hang this snowman, check how the stuffed figure naturally tilts when lifted. A loop attached too far forward may make the face point down, while one placed too far back can tip it toward the ceiling. Temporarily support the figure with scrap yarn first and locate a balanced hanging point before securing the final loop.
2. Crochet One Piece Top Hat Snowman
 SAVE
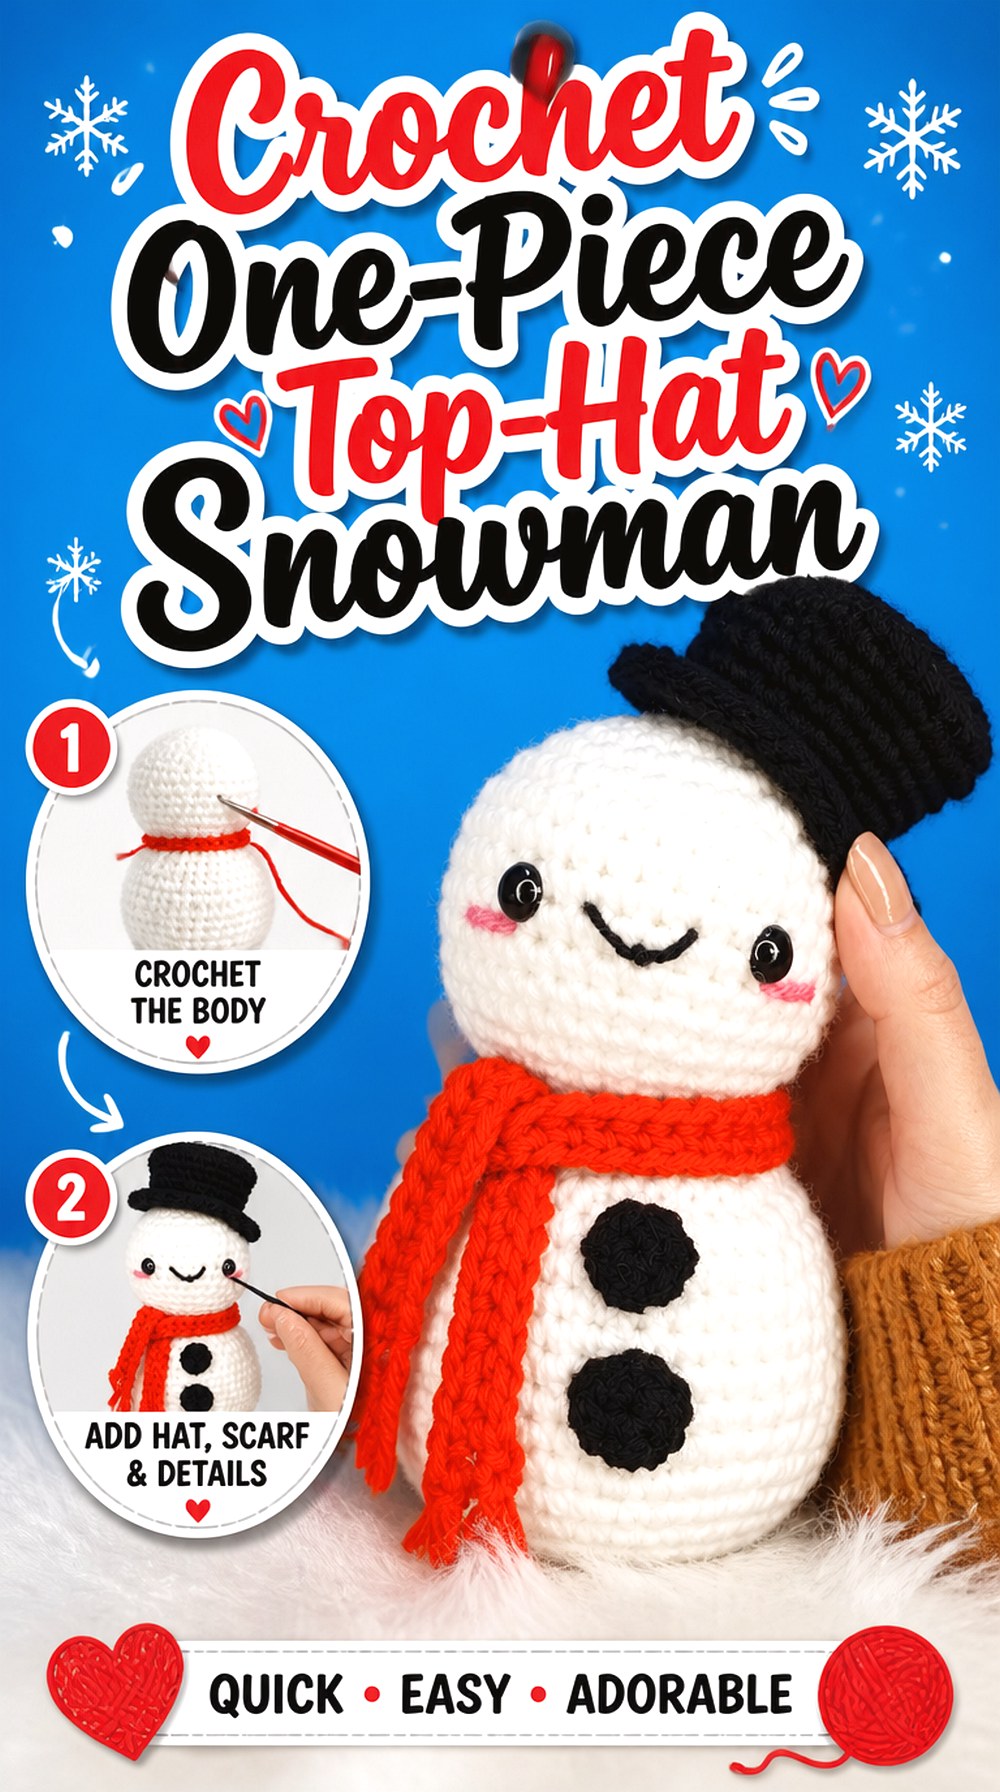
This option is appealing when reducing major assembly seams is more important than eliminating every finishing task. Hooked by Robin’s Alan snowman is crocheted as one main piece, while decorative details such as the coal buttons and accessories complete the character afterward. The finished figure combines a compact white body with a scarf and top hat rather than a soft beanie.
That makes it a useful contrast to separately assembled snowmen. Fewer structural joins can simplify body alignment, but the top hat introduces its own visual checkpoint: even a correctly crocheted hat can make the face appear crooked if it is positioned off the intended centerline.
One-Piece Construction Reduces a Major Alignment Problem
When the main body continues into the head, you do not have to sew two stuffed spheres together and then correct a tilted neck. You still need to watch shaping as the transition forms, however. Turn the project frequently while stuffing so the face side does not bulge farther forward than the back.
The Top Hat Establishes the Figure’s Posture
A brimmed hat creates a stronger horizontal line than a floppy beanie. Before fixing it permanently, view the snowman at eye level and check whether the brim appears level relative to the face. A deliberate jaunty tilt can add character; an accidental tilt can make otherwise symmetrical facial placement look uneven.
Original Tutorial and Creator Credit
Creator: Hooked by Robin
3. Crochet Mini Coal Button Snowman
 SAVE
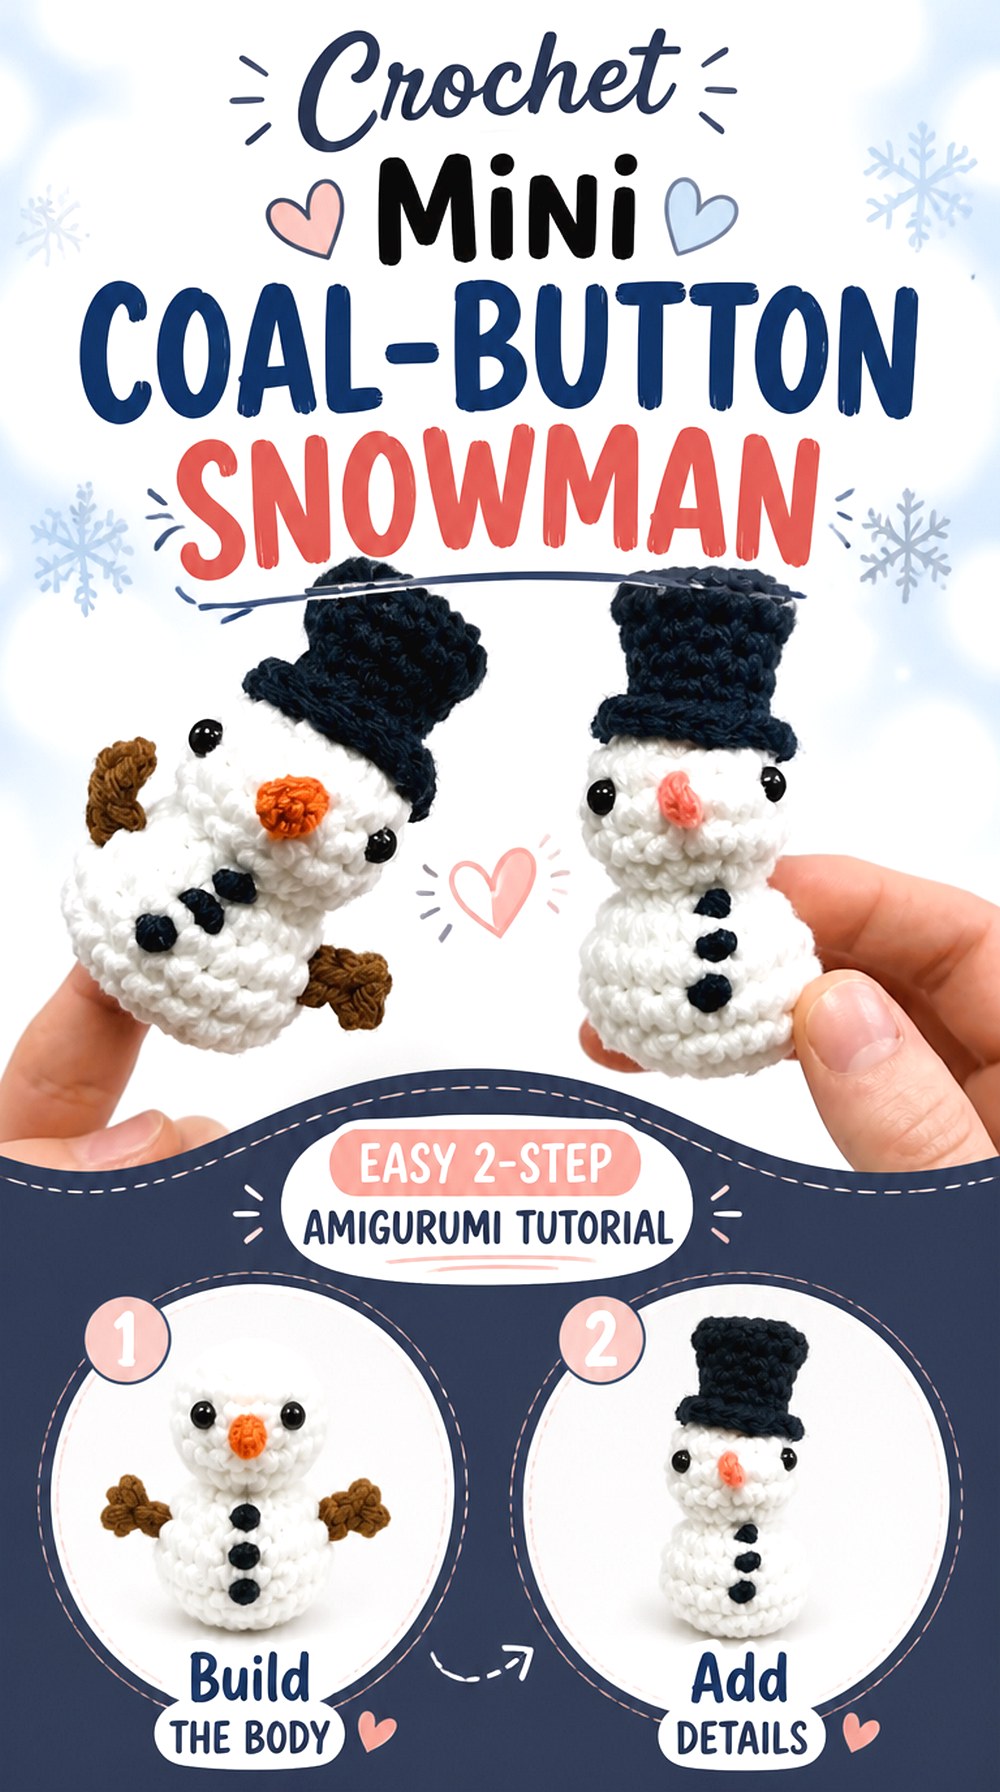
Club Crochet’s miniature snowman packs the familiar snowman vocabulary—top hat, carrot nose, branch-like arms, and coal-inspired details—into a notably compact project. That smaller scale makes this idea better suited to tiny seasonal displays or small decorative accents than a snowman meant to dominate a mantel arrangement.
Miniature amigurumi demands restraint. Accessories that look proportionate on a larger plush can overwhelm a tiny figure, and small spacing errors become more obvious because the face has less room to absorb them. This is therefore a good choice for crocheters who enjoy detail placement as much as shaping the main body.
Small Scale Makes Facial Spacing More Noticeable
Before committing to eyes, nose, and mouth details, establish the face center and look at the snowman from directly in front. On a miniature head, moving a feature by even a small amount can noticeably change the expression. Marking positions temporarily is more useful than relying on where they seem right while the piece is held at an angle.
Keep the Coal Details From Crowding the Body
Several dark details can visually compress a small white figure. Check the relationship among face, buttons, and hat rather than treating each component separately. If you adapt the project with thicker yarn, reassess the spacing instead of assuming the original arrangement will preserve the same visual balance automatically.
Original Tutorial and Creator Credit
Creator: Club Crochet
4. Crochet No Sew Scarf Snowman
 SAVE
The Loopy Lamb’s snowman takes the no-sew idea further by integrating major details such as the nose and arms into the construction rather than treating every feature as a separate piece. A scarf provides the main removable-looking accessory and gives the compact figure a clear neck line.
This approach suits readers who dislike finishing piles of tiny components after the body is complete. It also changes where accuracy matters. Instead of correcting placement during sewing, you need to pay closer attention when integrated features are created because their positions become part of the body itself.
Integrated Features Shift the Placement Check Earlier
With sewn arms or noses, you can pin and reposition the pieces before committing. Integrated details offer less freedom later, so periodically identify the intended front of the snowman as you work. A stitch marker or temporary yarn marker can help preserve that orientation without reconstructing the creator’s instructions.
A Separate Scarf Adds Easy Visual Flexibility
Because the body itself supplies much of the character, the scarf can change the finished mood without altering the structural shape. When choosing a different yarn for it, check bulk first. A thick scarf may cover the integrated arms or lower face, while a finer scarf can leave more of the snowman’s shaping visible.
Original Tutorial and Creator Credit
Creator: The Loopy Lamb
5. Crochet Top Hat Snowman Tree Ornament
 SAVE
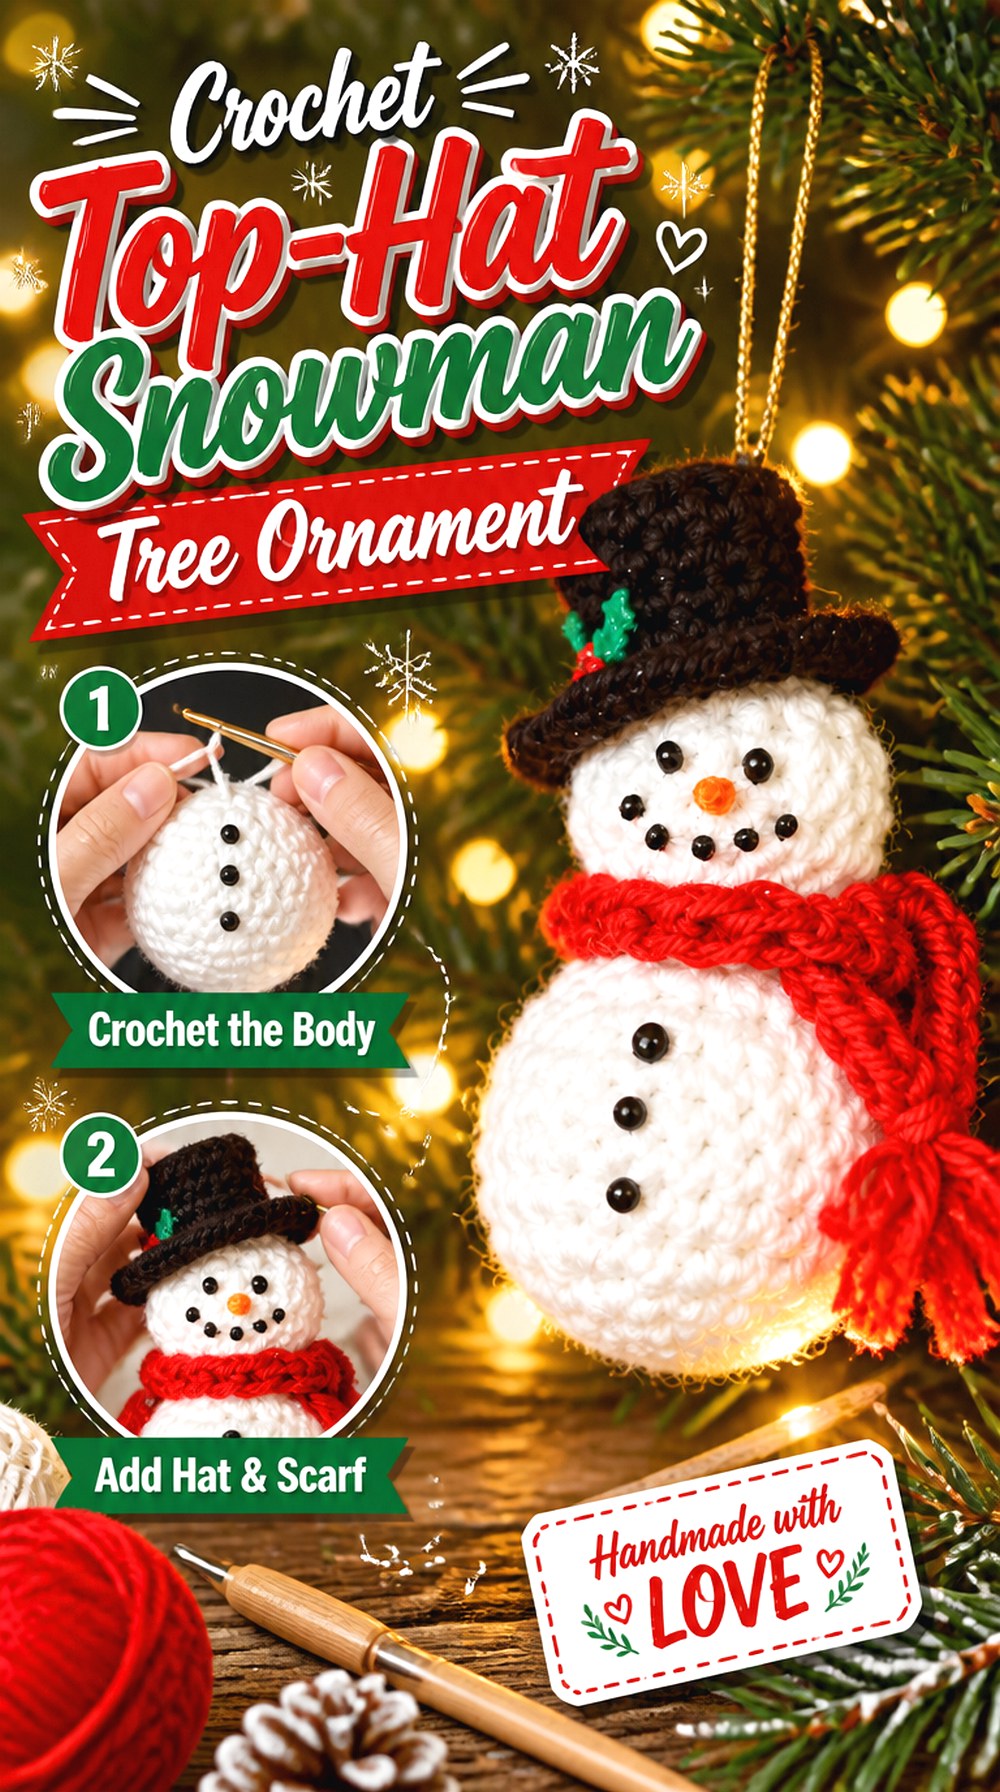
Crouton Crafts’ ornament is designed around hanging rather than simply turning a standard plush into an ornament afterward. The finished snowman combines a top hat, scarf, facial decoration, and a dedicated hanger, giving it the narrow, vertically readable silhouette that works well on a Christmas tree.
Because ornaments are repeatedly hung, removed, packed, and stored, finishing priorities differ from those of a shelf plush. A decorative feature that survives sitting untouched on a mantel may behave differently when branches brush against it or when several ornaments share a storage box.
Balance the Hanger Against the Hat and Face
Do not assume the geometric top of the project is also its best suspension point. A protruding nose, hat brim, or scarf can shift the visual balance. Before fastening the hanger, lift the ornament temporarily and check whether the snowman hangs facing outward instead of rolling sideways.
Storage Can Be Harder on Details Than Display
Top hats and small decorative accents may flatten when packed tightly. If this will be reused for several seasons, give the ornament enough storage space that the brim and facial features are not crushed. That practical consideration may also influence how firmly you choose to attach or stiffen decorative pieces.
Original Tutorial and Creator Credit
Creator: Crouton Crafts
6. Crochet Small Standing Snowman With Weighted Base Option
 SAVE
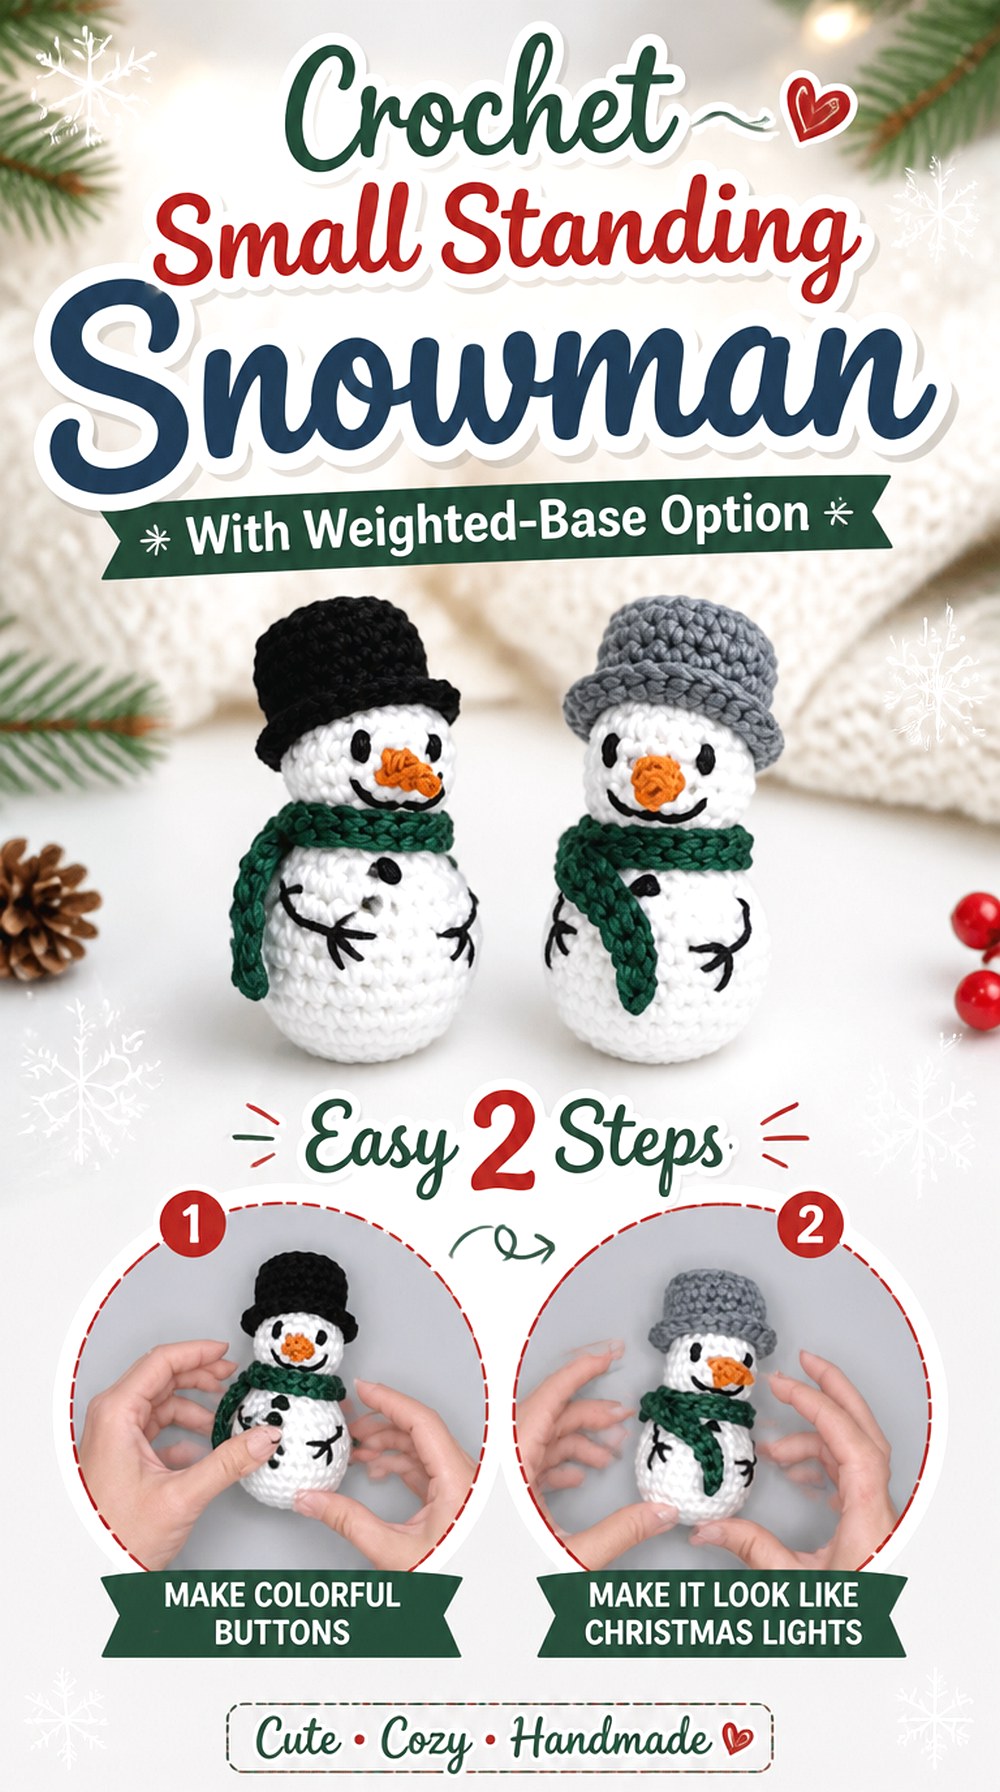
Crochet With Tiffany’s mini snowman is a small upright figure with familiar hat, scarf, carrot nose, arm, and button details. The creator also discusses an optional weighted base, which separates this project from tiny plushies that rely only on body shaping to sit upright.
That makes the design especially relevant for tiered trays, desks, or shelf arrangements where keeping the figure upright matters. Weighting is a functional choice, however, not simply a decorative upgrade. The contents and enclosure of a weighted base deserve more consideration when a snowman will be handled or gifted rather than kept strictly as seasonal display decor.
Test the Base Before Closing the Figure
A stable snowman needs its weight centered over the bottom rather than pulled toward the face or back. Set the partially finished figure on a level surface and check it from several directions. Correcting an uneven base before closure is easier than trying to hide a persistent lean with the hat or scarf.
Treat Added Weight as a Display Decision
If you use an optional weighting method, keep the weighted material securely contained and consider who will handle the finished piece. For a shelf decoration, extra stability may be useful. For a small child or pet environment, the same internal material changes the risk profile and should not be assumed appropriate without further assessment.
Scale the Accessories to the Finished Body
A mini figure can quickly become top-heavy visually if its hat is too dominant. If substituting yarns, complete and stuff the body before judging accessory proportions. The finished snowman is a more reliable reference than comparing uncrocheted yarn strands or hook sizes.
Original Tutorial and Creator Credit
Creator: Crochet With Tiffany
7. Crochet Traditional Scarf and Hat Snowman
 SAVE
Cosy Rosie Crochet’s Simon tutorial uses recognizable separate components—including body, head, hat, nose, arms, scarf, and facial details—to build a traditional standing snowman. This is a good contrast to the one-piece and no-sew options because assembly itself becomes part of creating the final posture.
A multi-part design gives you useful control over how the head, arms, and accessories sit, but only if you use that freedom before sewing. Pinning components temporarily can reveal whether the snowman looks balanced from the front and side before attachment points become permanent.
Head Alignment Controls the Whole Expression
A small head tilt changes the direction of the nose, hat, and face at once. Before sewing, use several pins to hold the head and place the hat loosely above it. That lets you judge the complete vertical line rather than aligning the neck in isolation and discovering later that the finished figure appears to lean.
Place the Arms After Establishing the Front
With separate arms, their angle can make the snowman look open, narrow, or asymmetrical. First confirm the face and body center, then compare both arm positions at the same viewing angle. If one arm is intentionally raised or angled, make that difference deliberate rather than the result of uneven pinning.
Scarf Bulk Can Hide Careful Assembly
A scarf is useful for covering the neck seam visually, but it should not be the only thing keeping the head looking properly seated. Check the underlying join before adding it. A sound neck alignment gives you freedom to style the scarf loosely instead of wrapping it tightly to conceal a structural problem.
Original Tutorial and Creator Credit
Creator: Cosy Rosie Crochet
8. Crochet Snowman Keychain Amigurumi
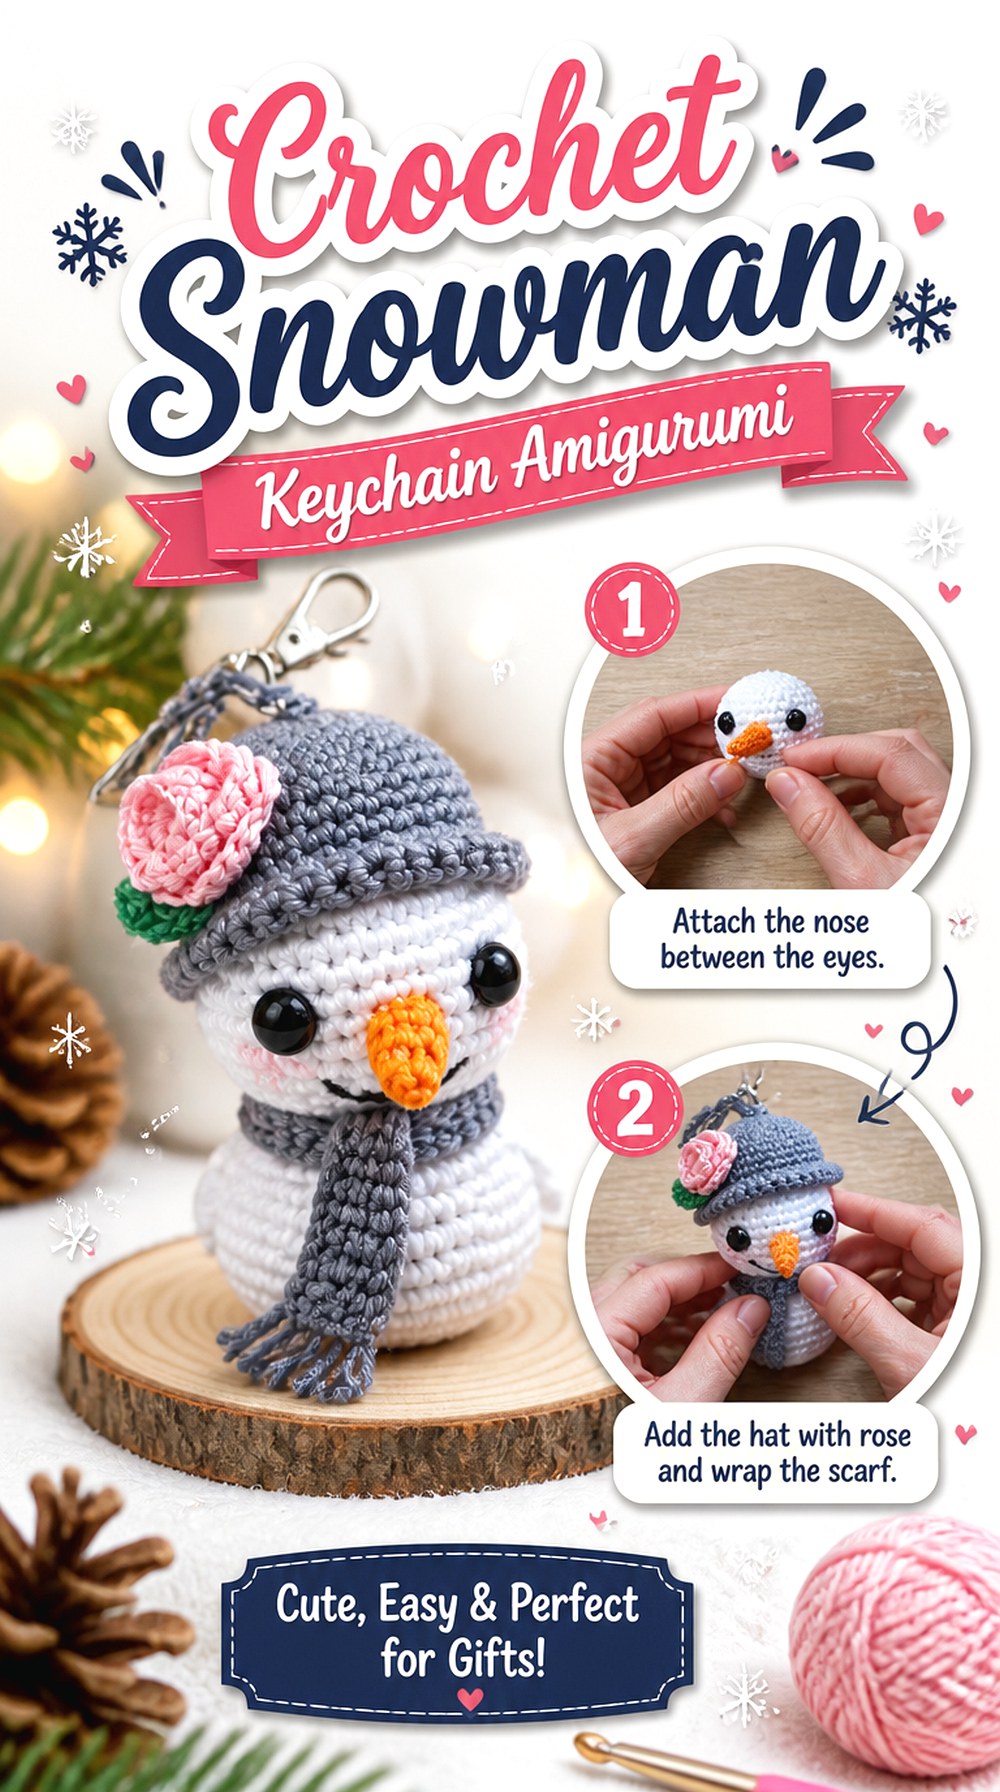 SAVE
Lili Zupanc’s snowman is specifically presented as a keychain, which changes the practical requirements compared with shelf decor. The small figure still reads as a complete snowman rather than a flat charm, but it is intended to hang from hardware and move around during use.
That means the attachment point deserves as much attention as the cute facial details. A keychain may be pulled, bumped, or compressed inside a bag, so decorative elements that are perfectly adequate for stationary holiday display may need closer scrutiny here.
Reinforce the Hardware Attachment Conceptually
The keyring connection should transfer pulling force into the crocheted structure rather than depend on a fragile decorative strand. Follow the creator’s construction for the actual attachment, and inspect the finished connection before use. If you substitute yarn, consider whether its stretch or surface texture changes how securely the hardware sits.
Tiny Features Need to Survive Everyday Handling
A miniature carrot nose or hat may look crisp on a desk but experience more friction when used on keys or a bag. Think about where the keychain will travel. If it will be frequently handled, favor secure, low-profile details over embellishments that snag easily.
Original Tutorial and Creator Credit
Creator: Lili Zupanc
9. Crochet Winter Hat Snowman Ornament
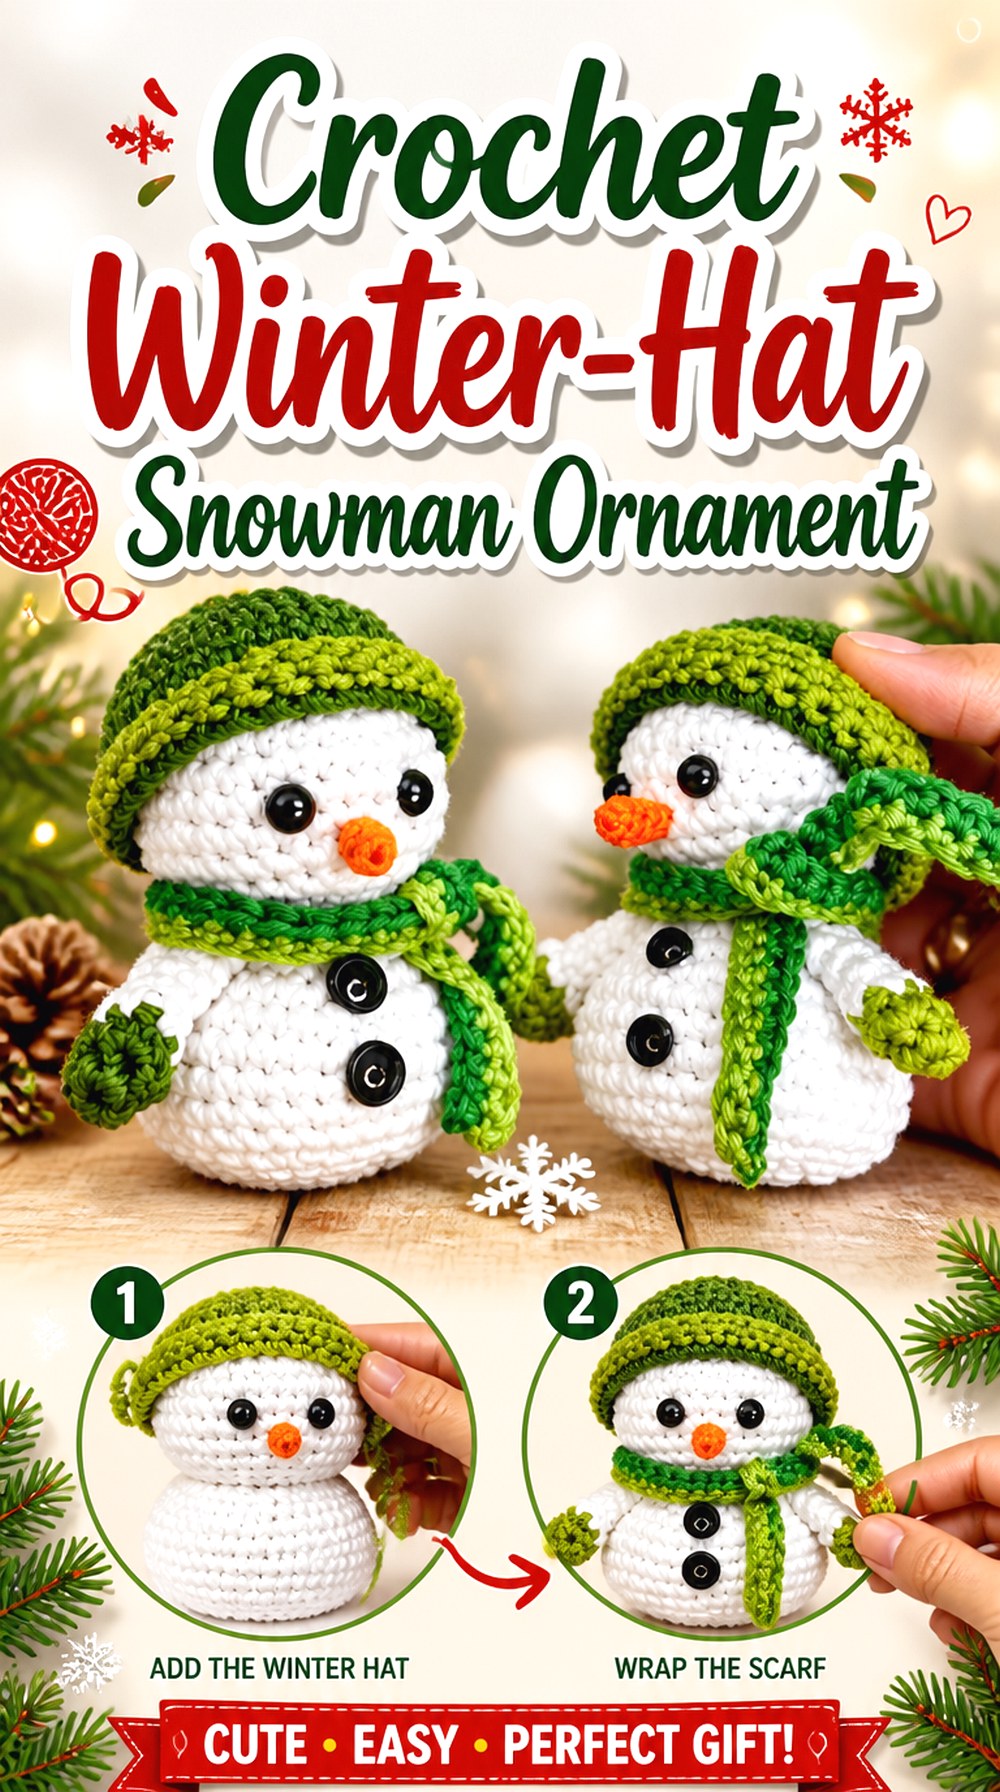 SAVE
Cennagurumi’s ornament trades the formal top-hat look for a winter hat, creating a softer hanging silhouette. The tutorial is specifically framed as a Christmas ornament and combines the snowman body with a hat, small facial details, and a hanger-ready scale.
This works well if you want your tree ornaments to look more like bundled-up winter characters than miniature traditional Frosty figures. Because the hat contributes substantial visual volume at the top, hanging balance is particularly important; the ornament should look intentionally upright rather than as if the hat is pulling the head backward.
A Soft Winter Hat Changes the Top-Heavy Look
Unlike a flat brim, a tall or floppy winter hat can pull the eye above the snowman’s face. Before finalizing the hanger, let the completed ornament dangle naturally and check where the hat settles. Its shape should complement the face instead of folding over important features.
Match Small Decorations to Ornament Use
The source tutorial includes small decorative elements, so consider the ornament’s environment before adapting them. On an adult decorative tree they may work exactly as intended; in a household where small children or pets can reach branches, replacing loose or rigid additions with embroidered or crocheted alternatives may be more appropriate.
Original Tutorial and Creator Credit
Creator: Cennagurumi
10. Crochet Chunky Low Sew Snowman Plush
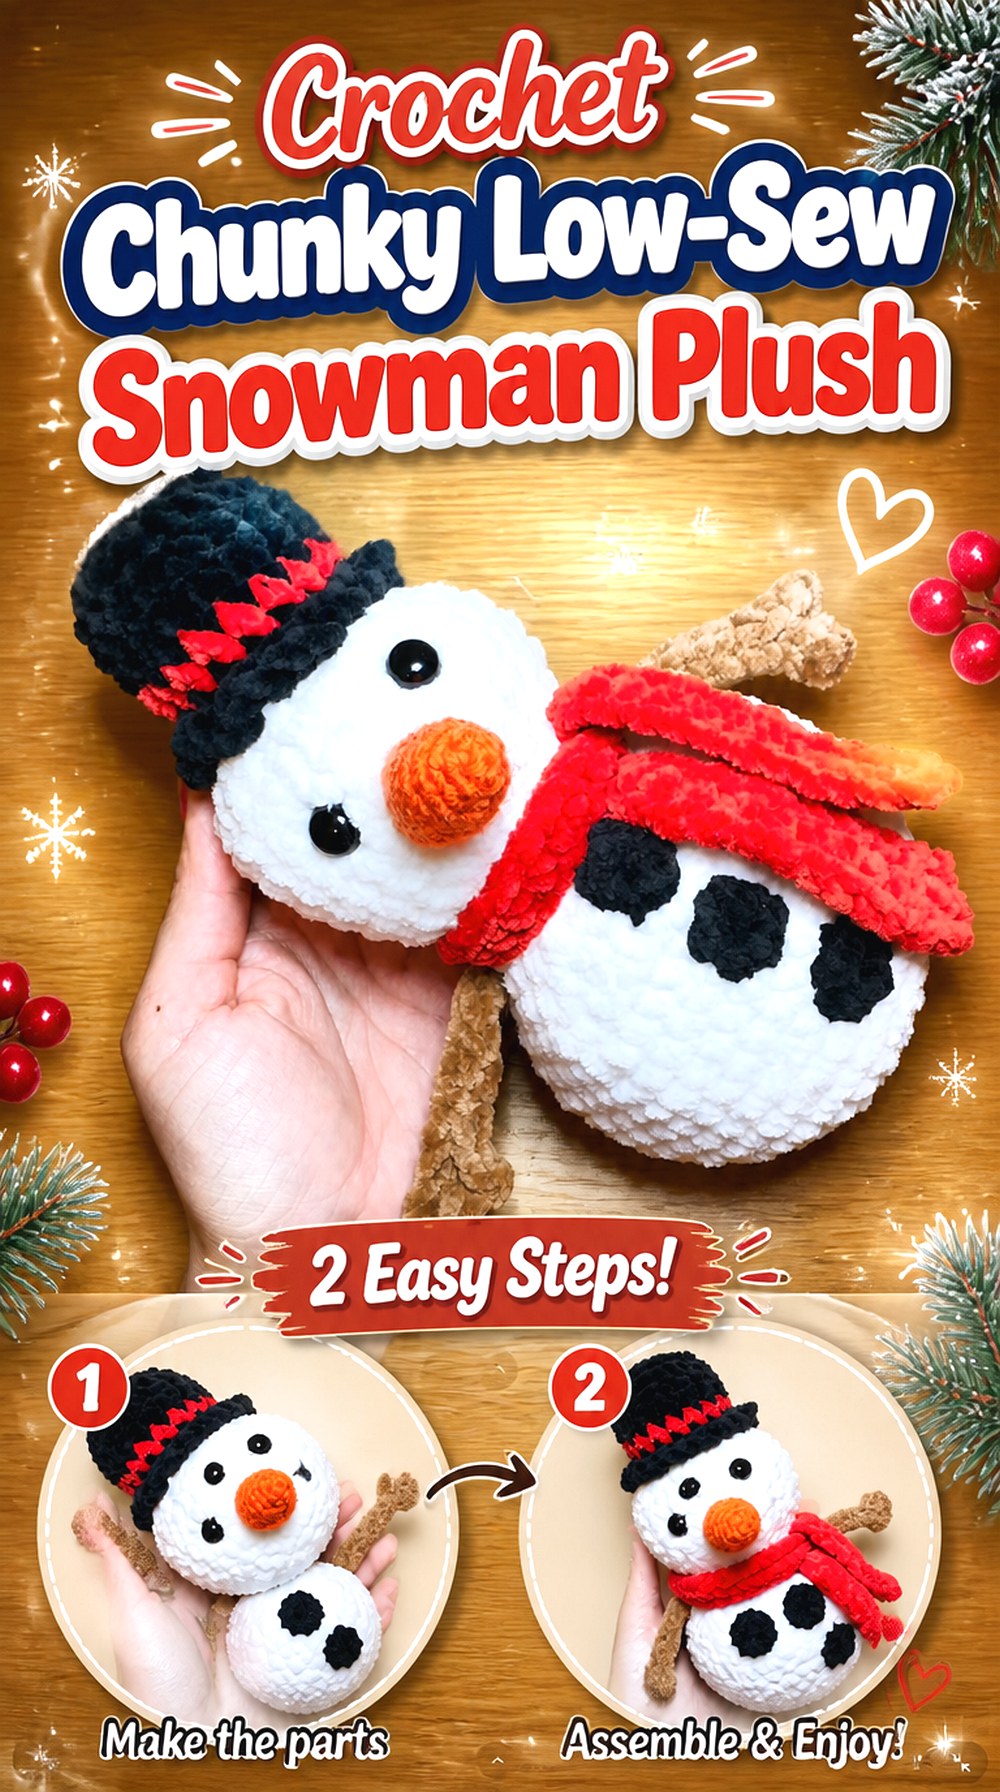 SAVE
Keep Calm and Crochet’s snowman uses chunky yarn and is presented as a project requiring minimal sewing. The thicker surface gives it more plush presence than small smooth-yarn amigurumi without shifting into the very large display scale of the jumbo family later in this list.
This is a useful middle ground for readers who want something soft and substantial but do not want a large number of separate components. Chunky yarn changes the visual language of small details, though. A nose, button, or scarf that looks delicate in finer yarn may appear much bolder when translated into a thicker material.
Chunky Yarn Can Hide Placement Cues
Thick or fuzzy yarn may make individual stitches less obvious, so use the snowman’s overall centerline when judging the face rather than relying only on visible stitch columns. Mark eye and nose positions temporarily, step back, and compare both sides before securing anything permanently.
Minimal Sewing Does Not Mean No Finishing
Even when the main construction reduces seams, decorative features still need attention. Review which parts are structural and which are embellishments before you begin. That distinction helps you plan whether you want to follow the original finish closely or simplify the surface further for a frequently handled plush.
Check Whether Softness or Definition Matters More
A plush yarn can create a cuddly surface, but very soft fibers may blur tiny decorative stitches. If you substitute yarn, decide which quality you value more: a cloud-like body or sharply defined small features. Mixing a plush body with a smoother accessory yarn can sometimes preserve both, provided the scales remain compatible.
Original Tutorial and Creator Credit
Creator: Keep Calm and Crochet
11. Crochet Jumbo Snowman Family Display
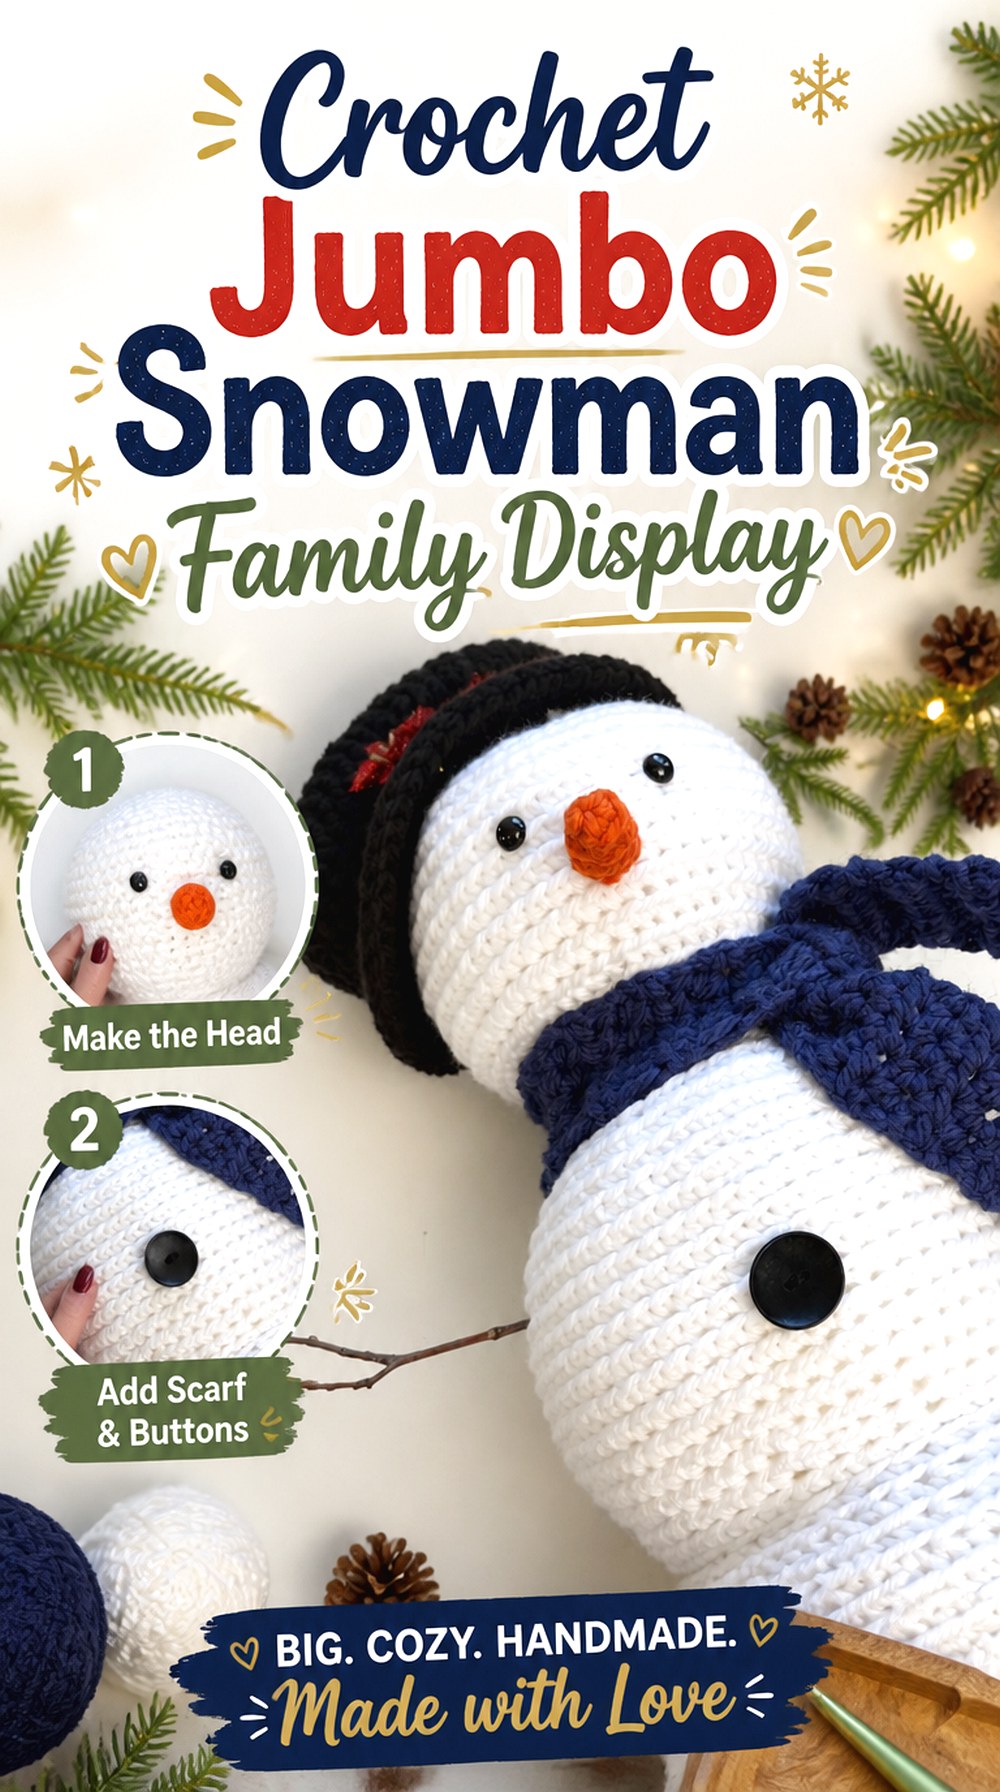 SAVE
MJ’s Off The Hook Designs takes the snowman beyond a single small toy with a coordinated family concept. The tutorial demonstrates a medium member, while the creator’s broader pattern offering includes additional sizes. The figure is built from the bottom up and incorporates a weighted-base concept, top hat, scarf, carrot nose, buttons, and stick-style arms.
This is best viewed as statement winter decor rather than just an enlarged keychain-style amigurumi. When several sizes sit together, consistent proportion and accessory styling matter as much as the individual figures.
Build the Group Around Proportion, Not Simple Enlargement
If you create multiple snowmen, compare head-to-body proportion, hat scale, and accessory width across the group. A family looks cohesive when those relationships feel related even if the absolute sizes differ. Do not assume every component should be enlarged by exactly the same amount unless the creator specifically provides that version.
Weighted Bases Favor Shelf Stability
A substantial standing figure benefits from a stable lower section, and the source incorporates weighting in the base. Treat that as a decor technique with its own containment and handling considerations. Test the finished base on the actual shelf or floor surface where you plan to display it.
Rigid Arms Change How the Piece Should Be Handled
The source also uses stick-style arms. They create a familiar snowman look but make this construction different from an all-yarn plush. If the finished project will be handled frequently or given to a child, reconsider rigid or potentially detachable details rather than assuming a display-oriented finish is appropriate for toy use.
Original Tutorial and Creator Credit
Creator: MJ’s Off The Hook Designs
12. Crochet Snowman With a Crocheted Eye Option
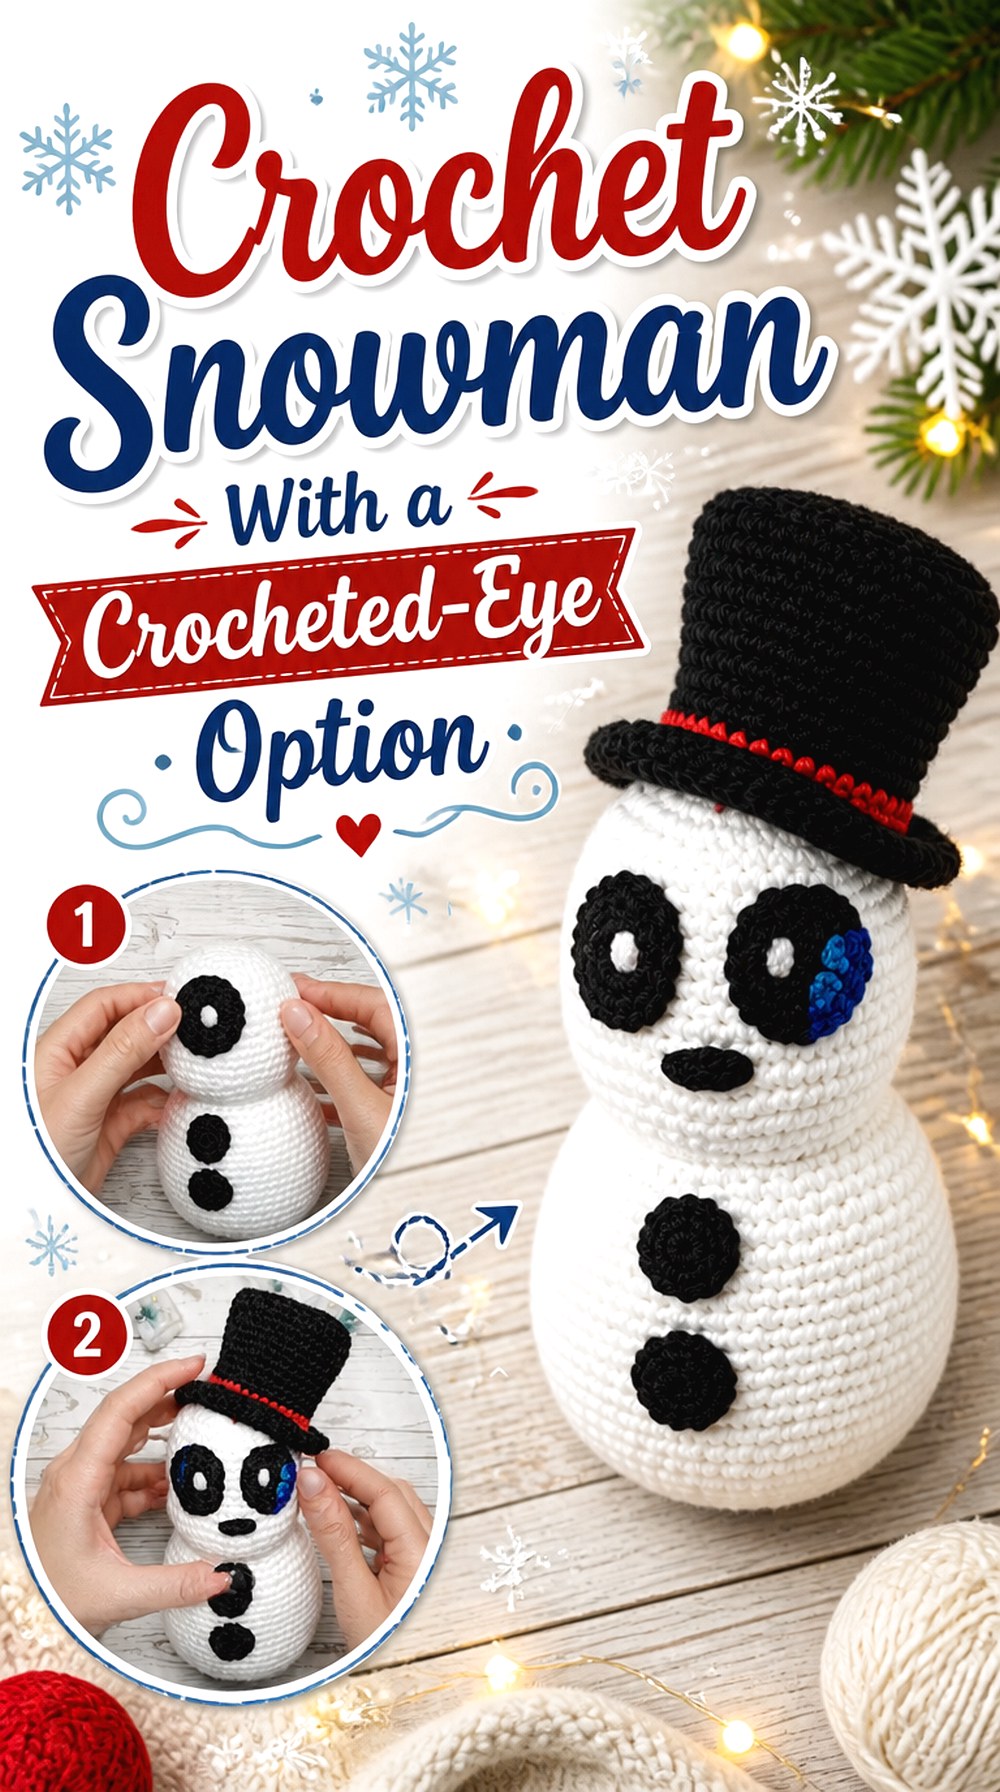 SAVE
Skein Spider’s snowman follows a classic amigurumi route with separate head, body, top hat, facial features, and assembly. A useful distinction is the availability of a crocheted-eye treatment in addition to conventional eye options, giving readers another way to approach the face.
That makes this tutorial worth considering when you want the facial details to remain textile-based or simply prefer a different expression from glossy plastic eyes. The more elongated finished silhouette also offers a different look from the squat mini snowmen in this collection.
Crocheted Eyes Change the Face’s Texture
Yarn eyes sit differently on the surface from rigid plastic eyes and can produce a softer expression. If using that approach, pin or place both eyes before attaching either one permanently. Because the eye itself has more visible area, small differences in height or angle may be easier to notice.
A Longer Silhouette Magnifies Leaning
As a snowman becomes taller relative to its width, small alignment errors are more apparent. Check the body and head from the side before fixing the hat and arms. If the torso already leans, accessories will usually emphasize the issue rather than disguise it.
Assemble the Face Before Final Hat Positioning
The top hat and eyes visually frame one another. Finish the main face placement first, then judge the hat against that centerline. This prevents a hat that is technically centered on the head from appearing off-center relative to the expression.
Original Tutorial and Creator Credit
Creator: Skein Spider
13. Crochet Bow Scarf Snowman Ornament
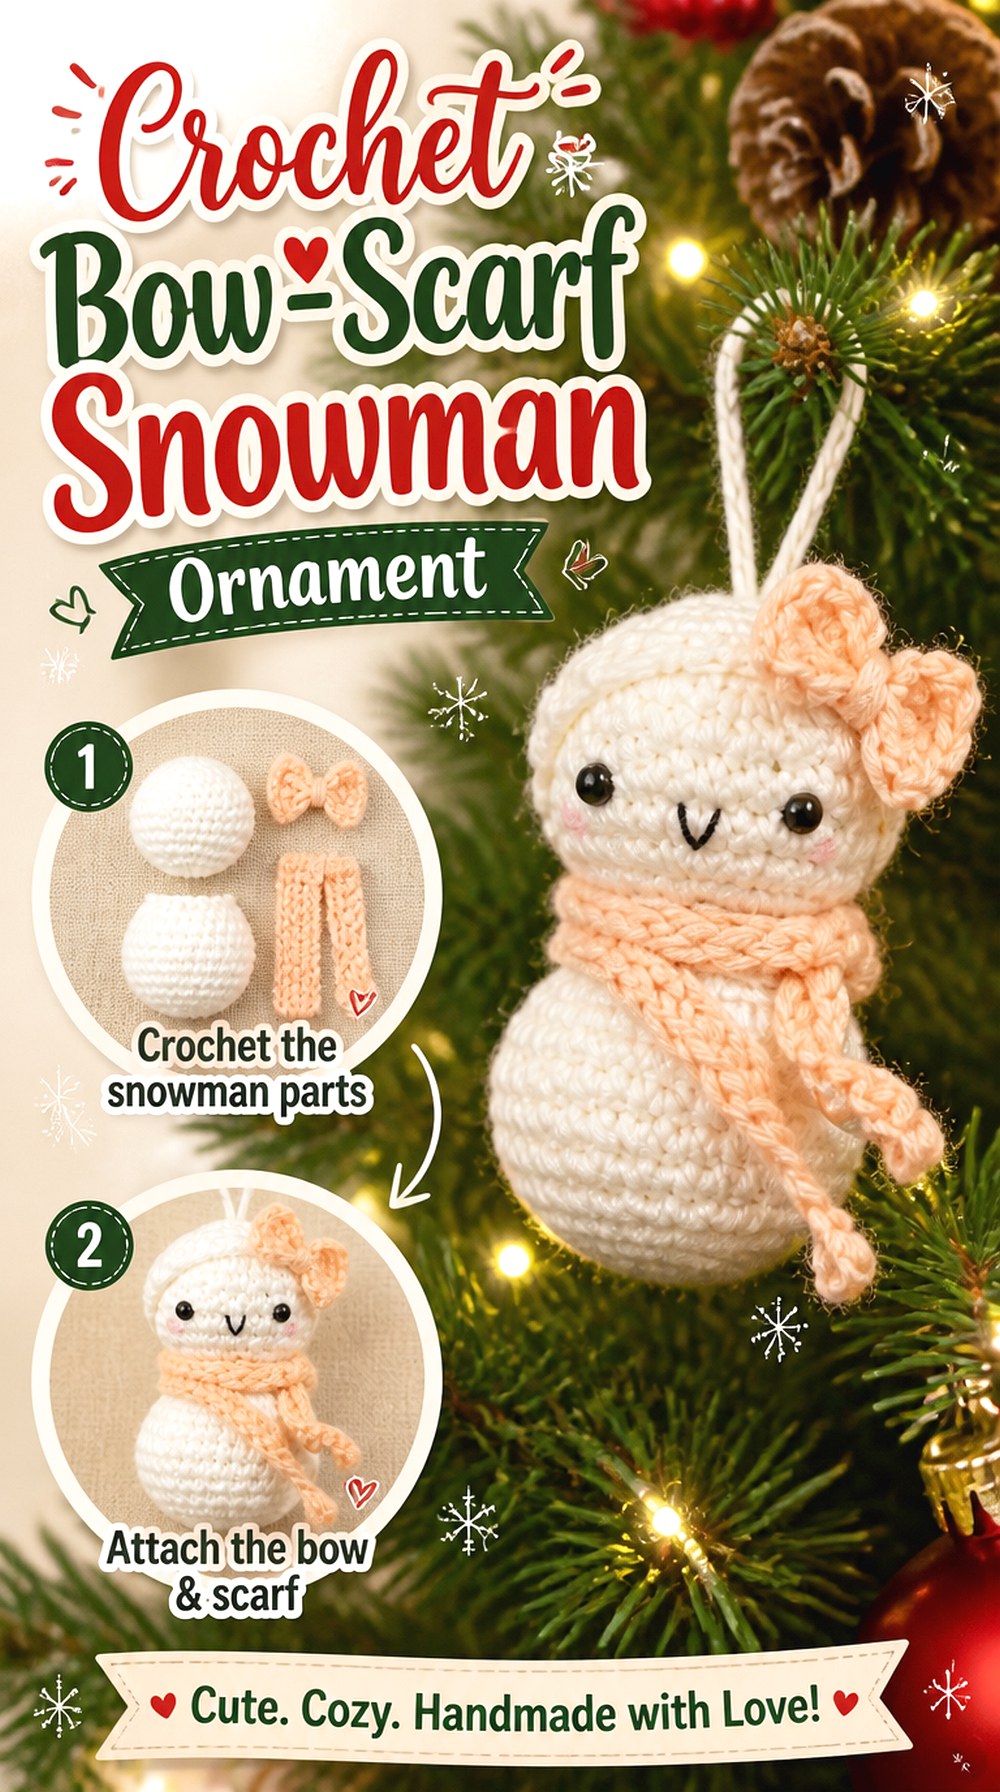 SAVE
Yarn Society’s snowman is another dedicated tree ornament, but its styling differs from the top-hat and winter-hat options through the way the scarf and bow-like finishing contribute to the front view. The tutorial includes a hanger and covers the ornament as a complete seasonal project.
This is a strong option if you want the snowman to read decoratively from one main viewing direction. Tree ornaments often rotate, however, so a polished front should be paired with a tidy back and a suspension point that resists twisting.
Front-Facing Details Need a Stable Hanging Direction
Before securing the loop, hang the finished snowman from temporary yarn and watch how it rotates. If the heavier side consistently turns away from the viewer, adjust the suspension point rather than relying on the tree branch to hold the face forward.
Keep the Scarf From Competing With the Hanger
A scarf or bow near the upper body can catch against the hanging loop or nearby branches. Check those moving parts together. Enough separation helps the ornament hang cleanly without the loop pulling the scarf upward or compressing the neck.
Original Tutorial and Creator Credit
Creator: Yarn Society
14. Crochet Baby Snowman With Pom Pom Beanie
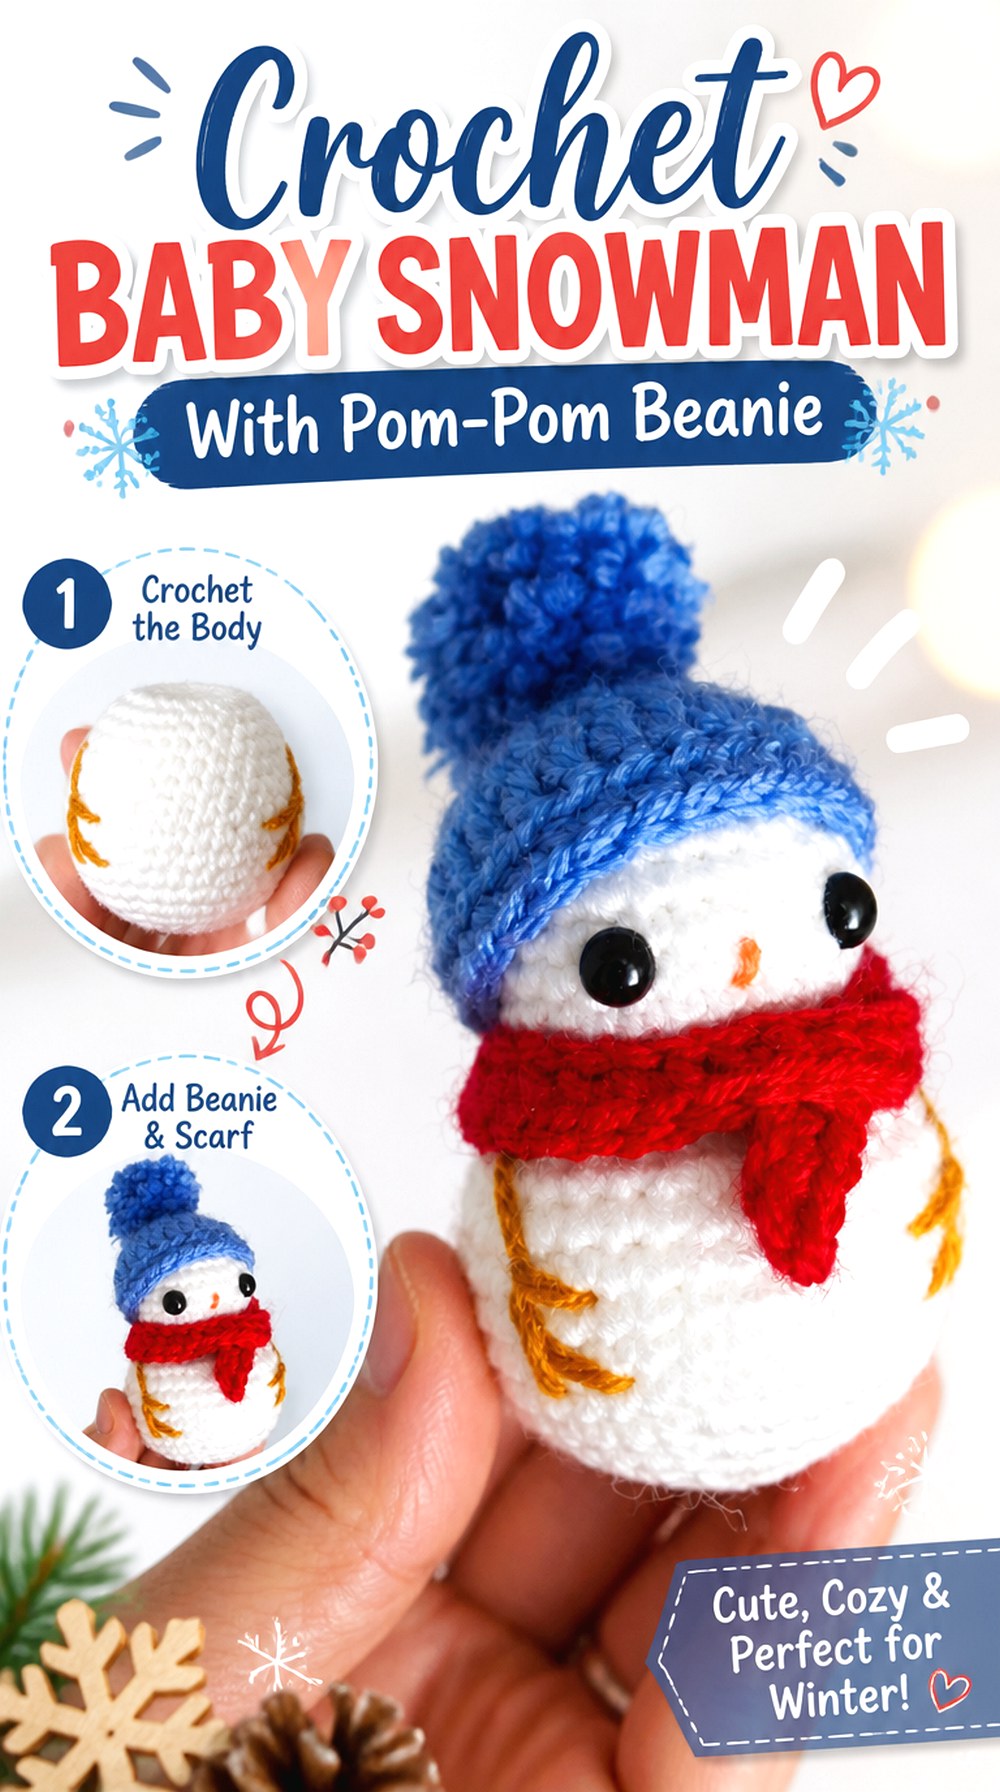 SAVE
Sweet Softies’ baby snowman uses a compact, rounded form with a beanie, pom-pom, scarf, and embroidered details. The tutorial is specifically presented as a no-sew amigurumi project, giving it a softer, simplified look compared with snowmen covered in separate buttons and branch arms.
Its proportions lean toward a chibi-style character rather than a realistic stack of snowballs. That makes facial placement especially influential: large blank areas and a simple body can make tiny changes in the eyes or nose alter the entire expression.
Let the Beanie Fit the Head You Actually Made
If your tension or yarn choice changes the head, judge the hat against the finished stuffed piece rather than assuming the original visual fit will transfer exactly. A beanie that is too tight can compress the head shape; one that is too loose can hide the upper face.
No-Sew Construction Still Requires a Gifting Check
A no-sew body does not automatically make the finished amigurumi suitable for every recipient. Review the eyes, pom-pom, scarf, and any other attached feature individually. For a baby or very young child, embroidered facial details and firmly integrated textile features may be more appropriate than detachable components.
Original Tutorial and Creator Credit
Creator: Sweet Softies
15. Crochet Melting Snowman and Snowwoman Decor Pair
 SAVE
Instead of building two upright snowball figures, Crafty Crochet Castle turns the joke of a melting snowman into the actual silhouette. The tutorial presents a melting snowman and snowwoman as a coordinated decorative pair, immediately separating them from every standing amigurumi in this collection.
The flatter, spread-out base makes these pieces better suited to tabletop display than hanging or cuddling. It also shifts the visual focal point toward the face and accessories because the body intentionally loses the usual vertical snowman structure.
The Irregular Base Should Look Intentional
A melting snowman is supposed to spread unevenly, but the finished piece still needs visual balance. Lay it on the intended display surface before finalizing embellishments. Position the face and accessories so they reinforce the idea of a collapsing snow figure rather than looking randomly attached to a flat white shape.
The Pair Works Best With Coordinated Differences
For a snowman and snowwoman set, repeated construction can create unity while hats, accessories, or facial styling establish distinction. Keep the overall scale compatible if they will sit together. A large difference in yarn thickness can make the pair feel unrelated unless that contrast is intentional.
Flat Decor Stores Differently From Stuffed Figures
The low-profile shape can be convenient for seasonal storage, but protruding accessories may still bend when stacked. Store the pair flat with enough space around raised features instead of folding the base to fit a small container.
Original Tutorial and Creator Credit
Creator: Crafty Crochet Castle
16. Crochet Rectangle Built Snowman Amigurumi
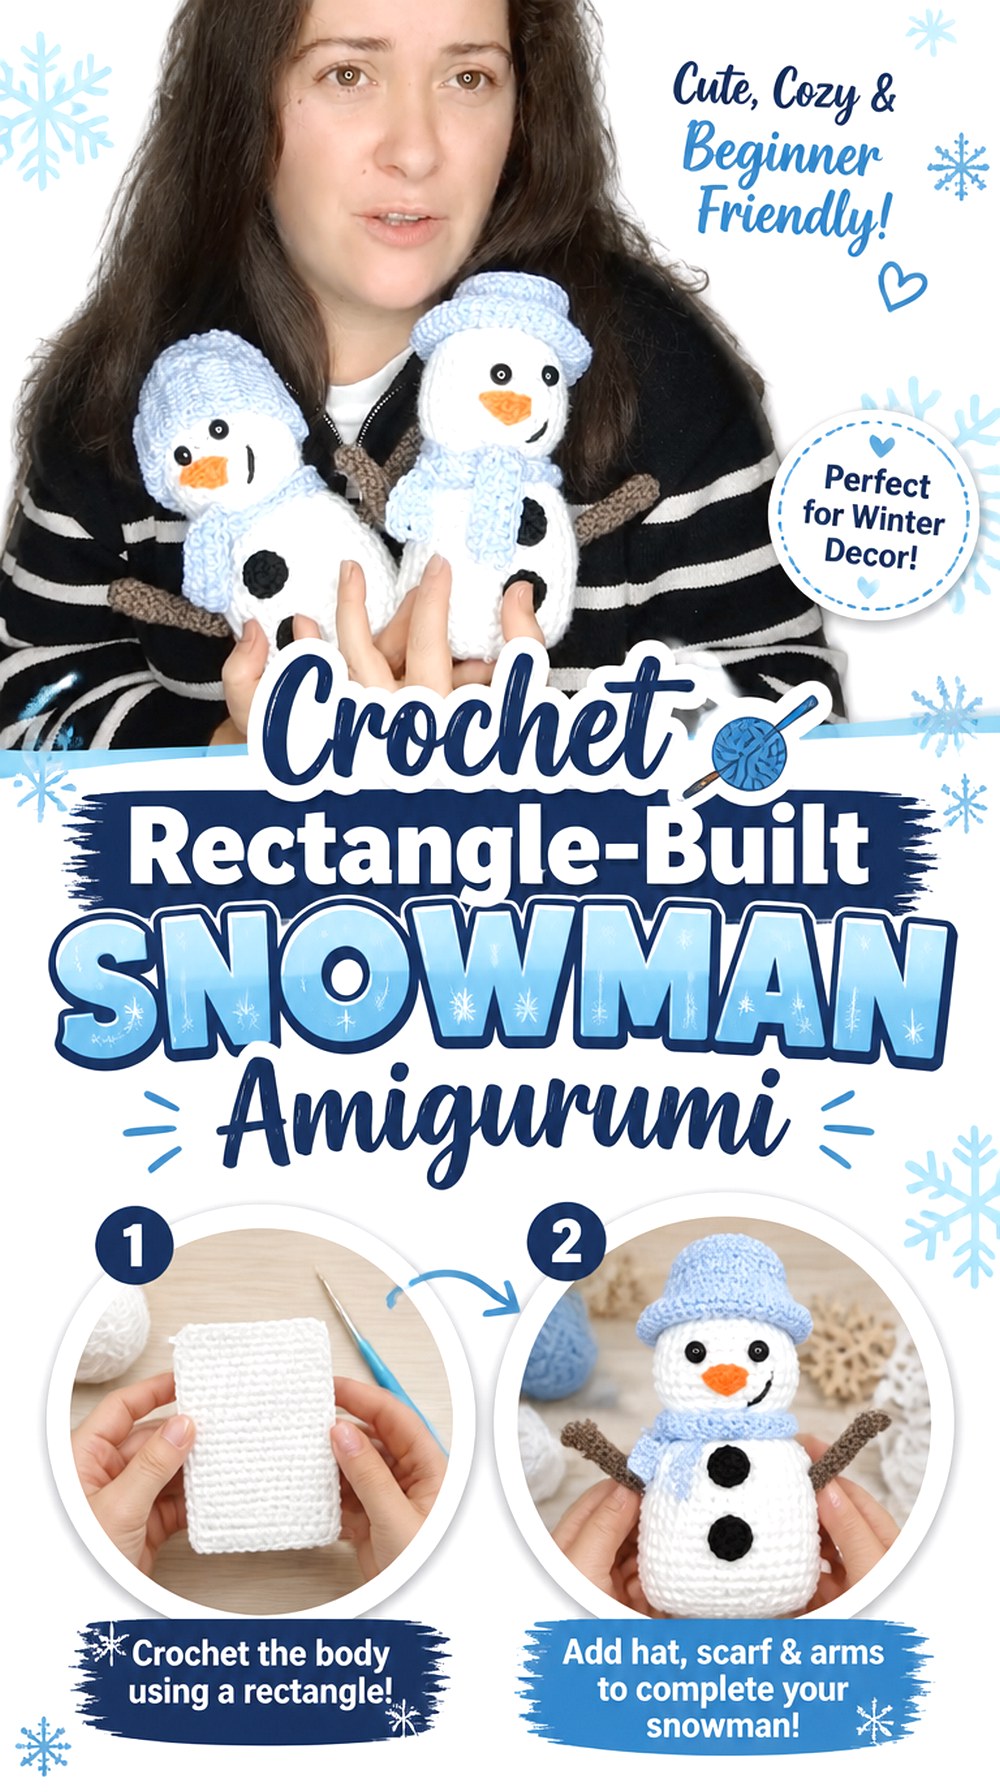 SAVE
Passionate Crafter approaches snowman construction from a very different direction: the main form begins as a crochet rectangle rather than conventional spheres worked in continuous amigurumi rounds. The creator also presents multiple accessory choices for the hat, arms, and button treatment.
This is a useful choice for someone comfortable working flat fabric who wants to see how shaping and stuffing can transform it into a three-dimensional seasonal figure. Because the form does not originate as a round ball, seam placement and stuffing distribution have an unusually strong influence on the finished silhouette.
The Seam Becomes Part of the Shaping Strategy
With a rectangle-based body, the closing seam helps determine how the flat fabric becomes three-dimensional. Keep the seam tension even so one section does not pucker more tightly than another. Once stuffed, position the seam where it is least visually disruptive before attaching the face and accessories.
Stuffing Creates More of the Rounded Form
A conventionally increased sphere already has substantial curved shaping before stuffing. A transformed rectangle relies more heavily on filling and finishing to establish volume. Add stuffing gradually and massage it into the intended shape instead of packing one central area and expecting the outer fabric to distribute it automatically.
Accessory Choices Can Change Its Character Dramatically
The source offers alternatives for details such as hats, arms, and buttons. Choose those based on intended use, not simply appearance. Crocheted details keep the project more textile-based, while rigid or glued components may be better reserved for stationary display.
Original Tutorial and Creator Credit
Creator: Passionate Crafter
17. Crochet Seamless No Sew Snowman Figure
 SAVE
AN’S CROCHET focuses on a straightforward no-sew snowman in which the head and body are shaped continuously rather than assembled from separate stuffed pieces. The resulting figure has a clean, uncomplicated silhouette that leaves plenty of room for changing scarf colors or facial styling without changing the core structure.
Compared with the Loopy Lamb option, which emphasizes integrated character details, this idea is useful when the appeal is the simple uninterrupted main form itself. It is a good reminder that “no sew” can describe different design strategies, not one universal construction method.
Maintain a Clear Front While Shaping Continuously
When there is no head seam to orient later, decide where the front is before adding the face. Continually turning a symmetrical white form can make it surprisingly easy to lose that reference. A temporary marker lets you judge whether shaping and details remain centered on the intended side.
Simple Bodies Make Uneven Stuffing Easier to See
A clean silhouette has fewer accessories to distract from dents or bulges. Add filling in small amounts and inspect the transition between head and body. If one side looks flatter, redistribute existing filling before adding more; extra stuffing alone does not always correct an uneven shape.
Original Tutorial and Creator Credit
Creator: AN’S CROCHET
18. Crochet Hat and Scarf Winter Snowman Decor
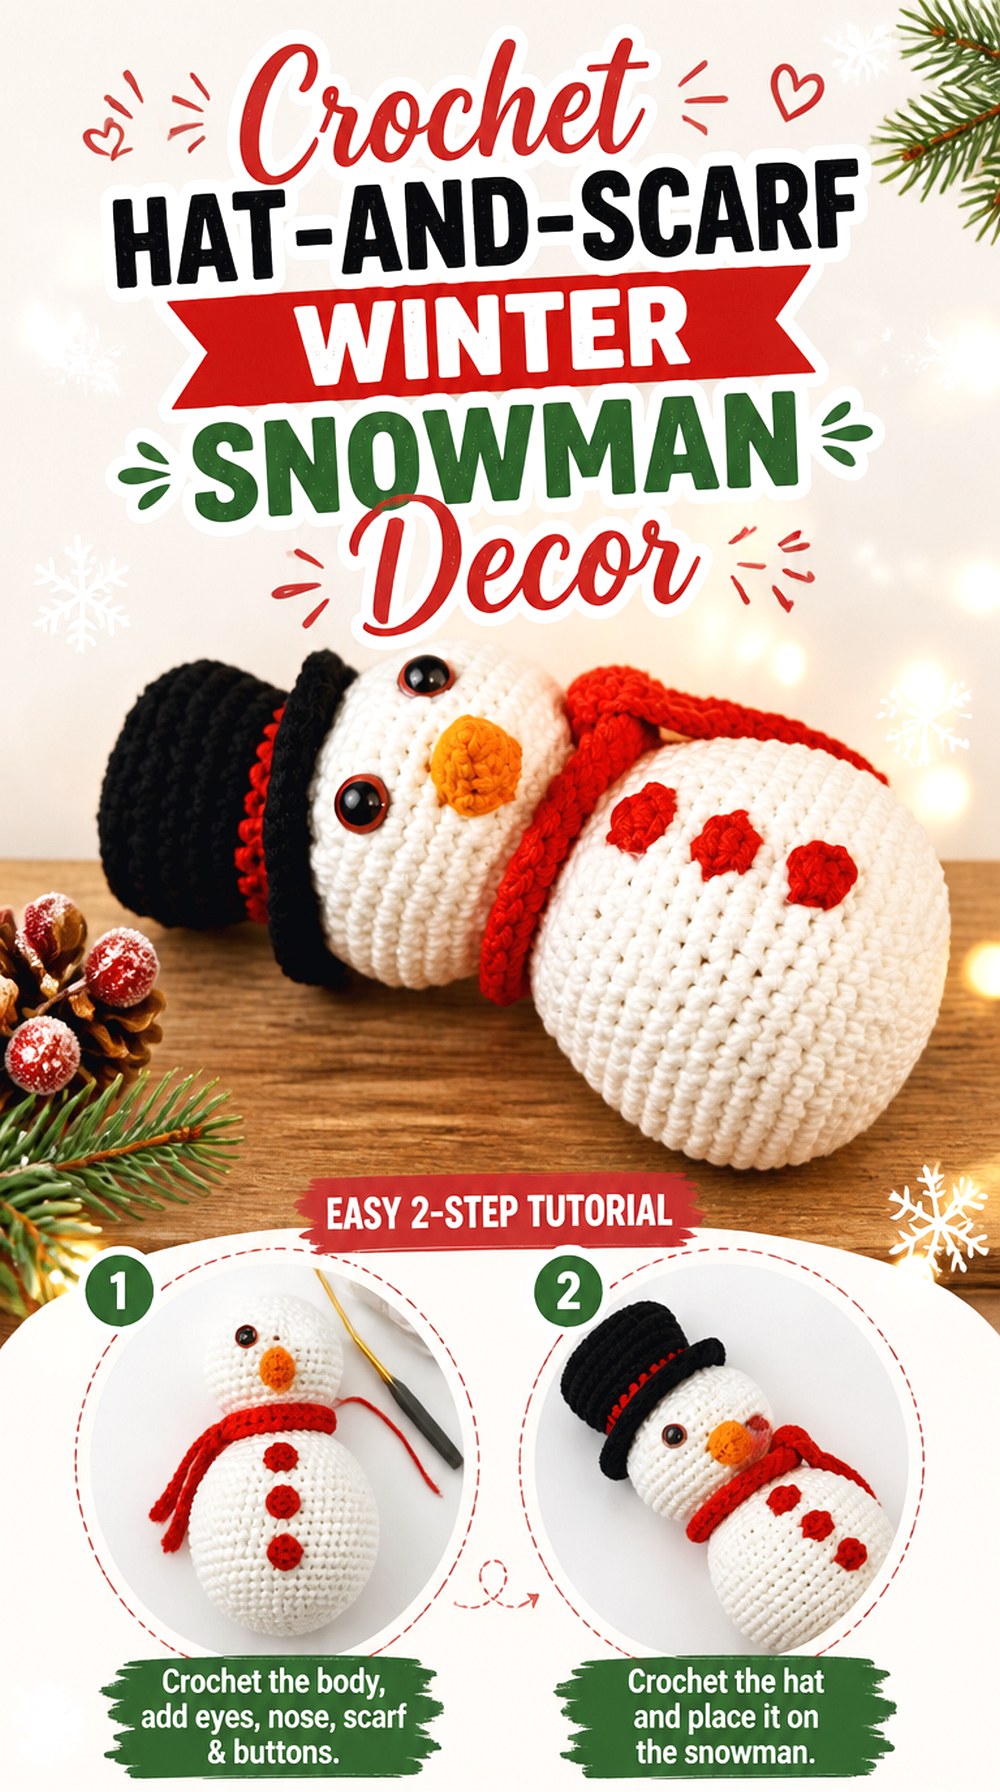 SAVE
Les AMIgurumis de Yara’s snowman leans into a polished winter-decor look with a defined hat, scarf, carrot nose, and assembled facial details. The video breaks the project into recognizable components before bringing them together.
This makes the design suitable for readers who enjoy assembly as part of amigurumi rather than actively avoiding it. The separate accessories also offer room to coordinate the snowman with an existing winter color scheme without changing the body construction. The key is to customize color while preserving proportion; merely making every accessory thicker or larger can upset the balance of the face.
Pin the Hat and Scarf Before Final Assembly
Two large accessories influence the snowman simultaneously. Position the hat first, add the scarf temporarily, and then view the figure as a whole. A scarf that sits too high can crowd the face, while a hat pulled too low can produce the same effect from above.
Align the Nose With the Full Body Center
A carrot nose strongly establishes direction, so its alignment should relate to the torso as well as the eyes. Before securing it, place the snowman upright and check the nose from several feet away. Small rotation errors are often more obvious at a distance than while holding the face close.
Color Changes Should Not Obscure Shape
If adapting the palette, consider contrast between white body, face, hat, and scarf. Very similar values can make boundaries disappear, especially in photographs or dim winter interiors. Stronger contrast around the face often preserves readability without requiring additional embellishment.
Original Tutorial and Creator Credit
Creator: Les AMIgurumis de Yara
19. Crochet Blanket Yarn Snowman Plushie
 SAVE
Maria’s Blue Crayon uses blanket yarn to create a substantially plushier snowman with a top hat rather than the crisp small-scale look of fine-yarn amigurumi. The accompanying pattern discussion emphasizes careful stuffing because filling distribution affects both the immediate shape and how the plush settles over time.
This option makes sense when softness and visual presence matter more than miniature detail. Blanket yarn gives the body volume quickly, but that same thickness means small accessories need enough scale to remain visible against the plush surface.
Fluff Filling Before Packing the Body
Clumped stuffing can create visible lumps under a large plush surface. Separate the filling first and add it gradually around the perimeter as well as the center. Check the snowman from the side so the back does not remain flat while all of the filling pushes toward the face.
A Top Hat Needs Enough Structure to Read Clearly
Against a thick blanket-yarn head, a very soft hat may collapse into the same visual mass as the body. Follow the creator’s construction, then check the brim and crown before attaching it. If changing materials, preserve enough definition that the hat remains recognizable from across the room.
Reconsider Plastic Eyes for Young Recipients
Maria’s Blue Crayon specifically cautions that safety eyes can still present a hazard for children under three if they detach. If adapting this plush for a very young recipient, an embroidered facial treatment avoids relying on removable plastic eye components.
Original Tutorial and Creator Credit
Creator: Maria’s Blue Crayon
20. Crochet Wheat Stitch Snowman Display
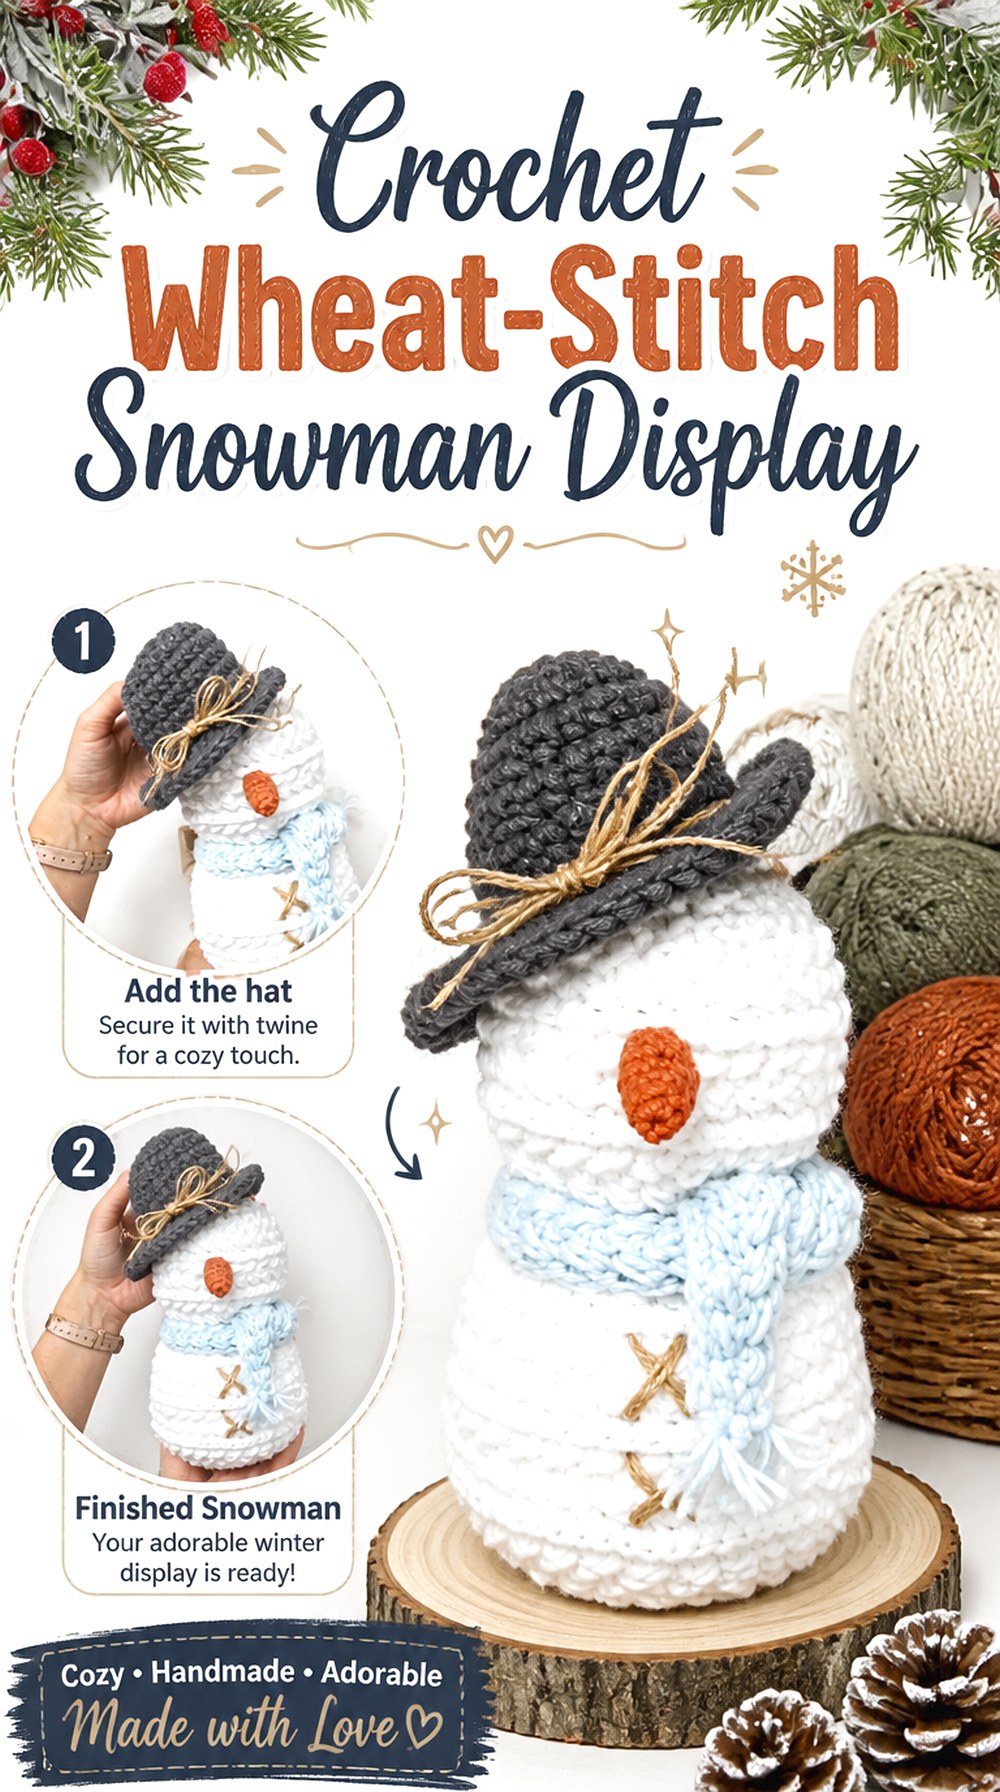 SAVE
Briana K’s snowman stands apart because surface texture is a central design feature rather than a byproduct of standard single-crochet amigurumi fabric. The project uses Briana K’s Wheat Stitch texture and is presented as a winter or holiday display piece with a hat and scarf.
This is the option to study if you want the white body itself to carry visual interest before any accessories are added. Texture also affects substitutions: a smooth yarn may show the stitch pattern sharply, while a highly fuzzy yarn could soften or obscure the raised surface that makes this design distinctive.
Texture Should Remain Visible After Stuffing
Raised stitch work can lose definition if the fabric is stretched excessively. As you fill the body, stop periodically and look at the textured surface from the side under normal light. Add enough stuffing to support the form without forcing the stitches so far apart that the texture becomes secondary to gaps.
Yarn Substitution Changes More Than Size Here
On a plain amigurumi sphere, yarn changes primarily affect scale, softness, and stitch visibility. In a textured snowman, they also affect the design’s main surface feature. Before committing to a full substitution, make enough of a sample to confirm that the texture remains distinct with your yarn and hook combination.
Treat It as Display Decor When Using Decorative Additions
The source presents the snowman for seasonal decorating and also includes a safety-eye warning for young children. If your intended use shifts from mantel decor to a handled toy, reassess facial parts, accessory attachment, and any non-textile decorative elements accordingly.
Original Tutorial and Creator Credit
Creator: Briana K
21. Crochet Beanie and Scarf Snowman Amigurumi
 SAVE
vvw.studio’s snowman pairs a rounded stuffed form with a beanie, scarf, pom-pom, and simple winter coloring. The tutorial separates the head, body, beanie, and scarf into clearly identifiable portions, giving the finished figure the look of a dressed winter character rather than a formal top-hat snowman.
The accessories are the major visual difference, so proportion matters more than adding extra decoration. A beanie that frames the face cleanly and a scarf that defines the neck can provide enough character without covering the underlying amigurumi shape.
Fit the Beanie After the Head Is Stuffed
Stuffing can change head circumference and roundness, especially if your tension differs from the source. Test the hat on the completed head before fixing its final position. You want enough coverage to read as a beanie without lowering the edge so far that it compresses the face area.
Watch Pom-Pom and Glued Details Around Children
The source materials include a pom-pom, glue, and doll facial parts. Those can be appropriate for decorative use, but they deserve reassessment if the snowman will be handled by a young child. Embroidery or securely crocheted details can reduce reliance on attached decorative pieces.
Original Tutorial and Creator Credit
Creator: vvw.studio
22. Crochet Sitting Snowman With Toque or Top Hat
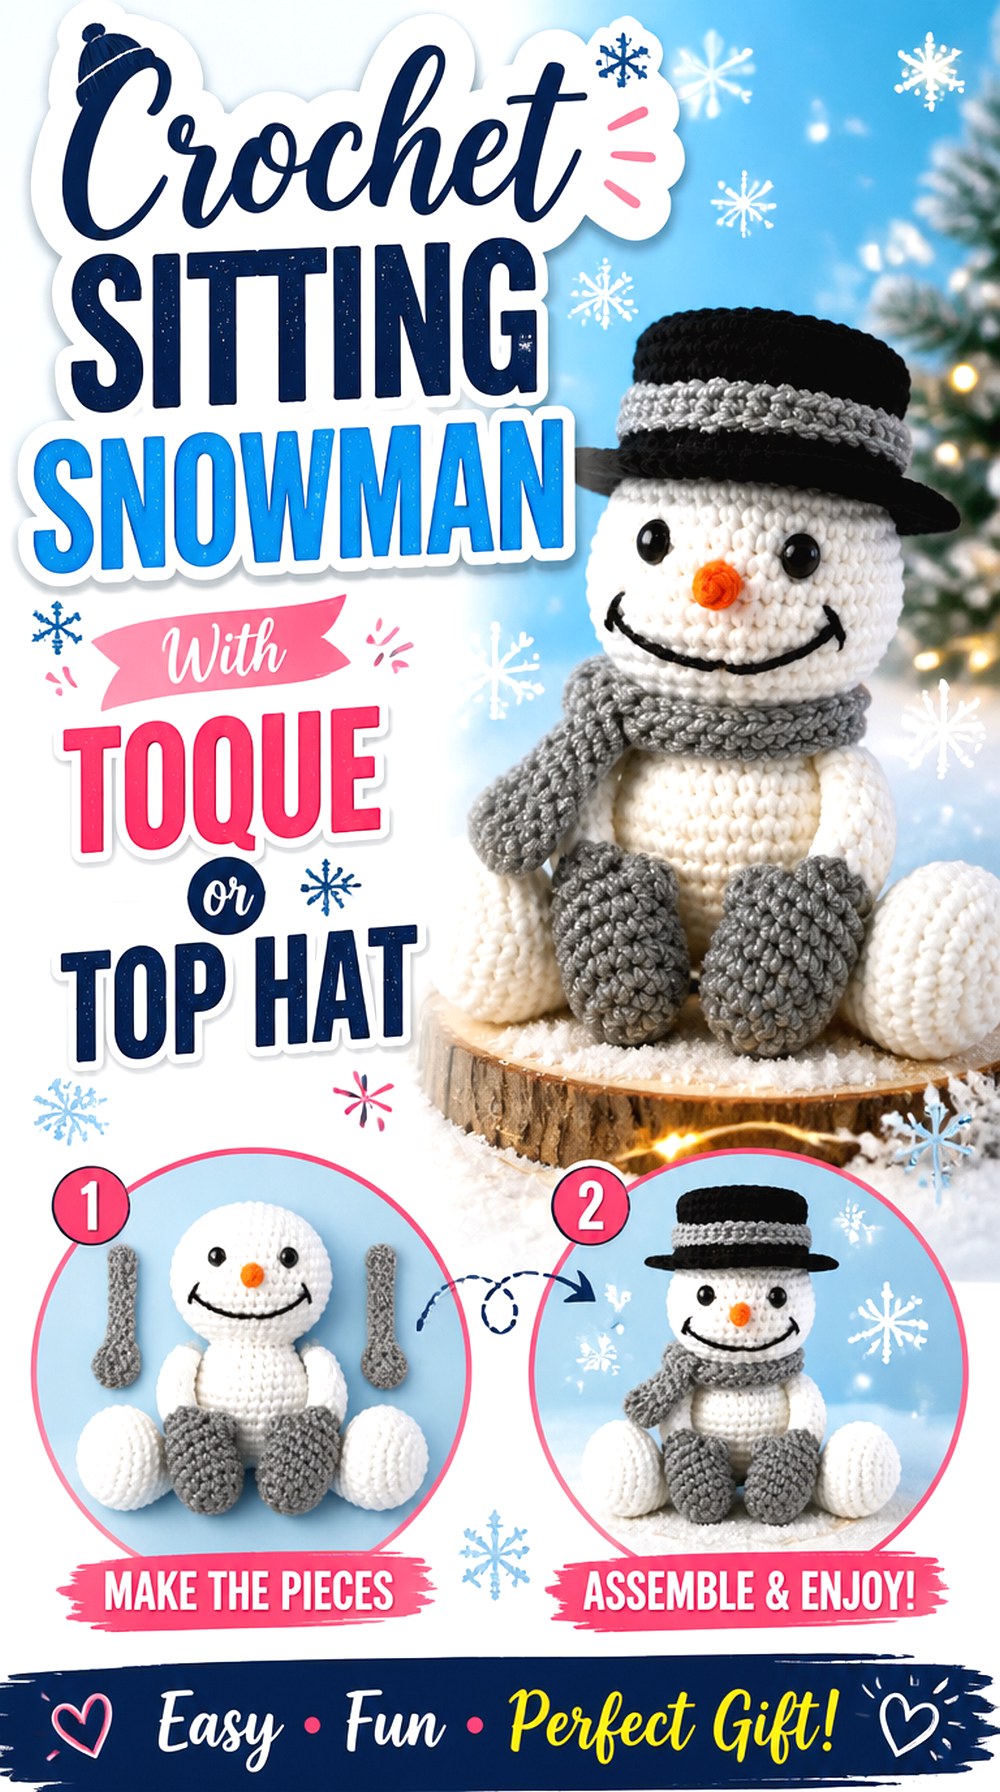 SAVE
Rhonda Butler’s snowman changes the body language completely by using a sitting pose. The tutorial also includes two headwear directions—a toque and a top hat—so the same seated construction can lean cozy or traditional depending on the finish.
A seated snowman is particularly useful for shelves and ledges where a standing figure might tip or feel too tall. The pose, however, needs to look intentional from the front. The body should appear supported by its lower shape rather than simply leaning backward because the head or hat is too heavy.
Check the Sitting Base Before Adding the Hat
Place the stuffed body on a flat surface before completing the top of the figure. If it rocks or falls backward at this stage, solve the balance problem first. A substantial hat can shift the center of gravity farther, so it should not be used to compensate for an unstable lower body.
Toque and Top Hat Create Different Visual Weight
A toque follows the curve of the head and usually produces a softer upper silhouette. A brimmed top hat creates a stronger, wider horizontal element. Decide which works with your display location: a narrow shelf may favor a compact hat, while a more open arrangement can accommodate a broader profile.
Seated Figures Need a Clear Front Edge
When a body rests on a surface, facial alignment should relate to that sitting plane. Before adding permanent features, position the snowman exactly as it will sit and check whether the face looks forward rather than upward or downward. This is more reliable than placing features while holding the body in your hand.
Original Tutorial and Creator Credit
Creator: Rhonda Butler
23. Crochet Brimmed Top Hat Snowman Amigurumi
 SAVE
Avocado Handmade’s snowman uses a classic white form topped with a broad-brimmed black hat, plus a scarf, carrot-style nose, embroidered facial treatment, and body buttons. The tutorial covers the full snowman rather than presenting a short decorative clip.
The strong black brim gives this version a graphic, traditional profile and makes it visually different from the softer beanie designs. Because the face is comparatively restrained, the relationship among brim, eyes, nose, and scarf becomes the main composition. This is a good choice if you prefer recognizable snowman styling without a large number of three-dimensional facial embellishments.
Embroidery Keeps the Expression Close to the Surface
Embroidered eyes and mouth details avoid adding more projecting parts to an already accessory-heavy face. Mark the intended eye line before stitching and compare it with the nose position. A broad hat creates a strong horizontal reference, which can make uneven facial embroidery more noticeable.
The Wide Brim Needs an Intentional Angle
Set the completed hat on the stuffed head without attaching it and rotate the snowman through several viewing angles. A level brim creates a formal Frosty-like look; a slight intentional tilt adds personality. Whichever you choose, confirm that the brim does not obscure the eyes from the normal viewing height.
Keep the Scarf From Closing Off the Face
With a large dark hat above and scarf below, the visible white face can become visually compressed. Check scarf height after the hat is positioned. Leaving enough open neck and lower-face area helps the carrot nose remain the focal point rather than trapping it between two heavy accessories.