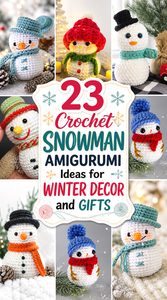
Crochet snowmen can be much more varied than the familiar white body, carrot nose, and black hat suggest. Some designs keep the entire figure in one continuous form, while others use separate components for more control over the pose and accessories. You can also choose between tiny tree ornaments, portable charms, soft chunky plushies, tabletop figures, and much larger seasonal displays.
This collection focuses on those practical differences so you can choose a snowman that suits how you want to use it. Along with 19 distinct project directions, you’ll find pointers for comparing construction, stuffing, accessories, display stability, and gift suitability. Each idea also includes an original YouTube tutorial from a different crochet creator, giving you a reliable place to check the creator’s exact construction method.
Quick List
- Crochet One-Piece Top-Hat Snowman Plush
- Crochet Pocket-Size Classic Snowman
- Crochet Weighted Mini Tabletop Snowman
- Crochet No-Sew Mini Scarf Snowman
- Crochet Rectangle-Built Snowman Doll
- Crochet Traditional Top-Hat Snowman Figure
- Crochet Chunky Winter Snowman Plush
- Crochet Mini Branch-Arm Snowman Ornament
- Crochet Earmuff Snowman Head Ornament
- Crochet No-Sew Pom-Pom Hat Snowman
- Crochet Snowman Keychain and Bag Charm
- Crochet Jumbo Snowman Family Display
- Crochet Painted-Detail Snowman Ornament
- Crochet Holly-Hat No-Sew Snowman
- Crochet Small Snowman Family Figure
- Crochet Pom-Pom Snowman Tree Ornament
- Crochet Soft Stuffed Snowman Ornament
- Crochet Dapper Top-Hat Snowman Doll
- Crochet Streamlined Snowman Amigurumi
What Helps a Crochet Snowman Hold Its Shape
A snowman’s silhouette depends heavily on fabric density and stuffing control. Fabric that is too open can expose filling, while an overstuffed piece may stretch the stitches and soften the intended separation between the head and body. Add stuffing gradually and check the profile from several angles rather than correcting the shape only after the opening is nearly closed.
Yarn texture changes what is easy to see, too. Smooth yarn makes stitch placement, facial alignment, and shaping transitions more obvious. Plush yarn creates a softer surface but can hide gaps and make small details less crisp. For a standing snowman, also check how the tutorial forms the bottom. A decorative figure meant for a shelf has different stability needs from an ornament that will always hang.
Choose the Construction Before the Accessories
One-piece and no-sew snowmen are useful when you want fewer separate body components, but less sewing does not automatically mean fewer decisions. Consistent stuffing and clean transitions become especially important because the main silhouette cannot be repositioned later.
A traditional multi-piece amigurumi gives you more finishing work but also more control. Separate arms, noses, hats, and other features can often be positioned after you see the stuffed body, making it easier to balance the expression.
There are also unconventional constructions worth considering. Rectangle-based snowmen offer a different learning route, while head-only ornaments eliminate the full body entirely. Decide first whether you want a cuddly toy shape, tabletop decoration, hanging ornament, or portable charm; then choose accessories that support that use instead of adding every decorative detail available.
Safety and Display Details to Consider Before Gifting
Decorative snowmen often include safety eyes, buttons, pom-poms, hanging hardware, glued accents, or other small components. Those details should not automatically be treated as appropriate for a young child simply because the main piece is soft. For child-focused gifts, embroidered facial features and securely sewn embellishments are options worth considering instead of detachable or hard small parts.
The same distinction matters for ornaments and keychains. A loop or metal fitting is useful for display but changes how the finished object should be used. Keep ornament-scale pieces as decorations when their components are not suitable for play, and inspect sewn attachments before gifting. When a tutorial uses a particular eye, weight, adhesive, or embellishment, decide whether that choice fits your intended recipient rather than assuming every material is interchangeable.
1. Crochet One Piece Top Hat Snowman Plush
 SAVE
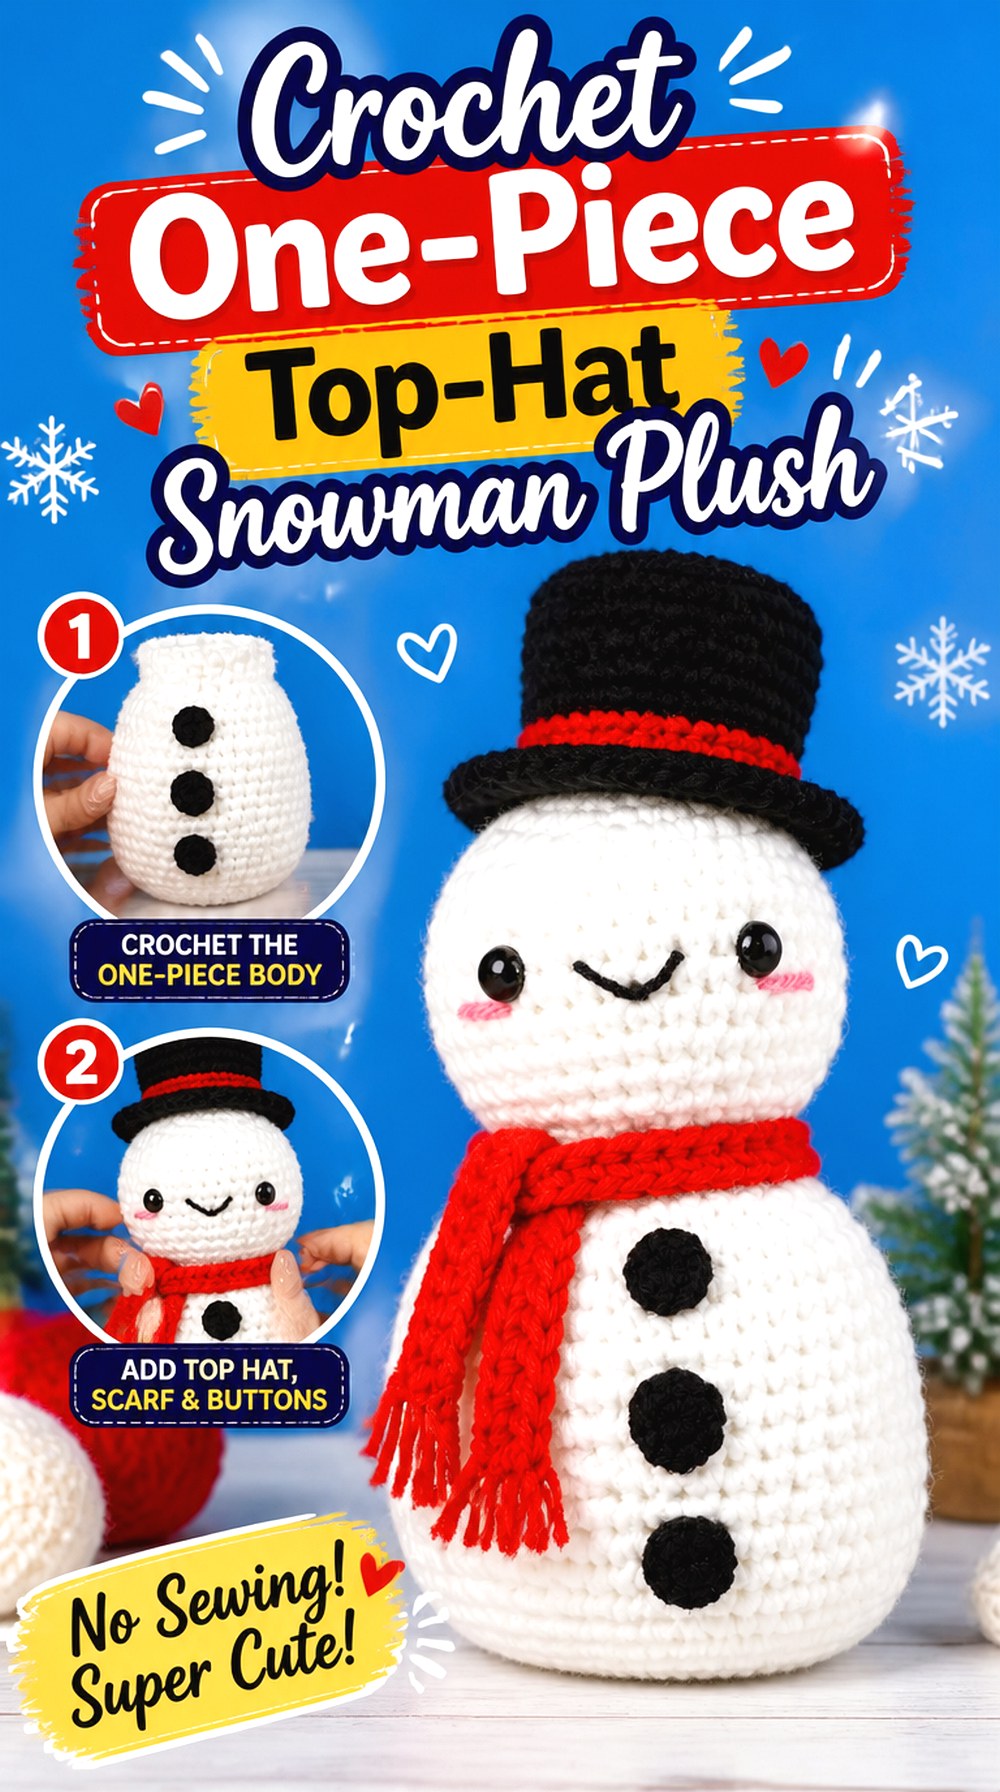
SAVEThis snowman is a strong choice when you like a traditional round silhouette but want to minimize body assembly. Hooked by Robin’s version forms the snowman itself in one piece and finishes the character with familiar winter details including a scarf and top hat. That gives it the recognizable stacked-snowball appearance without making the main body as a set of separately sewn spheres.
The project works particularly well as compact seasonal decor because the accessories add personality without changing the clean main outline. It is also a useful construction to compare with the more heavily assembled snowmen later in this list.
One Continuous Body Puts More Focus on Stuffing
Because the main snowman stays together, you cannot reposition the head relative to the body during final assembly. Check the profile while stuffing and pay special attention to the transition that visually separates the two sections. If that area becomes too firm, the figure can lose its snowball-like definition; too little filling can make the upper section slump.
The Top Hat Changes the Visual Balance
A structured dark hat creates a strong visual anchor at the top of an otherwise pale figure. Before permanently attaching accessories, view the snowman from the front and side to make sure the hat angle, face, and scarf feel balanced. Even a small change in hat position can shift the expression from formal and upright to intentionally playful.
2. Crochet Pocket Size Classic Snowman
 SAVE
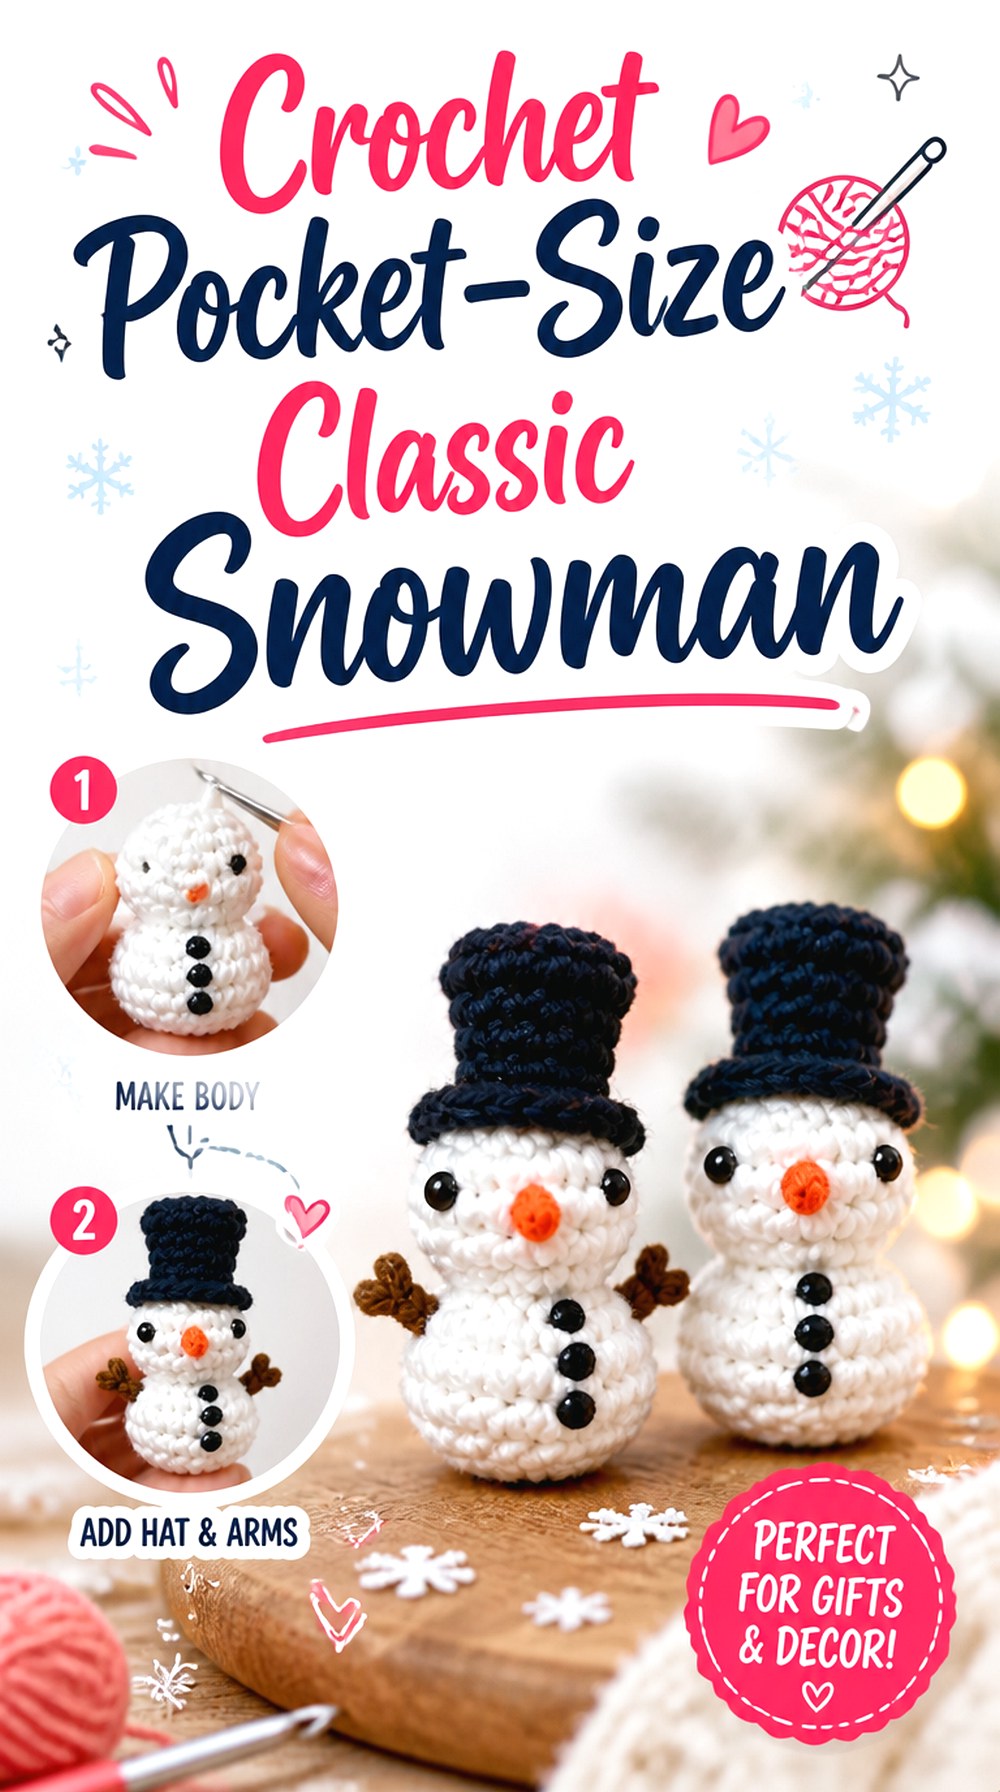
SAVEFor a smaller interpretation of the traditional snowman, this Club Crochet project keeps the recognizable body, face, branch-style arms, and hat while working at miniature scale. The compact finished form makes it more suited to small displays or collections than the large floor and plush versions featured later. The creator also presents the little figure as adaptable enough for another playful use, reinforcing how much function can change when amigurumi is scaled down.
The appeal here is not simply “make the same snowman smaller.” At miniature scale, face spacing, accessory bulk, and attachment neatness become more noticeable.
Tiny Features Need Clear Spacing
On a small amigurumi face, a slight change in eye, nose, or mouth placement can noticeably alter the expression. Place temporary markers before committing to permanent details when possible. This gives you a chance to compare symmetry from a normal viewing distance rather than judging each feature only while holding the piece close to your hook.
Keep Small Accessories Proportional
A hat or scarf that would look modest on a larger plush can visually overwhelm a pocket-size body. Compare accessory width with the head and neck before final attachment. If you adapt the colors or trims, preserve the relative visual scale rather than adding several bulky embellishments simply because there is room to sew them on.
Original Tutorial and Creator Credit
Creator: Club Crochet
3. Crochet Weighted Mini Tabletop Snowman
 SAVE
SAVECrochet With Tiffany’s mini snowman is designed as a small standing figure and includes an optional way to add weight at the bottom using glass gems. That makes it especially relevant when your goal is shelf or tabletop display rather than hanging the finished piece. The tutorial also includes a scarf and top hat, so the small body still carries the main visual features of a traditional snowman.
This project stands apart from soft ornaments because the base matters almost as much as the face. A figure that looks balanced in your hand may behave differently once it is placed upright among other decorations.
Base Stability Matters on a Small Figure
If you want the snowman to stand, inspect the bottom before closing the piece and confirm that the stuffing has not rounded the base excessively. The creator presents weighting as an option, but any hard internal material makes the project more clearly suited to decorative use. Keep that distinction in mind if you are adapting the same idea for a child.
Place the Hat After Checking the Standing Angle
A miniature figure may lean differently once the body is fully filled and positioned on a hard surface. Check the natural standing angle before settling on hat placement. A hat positioned perfectly while the snowman is lying down can appear crooked once the figure is upright, particularly when the base itself has some curvature.
Original Tutorial and Creator Credit
Creator: Crochet With Tiffany
4. Crochet No Sew Mini Scarf Snowman
 SAVE
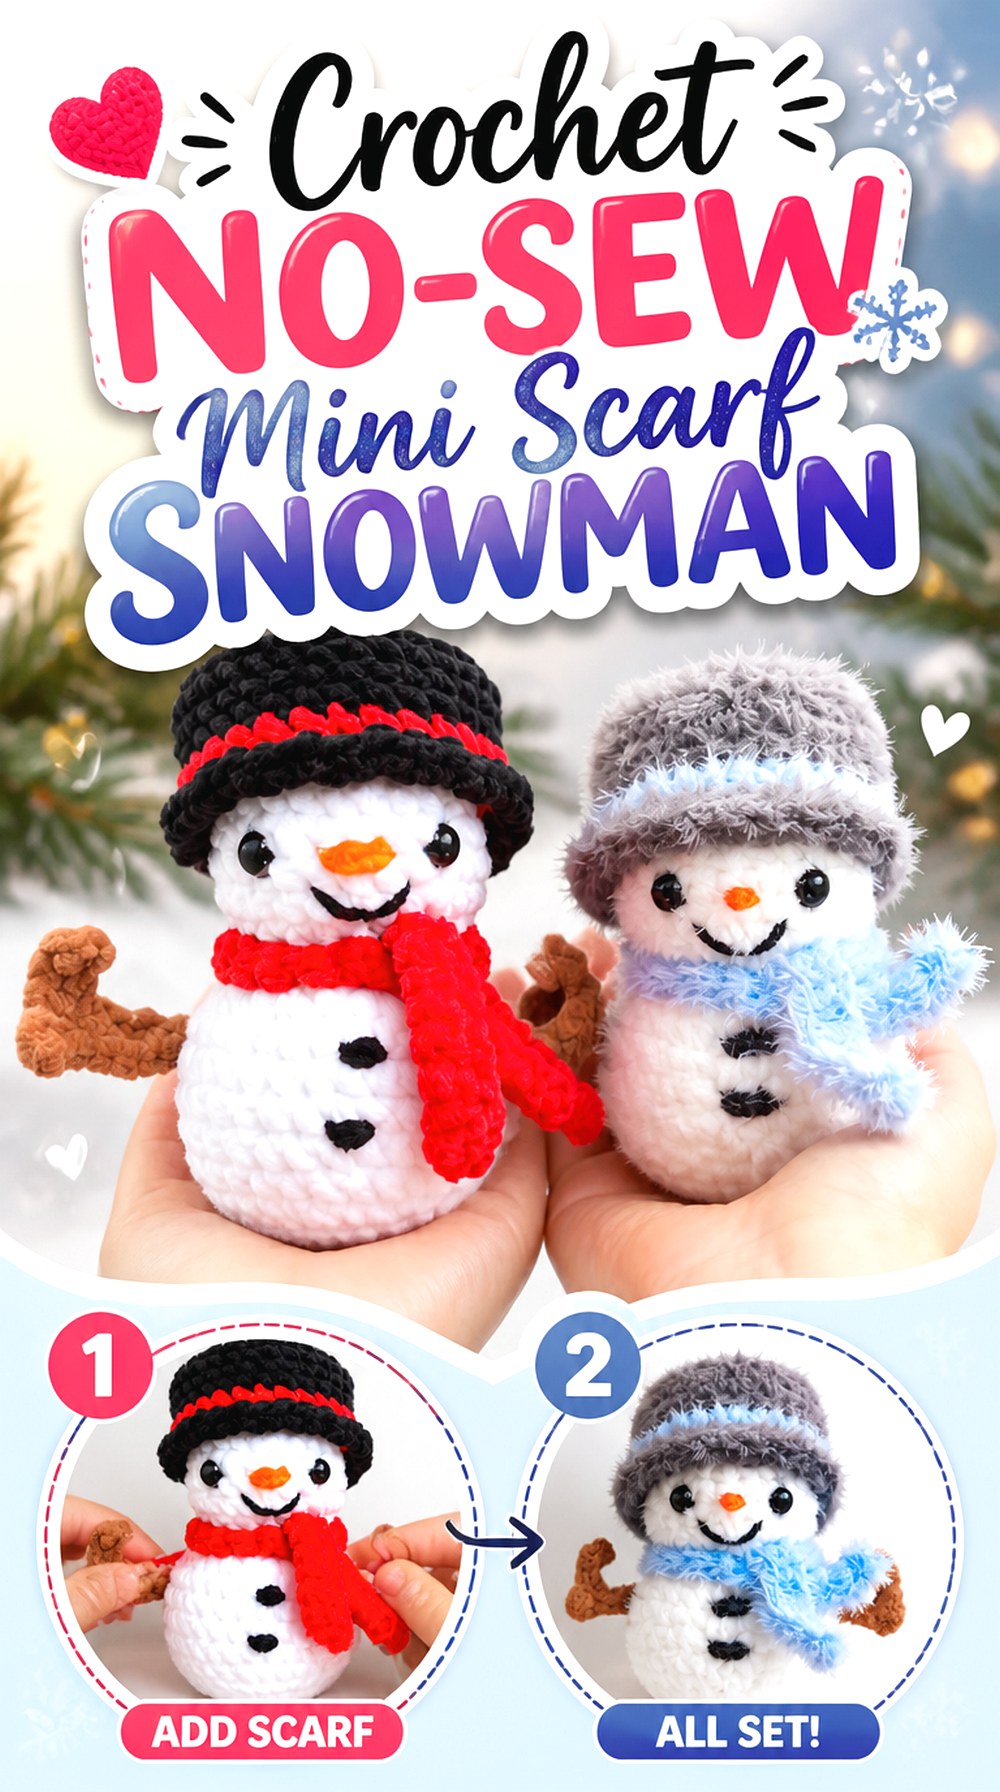
SAVEAQCrochets offers another miniature direction, but this one centers on a no-sew construction rather than weighted display. The tutorial presents a finished mini plush with winter accessories and incorporates color changes as part of the project.
That makes it a useful choice if your main goal is reducing separate assembly while still creating a detailed seasonal character. Compared with a snowman whose hat, arms, and body depend on extensive sewing, this style shifts more of the finishing challenge into the crocheting itself. It can work well as a small decorative plush, stocking addition, or grouped winter display.
No-Sew Does Not Mean No Finishing Decisions
Integrated construction saves attachment work, but it also gives you fewer opportunities to correct proportions later. Check the head-to-body relationship as the form develops and keep stuffing distribution even. If one area becomes noticeably firmer than another, the small scale can make the imbalance especially obvious.
Clean Color Changes Matter on a Mini Snowman
When contrasting colors sit close together, loose transitions or visible carried yarn can become a focal point. If you customize the palette, choose colors with enough separation that the hat, scarf, or facial details remain readable against the white body. Strong contrast is often more useful than adding many colors to such a compact figure.
Original Tutorial and Creator Credit
Creator: AQCrochets
5. Crochet Rectangle Built Snowman Doll
 SAVE
SAVENot every amigurumi snowman needs to begin as a stack of crocheted spheres. Passionate Crafter’s project takes a different route by forming the snowman from a rectangle and adding the character details afterward. The creator shows multiple decorative choices, including hat and button variations, which makes the underlying body construction the defining feature rather than one fixed accessory set.
This is one of the most structurally distinct ideas in the collection. It is worth considering if you prefer working flat before shaping or want a snowman whose body has a slightly more elongated, tube-like character.
The Rectangle Controls the Final Silhouette
With this style, the quality of the starting fabric affects how cleanly the finished form shapes up. Watch the side edges and overall fabric consistency before assembly. Significant differences in tension across the rectangle can become more visible once the fabric is transformed into a stuffed three-dimensional body.
Accessory Choices Can Change the Character Dramatically
Because the basic snowman body is relatively streamlined, the hat, buttons, arms, and facial features carry much of the personality. Instead of adding every optional detail, decide whether you want a rustic, minimal, playful, or more traditional look. A simpler accessory set can make the unusual construction more noticeable.
A Flat-First Project Offers a Different Learning Route
Crocheters who find continuous amigurumi shaping difficult may appreciate seeing how a flat piece becomes a stuffed figure. Conversely, someone specifically wanting to practice shaping spheres in the round should choose a different tutorial from this list. The useful distinction is the construction experience, not a claim that one method is universally easier.
Original Tutorial and Creator Credit
Creator: Passionate Crafter
6. Crochet Traditional Top Hat Snowman Figure
 SAVE
SAVEThis One Cent Crochet snowman follows a more traditional amigurumi route, combining a defined head and body with an embroidered nose, arms, scarf, and top hat. The tutorial separates those visual components clearly, making it a useful reference when you want the familiar storybook snowman appearance rather than a highly simplified no-sew form.
Because several details are added around the finished body, this approach gives you more opportunity to judge the character before committing to the final arrangement. It suits readers who enjoy the finishing and personality-building stage instead of trying to eliminate assembly wherever possible.
Embroidery Keeps the Nose Visually Light
An embroidered facial element sits closer to the surface than a dimensional crocheted carrot nose. That changes the profile as well as the amount of assembly. If you prefer a flatter, cleaner face, this approach is worth comparing with projects later in the list that use protruding nose pieces.
Separate Accessories Allow More Positioning Control
A scarf, arms, and top hat can be evaluated against the fully stuffed body before everything is secured. Use that flexibility rather than attaching pieces automatically at the first plausible position. Set the snowman down, view it at eye level, and compare the accessory angles from both the front and side.
Original Tutorial and Creator Credit
Creator: One Cent Crochet
7. Crochet Chunky Winter Snowman Plush
 SAVE
SAVEWonder Crochet’s snowman moves the collection toward a softer plush aesthetic. The project is presented as an amigurumi snowman with simple shaping, while supporting material information for the tutorial uses chunky plush yarn. That thicker, fuzzier surface gives the finished figure a noticeably different presence from the smooth miniature ornaments.
This is the direction to consider when tactile softness matters more than tiny stitch definition. A chunky snowman can become a stronger standalone decorative object because of its visual volume, but plush yarn also changes how easily you can inspect individual stitches and facial placement.
Plush Yarn Can Hide More Than It Reveals
A fuzzy surface softens shaping transitions and can disguise minor stitch irregularities, but it also makes gaps and exact stitch locations harder to see. Check the fabric by gently spreading it before stuffing heavily. Catching an opening early is easier than discovering exposed filling after the project is closed.
Give Facial Features Enough Visual Contrast
Thicker yarn can make a face feel smaller relative to the overall body. When choosing custom colors, make sure the eyes, nose, and mouth remain visible without becoming oversized. Place temporary markers first if you are uncertain; changing the spacing is much easier before permanent features are attached.
Original Tutorial and Creator Credit
Creator: Wonder Crochet
8. Crochet Mini Branch Arm Snowman Ornament
 SAVE
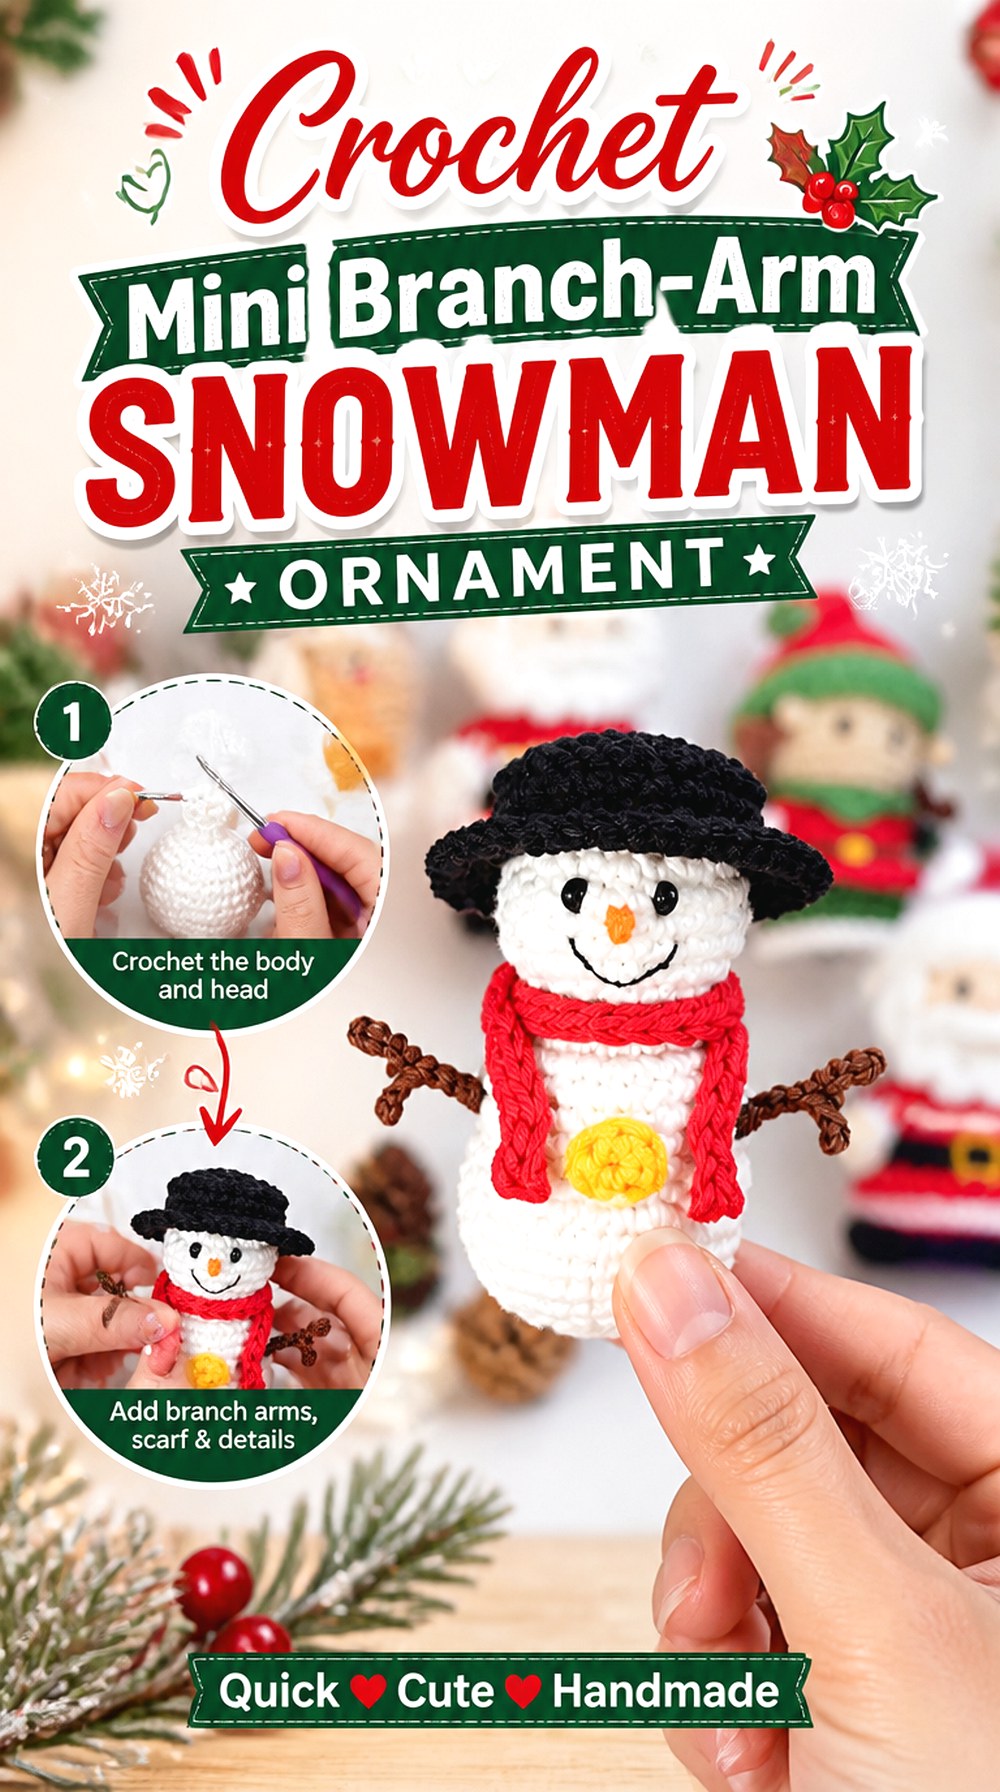
SAVELittle Crochet Farm’s design is built specifically around a miniature ornament-scale snowman. The finished character includes branch-like crocheted arms and a hat, giving it a surprisingly detailed silhouette despite the compact scale. The project is part of the creator’s miniature Christmas collection and is intended as a hanging seasonal piece rather than a large cuddly toy.
This is a good option when you want the whole snowman body on a tree ornament, not just a snowman face. The slender arm details also create more visual movement than the rounder, mostly armless designs in the collection.
Branch Arms Add Width Without Adding Bulk
Narrow arms can make a tiny snowman more expressive while keeping the main body compact. Before final attachment, check how far they extend beyond the body and whether they will interfere with nearby branches or other ornaments. A tree decoration benefits from a silhouette that reads clearly without becoming awkward to hang.
Ornament Scale Makes Neat Finishing More Visible
Small amigurumi leaves little room for hidden joins, long yarn tails, or uneven attachment points. Inspect the figure from all sides before adding the hanging loop. The back may be less prominent on the tree, but a neatly finished reverse side makes the ornament easier to position from year to year.
Original Tutorial and Creator Credit
Creator: Little Crochet Farm
9. Crochet Earmuff Snowman Head Ornament
 SAVE
SAVEMiss Dolkapots Studio Crochet removes the body entirely and turns the snowman’s head into the ornament. The tutorial shows a round snowman face with winter headwear and earmuffs, creating a flatter visual concept than full-body amigurumi ornaments while still retaining a stuffed three-dimensional form.
This is particularly useful when you want a repeated tree decoration because the design concentrates its detail in a single focal area. Different hat or earmuff colors can change the look of a set without requiring a different body construction each time.
Head-Only Construction Keeps the Silhouette Compact
Eliminating the torso reduces the vertical space the ornament occupies and places more attention on facial symmetry. Check the face from a distance before finishing. What appears evenly spaced when the piece is inches from your eyes may read differently once it is hanging among lights and branches.
Earmuffs Need to Look Balanced as a Pair
Paired side details naturally draw attention to any height or spacing difference. Position both components before permanently securing either one. If you alter their size or thickness, confirm that they frame rather than hide the face, especially if you also plan to enlarge the hat.
Original Tutorial and Creator Credit
Creator: Miss Dolkapots Studio Crochet
10. Crochet No Sew Pom Pom Hat Snowman
 SAVE
SAVEThe Hook Nook Crochet combines plush-yarn scale with a no-sew concept and a winter hat finished with a pom-pom option. The tutorial covers the head, body, nose, buttons, scarf, hat, and finishing while presenting the project specifically as a no-sew snowman plush.
This makes it different from the smooth one-piece snowman near the beginning of the list: the emphasis here is a chunkier plush character with a softer, more oversized accessory treatment. It can make a strong standalone seasonal figure when you want the yarn texture to be part of the design.
A Pom-Pom Adds Weight at the Highest Point
Even a lightweight pom-pom changes the balance of a soft hat. Check that the hat sits securely and does not pull the snowman’s head backward. If you substitute a heavier decorative topper, reassess the attachment rather than assuming the original hat construction will behave the same way.
Chunky Accessories Need Breathing Room
A thick scarf, nose, buttons, and hat can crowd a relatively short body if all of them are oversized at once. Before finishing, look for clear separation between the face and scarf and between the hat edge and eyes. Good spacing lets the plush texture remain soft without making the character visually congested.
Original Tutorial and Creator Credit
Creator: The Hook Nook Crochet
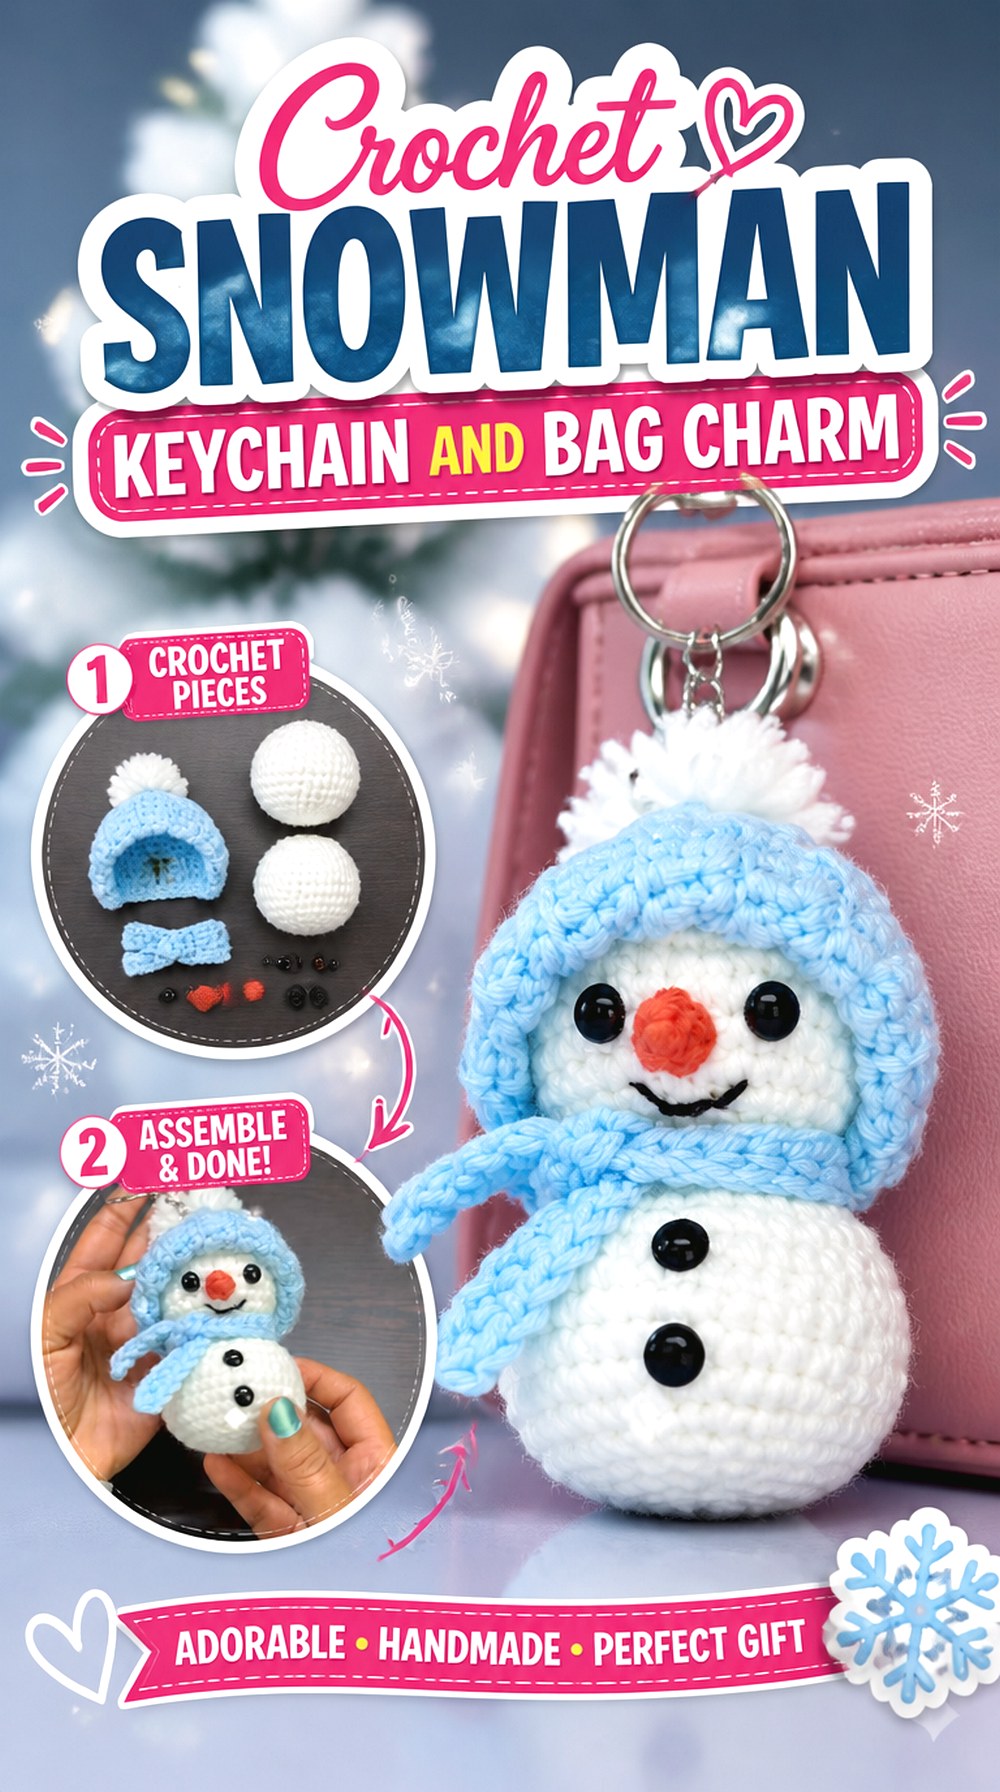
11. Crochet Snowman Keychain and Bag Charm
 SAVE
SAVEFame art with Poonam scales the snowman concept down for use as a keychain, bag charm, or hanging decoration. That shifts the project from stationary holiday decor to something designed around a hardware attachment and portable scale.
The finished item needs to read clearly even when viewed quickly or against another surface, such as a bag. For that reason, silhouette and attachment security matter more here than they do on a snowman that sits untouched on a shelf. This is one of the most practical options if you prefer small seasonal accessories over larger stuffed figures.
Hardware Changes the Stress on the Crochet
A keychain attachment creates a concentrated pulling point. Check where the loop or fitting connects to the crocheted piece and make sure that area is secure before using it on something that will move frequently. Decorative hanging and daily bag use place very different demands on the same small attachment.
Keep the Face Readable at Charm Scale
Small charms benefit from simple, high-contrast facial details. Too many tiny embellishments can disappear visually or snag during use. If you customize the design, prioritize the snowman features that identify the character immediately and leave purely decorative additions for versions intended only for display.
Original Tutorial and Creator Credit
Creator: Fame art with Poonam
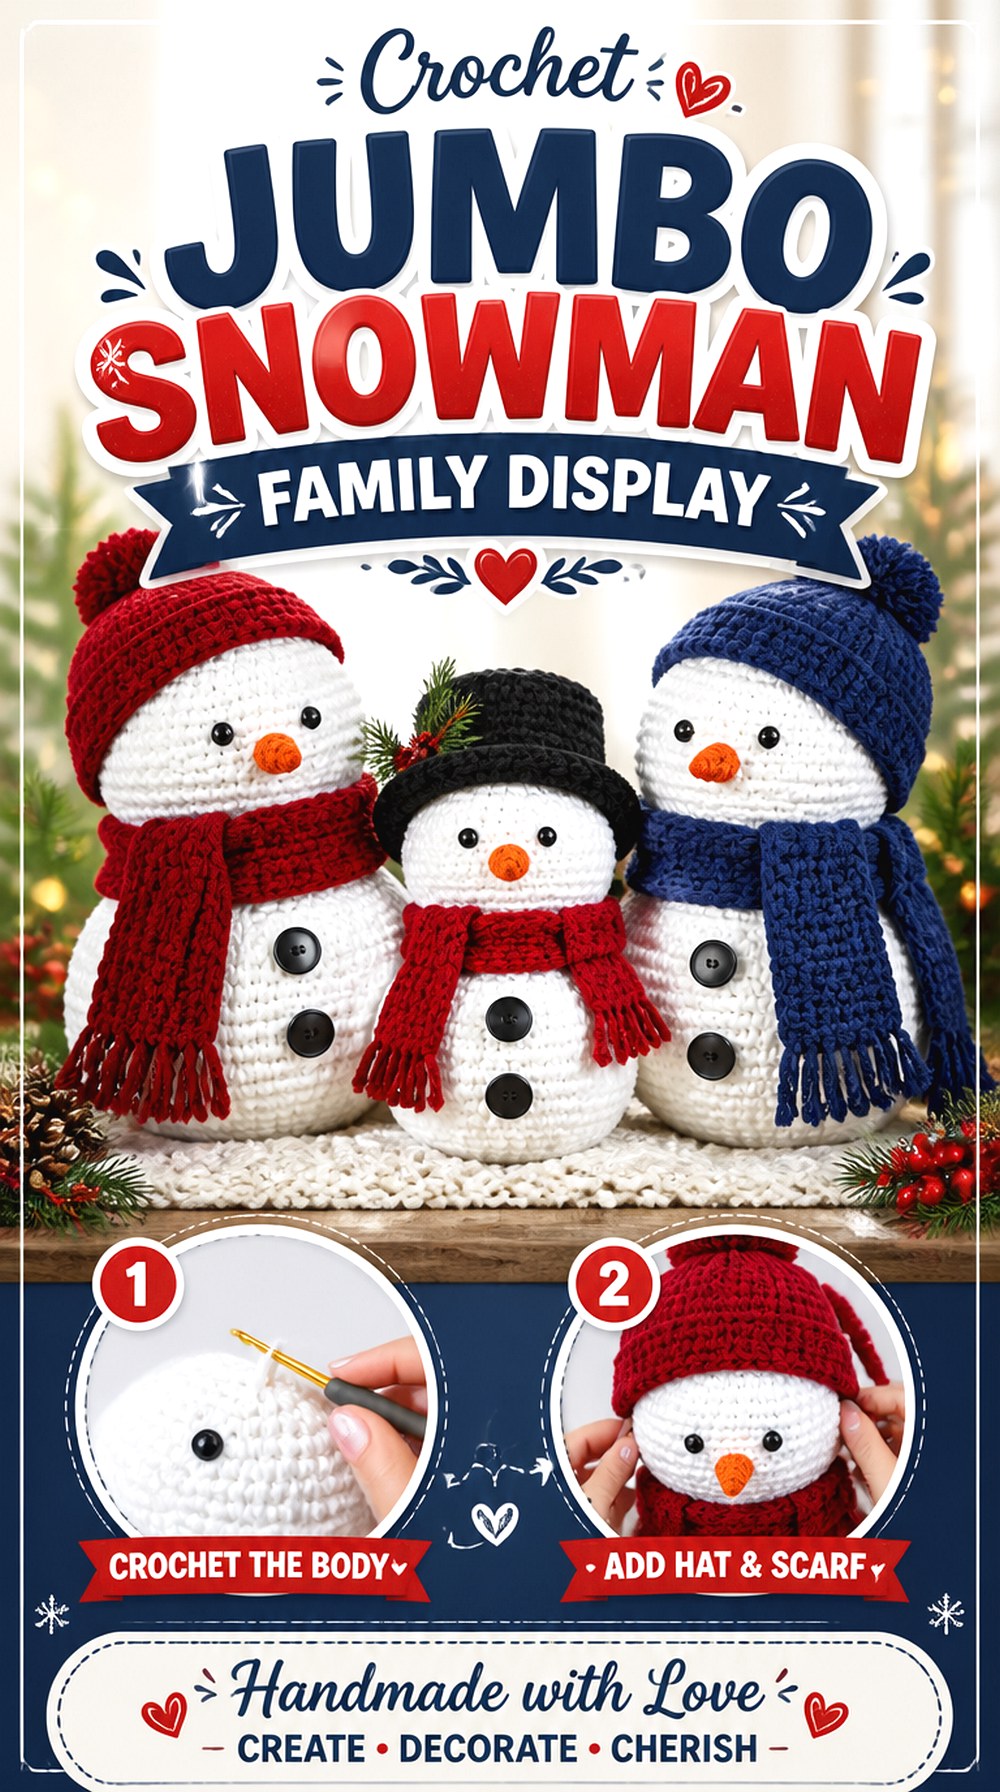
12. Crochet Jumbo Snowman Family Display
 SAVE
SAVEMJ’s Off The Hook Designs takes the idea in the opposite direction with a jumbo snowman family. The collection includes multiple sizes, and the video guides viewers through the medium version. The snowman is worked as a one-piece main form and uses a weighted base, while the finished styling includes classic winter accessories.
This is not simply a miniature amigurumi enlarged for effect. A jumbo floor or entryway decoration needs to hold its silhouette across a much larger surface area, and the amount of stuffing, accessory scale, and base behavior all become more important.
Large Bodies Magnify Uneven Stuffing
Small differences that disappear on a palm-size figure can create visible dents or bulges on a jumbo snowman. Add filling progressively and rotate the piece frequently. Pay particular attention to broad sides and the transition between body sections rather than concentrating stuffing only in the center.
A Weighted Base Makes This Primarily Display Decor
The creator’s weighted-base approach supports standing stability, which is useful for a larger decorative figure. If you adapt the project, treat the weight system as a functional choice rather than a generic stuffing substitute. Hard or loose internal weighting also changes whether the finished piece is appropriate for handling or play.
A Family Works Best When Proportions Relate
If you make more than one size, think about them as a group rather than three unrelated snowmen. Repeating a few colors or accessory shapes can connect the family visually, while controlled differences in hats and scarves keep the figures from looking duplicated.
Original Tutorial and Creator Credit
Creator: MJ’s Off The Hook Designs
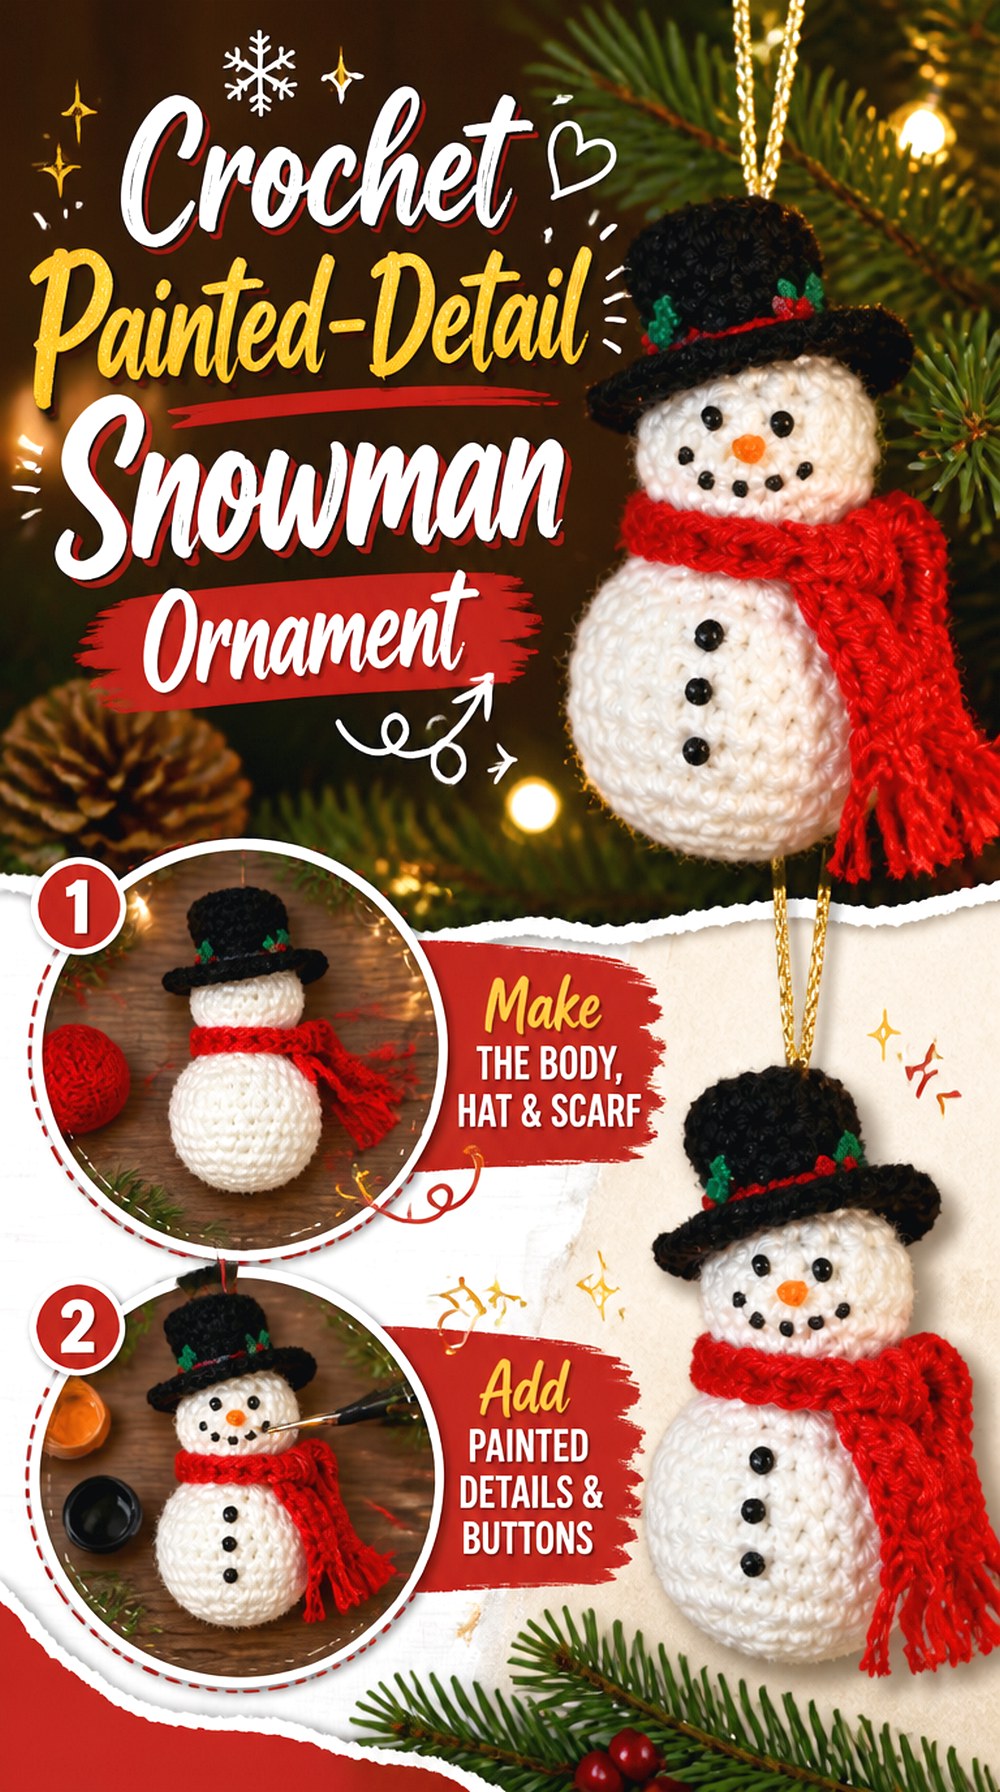
13. Crochet Painted Detail Snowman Ornament
 SAVE
SAVECrouton Crafts offers a stuffed snowman ornament that mixes crochet with additional surface decoration. The tutorial uses a ribbon or cord hanger and incorporates painted facial or holiday details, giving the finished piece a different character from ornaments whose entire face is made from yarn or sewn components.
This is a useful direction for crocheters who enjoy mixed-media finishing and want a classic full-body tree ornament. It also highlights an important planning choice: a decorative technique that works well for a Christmas tree piece may not be the best choice for a plush intended for frequent handling.
Painted Details Favor Decorative Use
Surface paint can produce tiny marks without adding physical bulk, which is helpful on an ornament. The trade-off is that the finish should be selected for the yarn surface and intended handling. Test any unfamiliar paint on spare yarn first rather than discovering bleeding, stiffness, or poor coverage on the finished snowman.
The Hanging Loop Should Support the Natural Center
Before fixing the ribbon or cord permanently, hold the ornament from the proposed attachment point. If the snowman tilts sharply, adjust the loop placement so the face presents forward when hanging. This simple balance check matters more than perfect symmetry when the finished piece will be viewed vertically on a tree.
Original Tutorial and Creator Credit
Creator: Crouton Crafts
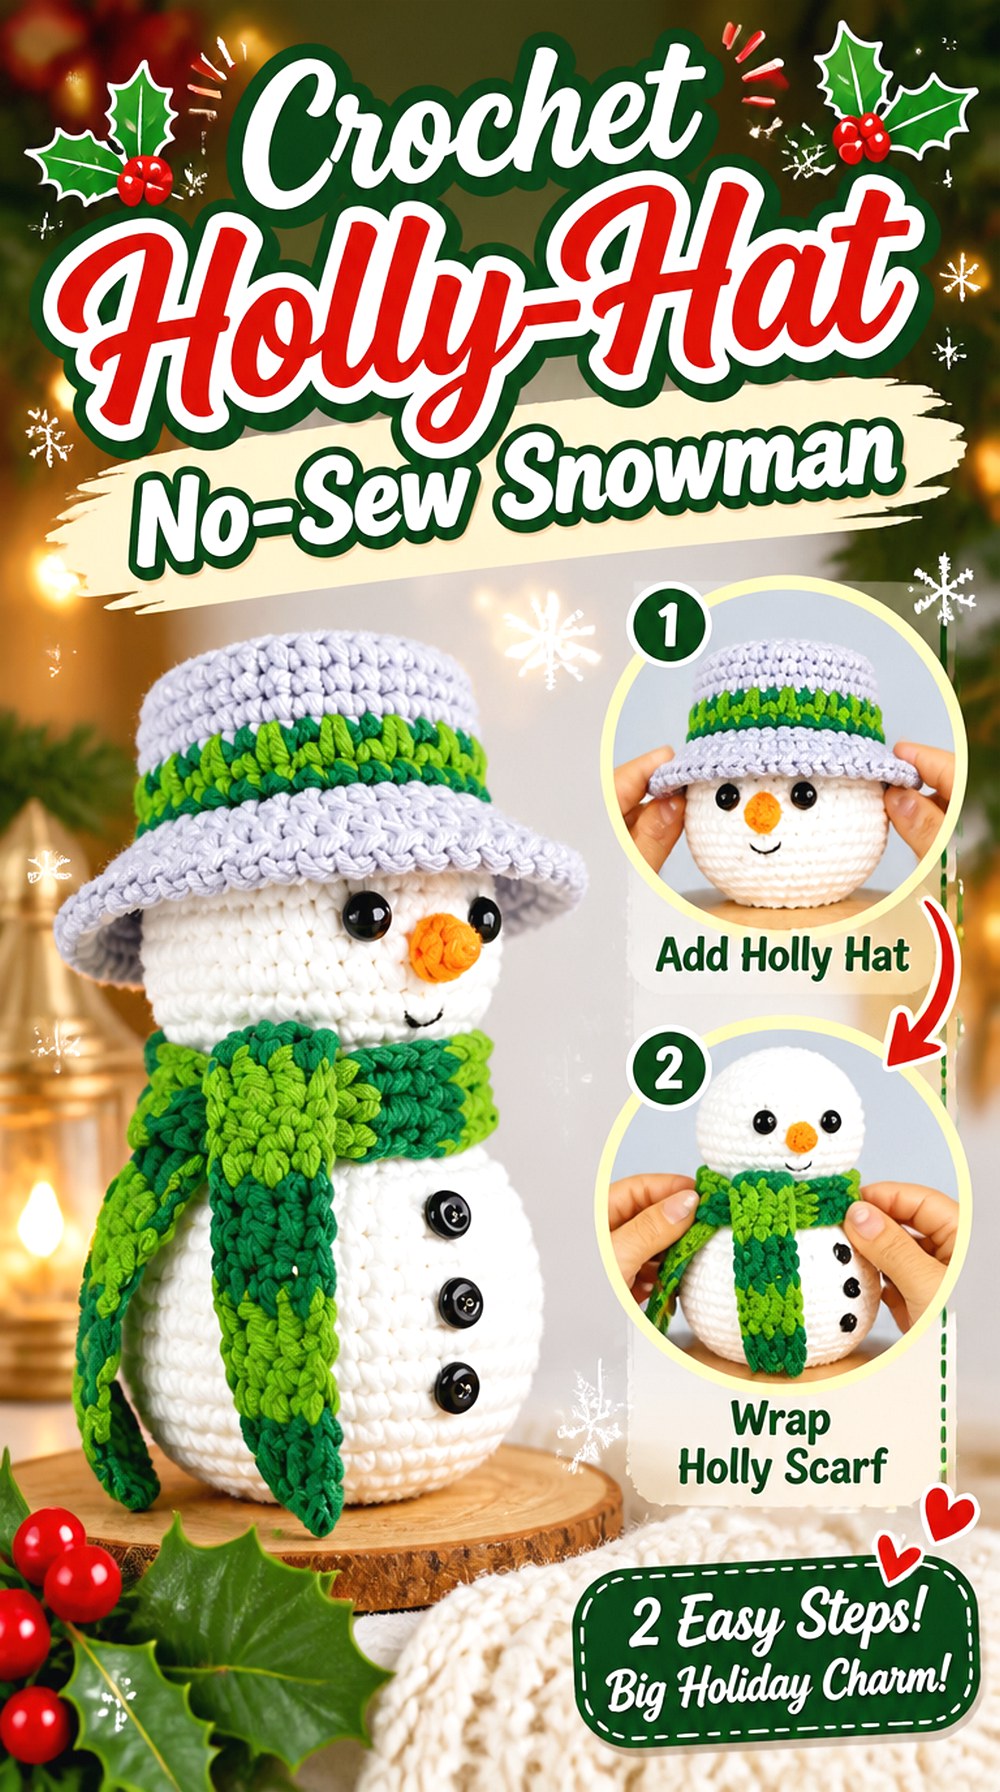
14. Crochet Holly Hat No Sew Snowman
 SAVE
SAVETata Crochet Patterns gives the no-sew snowman a more decorative holiday treatment. The tutorial includes a hat, scarf, leaves, and berries, so the visual interest is concentrated around the winter accessories rather than relying on the plain snowman body alone. The creator specifically presents the project as a no-sewing-required Christmas ornament, gift, or decorative snowman.
This is a useful choice when you want a more embellished seasonal character without moving into jumbo scale. The holly-style details make it distinctly Christmas-focused compared with the simpler winter snowmen in the list.
Decorative Leaves Need Clear Placement
Small leaves and berries can quickly crowd a hat if they compete with the brim, face, and scarf. Before finalizing their position, check the snowman from its expected viewing angle. For an ornament, that may mean holding it upright at eye level rather than assessing it flat on a table.
More Details Make Color Restraint Useful
This design already has several visual components, so customization does not require adding more motifs. If you change the palette, consider repeating one accent color between the scarf and hat decoration. A limited color relationship can make numerous small features feel intentional rather than scattered.
Original Tutorial and Creator Credit
Creator: Tata Crochet Patterns
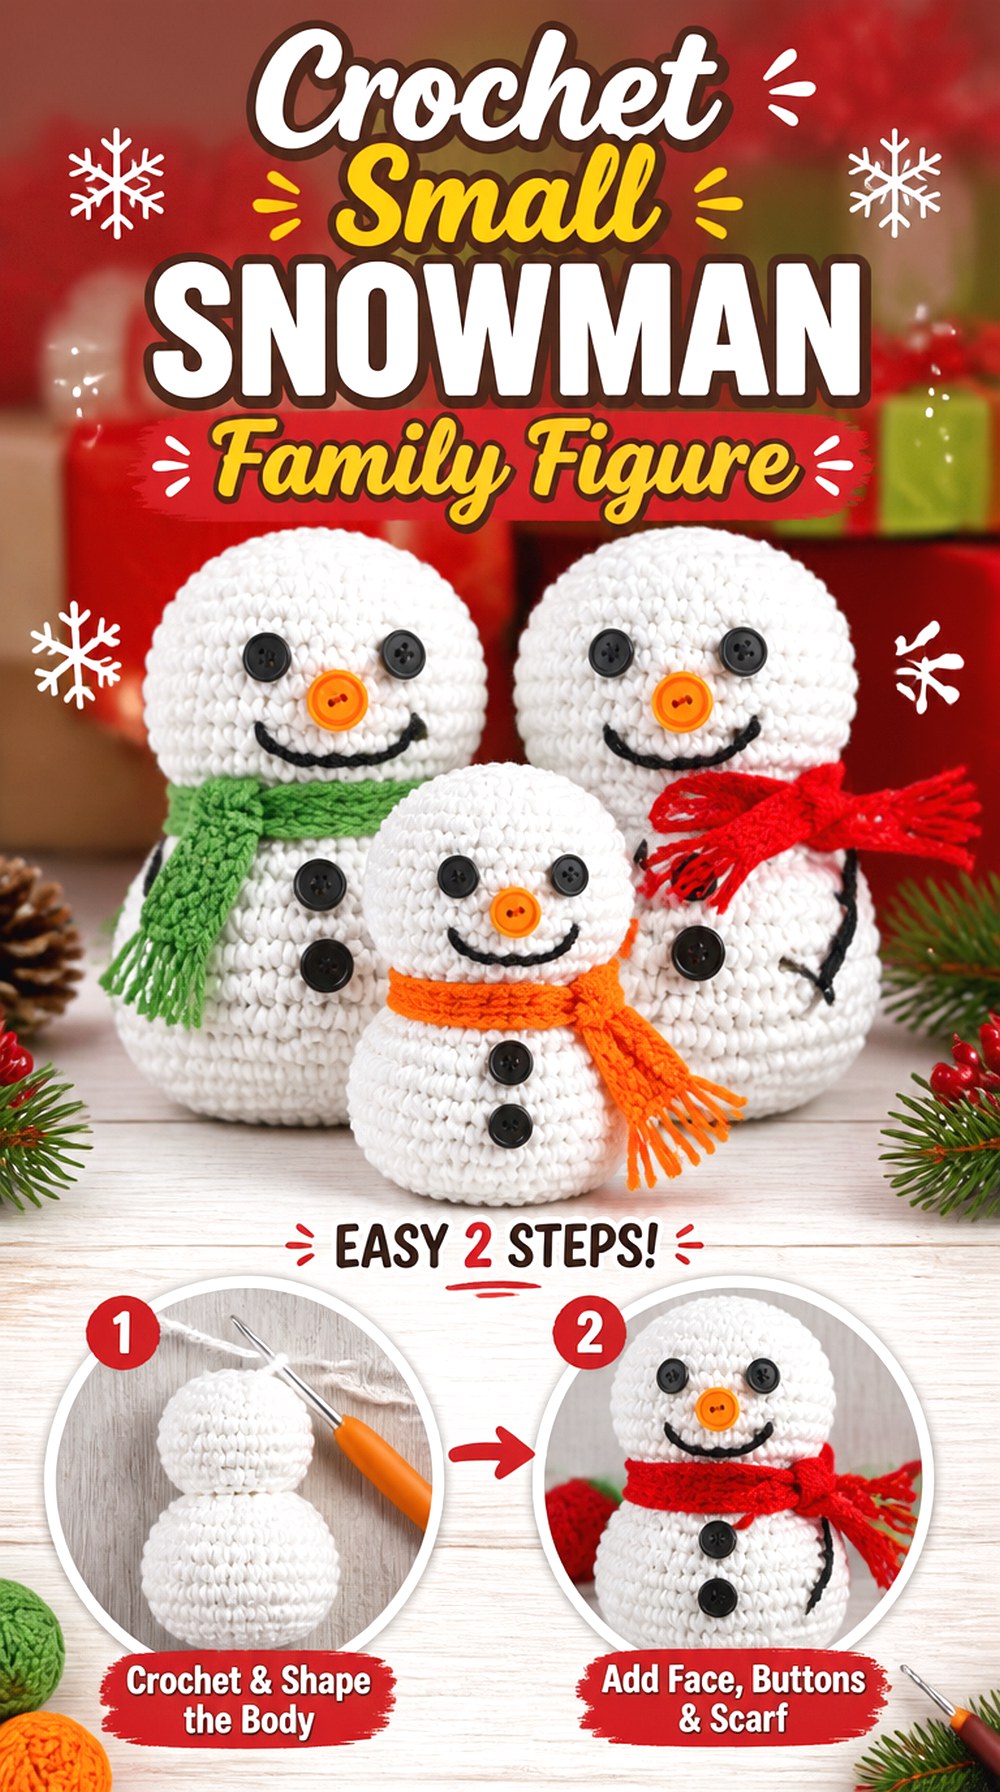
15. Crochet Small Snowman Family Figure
 SAVE
SAVEThe Crochet Crowd’s snowman tutorial belongs to a family concept and demonstrates the child-size version. Supporting information for the design describes the snowman body as essentially tube-based, with the neck defined during finishing.
This produces a useful contrast with projects constructed from separately stuffed balls. The relatively continuous body shape can look cleaner and more column-like, making it suitable for grouped family displays where changes in scale create the main visual variety. If you plan a group, choose the overall arrangement before committing to a large number of accessories.
Cinched Shaping Creates the Snowman Division
When a design relies on finishing to define the neck, that shaping has a major effect on the final silhouette. Check that the transition looks intentional from every side rather than tightening only until the front appears correct. A balanced indentation makes the head and torso read as distinct forms.
Family Displays Benefit From Controlled Repetition
Matching every scarf, hat, and facial detail exactly can make a group feel mass-produced, while changing everything can weaken the family relationship. A useful middle ground is to repeat one or two elements—perhaps a shared accent color or hat style—while varying another visible detail.
Original Tutorial and Creator Credit
Creator: The Crochet Crowd
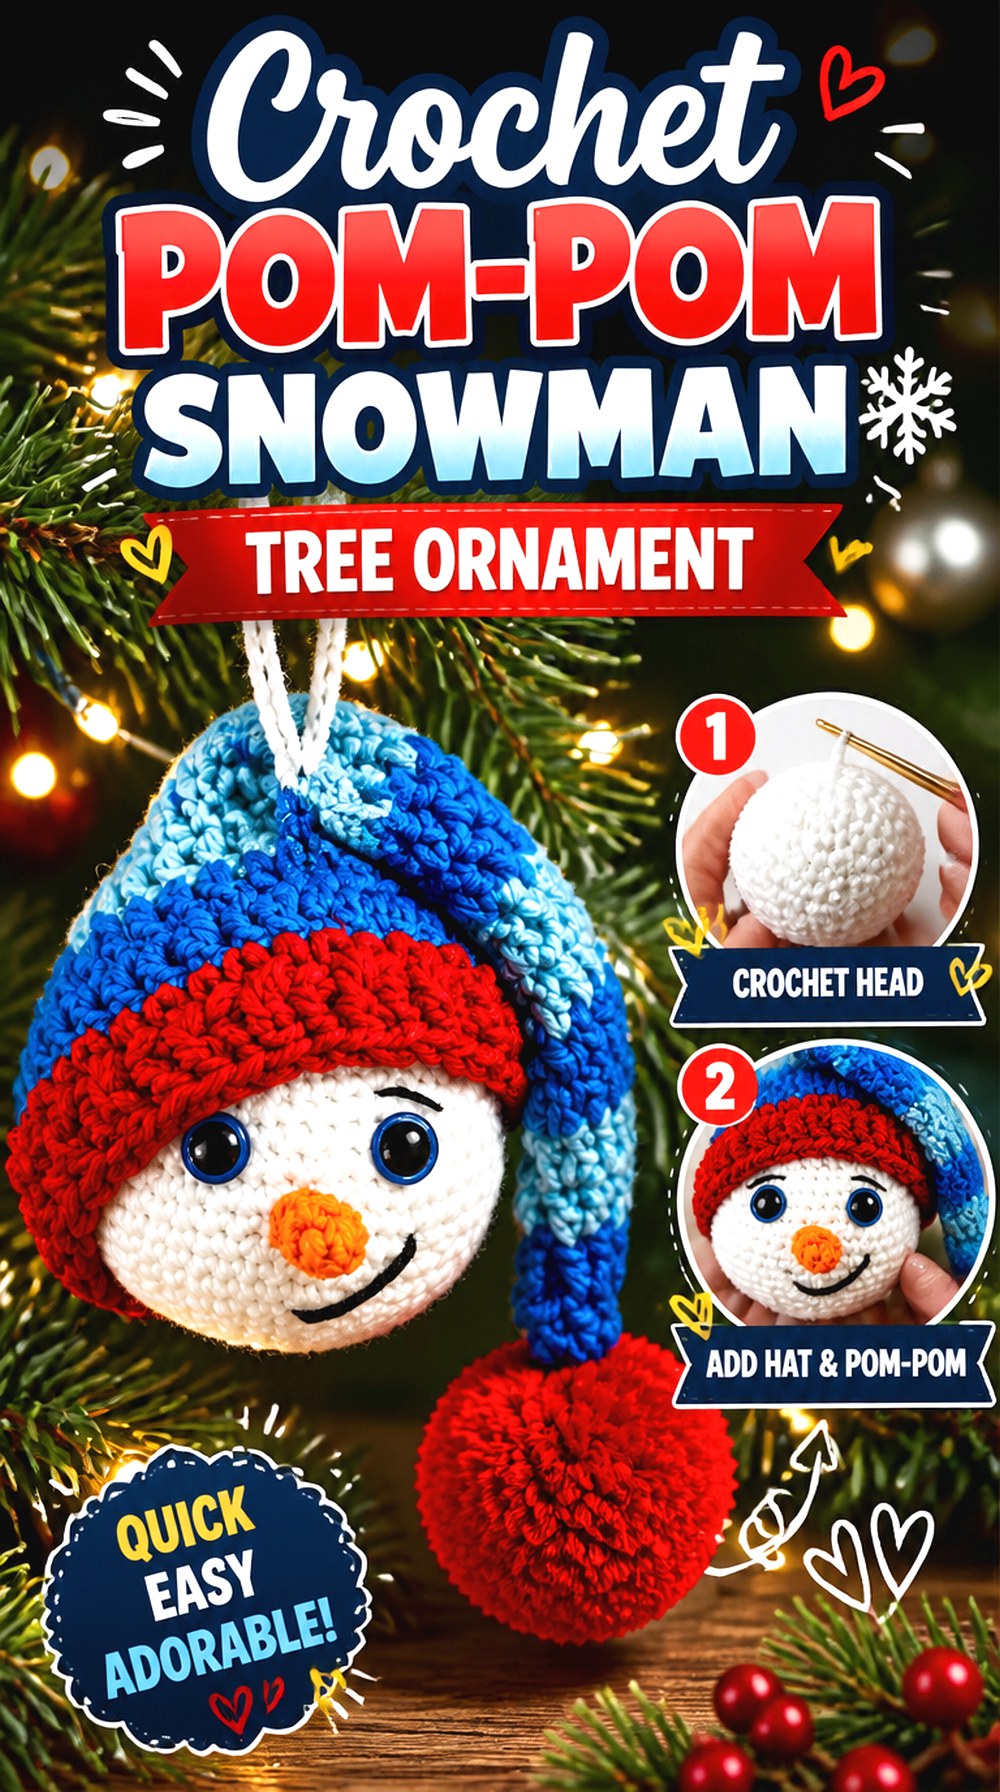
16. Crochet Small Snowman Family Figure
 SAVE
SAVECrochet Guru’s snowman is another dedicated ornament project, with the creator’s supply information including a pom-pom as part of the finished seasonal design.
Compared with the head-only earmuff ornament and the painted-detail snowman, this option stays closer to a familiar crocheted Christmas character while using the pom-pom as an extra textural accent. That makes it useful if you enjoy combining different soft craft materials but still want the main project to read clearly as crochet amigurumi. Keep the intended hanging use in mind as you choose any substitute embellishments.
Pom-Poms Change Texture Without More Crochet
A pom-pom provides a fuzzy visual contrast to tight amigurumi stitches. If you swap in a larger or denser one, check the attachment point and overall balance before securing it. The most effective size is the one that complements the ornament rather than becoming the first thing you notice.
Tree Ornaments Need a Clean Front View
An ornament may rotate slightly after it is hung, but its primary view is still usually from the front. Before finishing the hanger, align the face and upper decoration with that orientation. A small shift in the hanging point can make otherwise symmetrical features appear off-center once gravity takes over.
Original Tutorial and Creator Credit
Creator: Crochet Guru
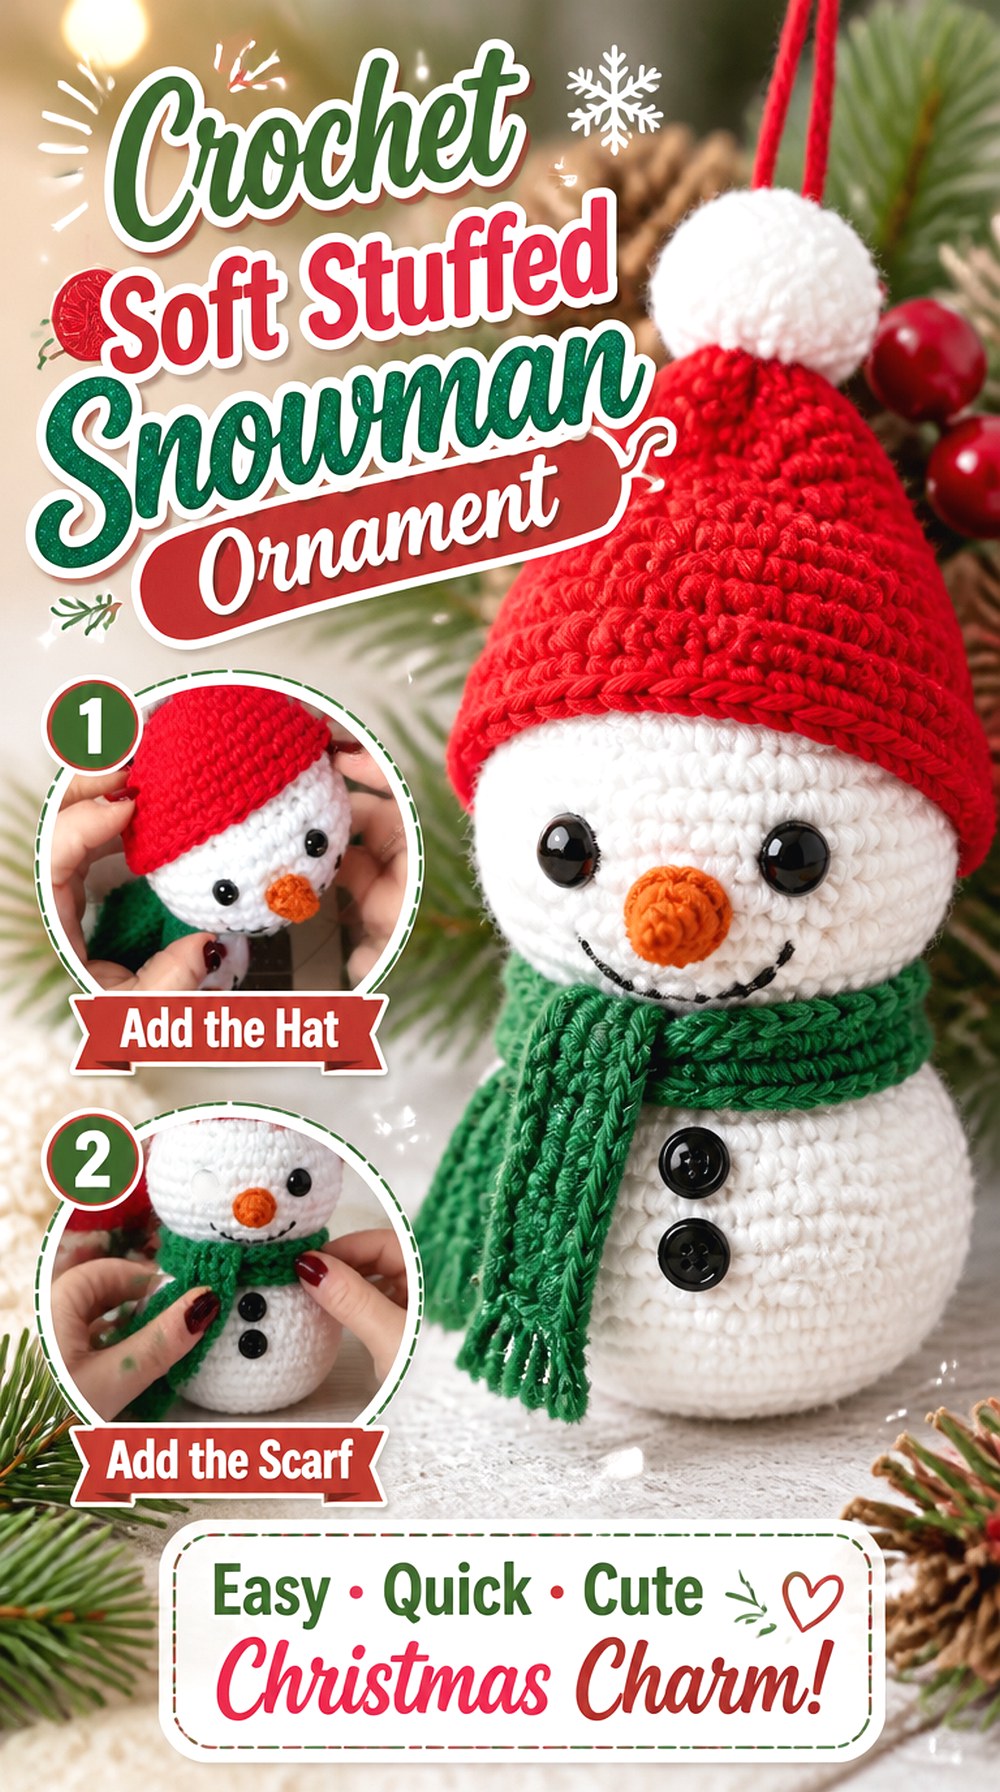
17. Crochet Soft Stuffed Snowman Ornament
 SAVE
SAVECustom Comfy Crochet By Dawn Marie presents a stuffed snowman specifically as an ornament, with the tutorial materials including stuffing and doll eyes.
This project fits readers who want a softer hanging figure instead of a flatter snowman head or a mixed-media ornament with painted features. Because the form is stuffed, you can also think about it as a miniature plush that happens to hang. That means the distribution of filling affects both its shape and the way it sits on a branch, especially if the top becomes significantly heavier than the lower body.
Stuff Lightly Enough to Preserve the Ornament Role
A densely packed small figure may become firmer and heavier than necessary for a hanging decoration. Add filling only until the intended contours hold cleanly. Check the snowman on the type of branch or hook you expect to use before deciding whether more stuffing is actually beneficial.
Doll Eyes Make Recipient Choice Important
Hard eye components can create a polished amigurumi expression, but they also make the ornament different from one with an embroidered face. If the piece may be handled by a young child, consider whether yarn embroidery is a more appropriate adaptation and avoid assuming that decorative doll eyes make a project suitable for play.
Original Tutorial and Creator Credit
Creator: Custom Comfy Crochet By Dawn Marie
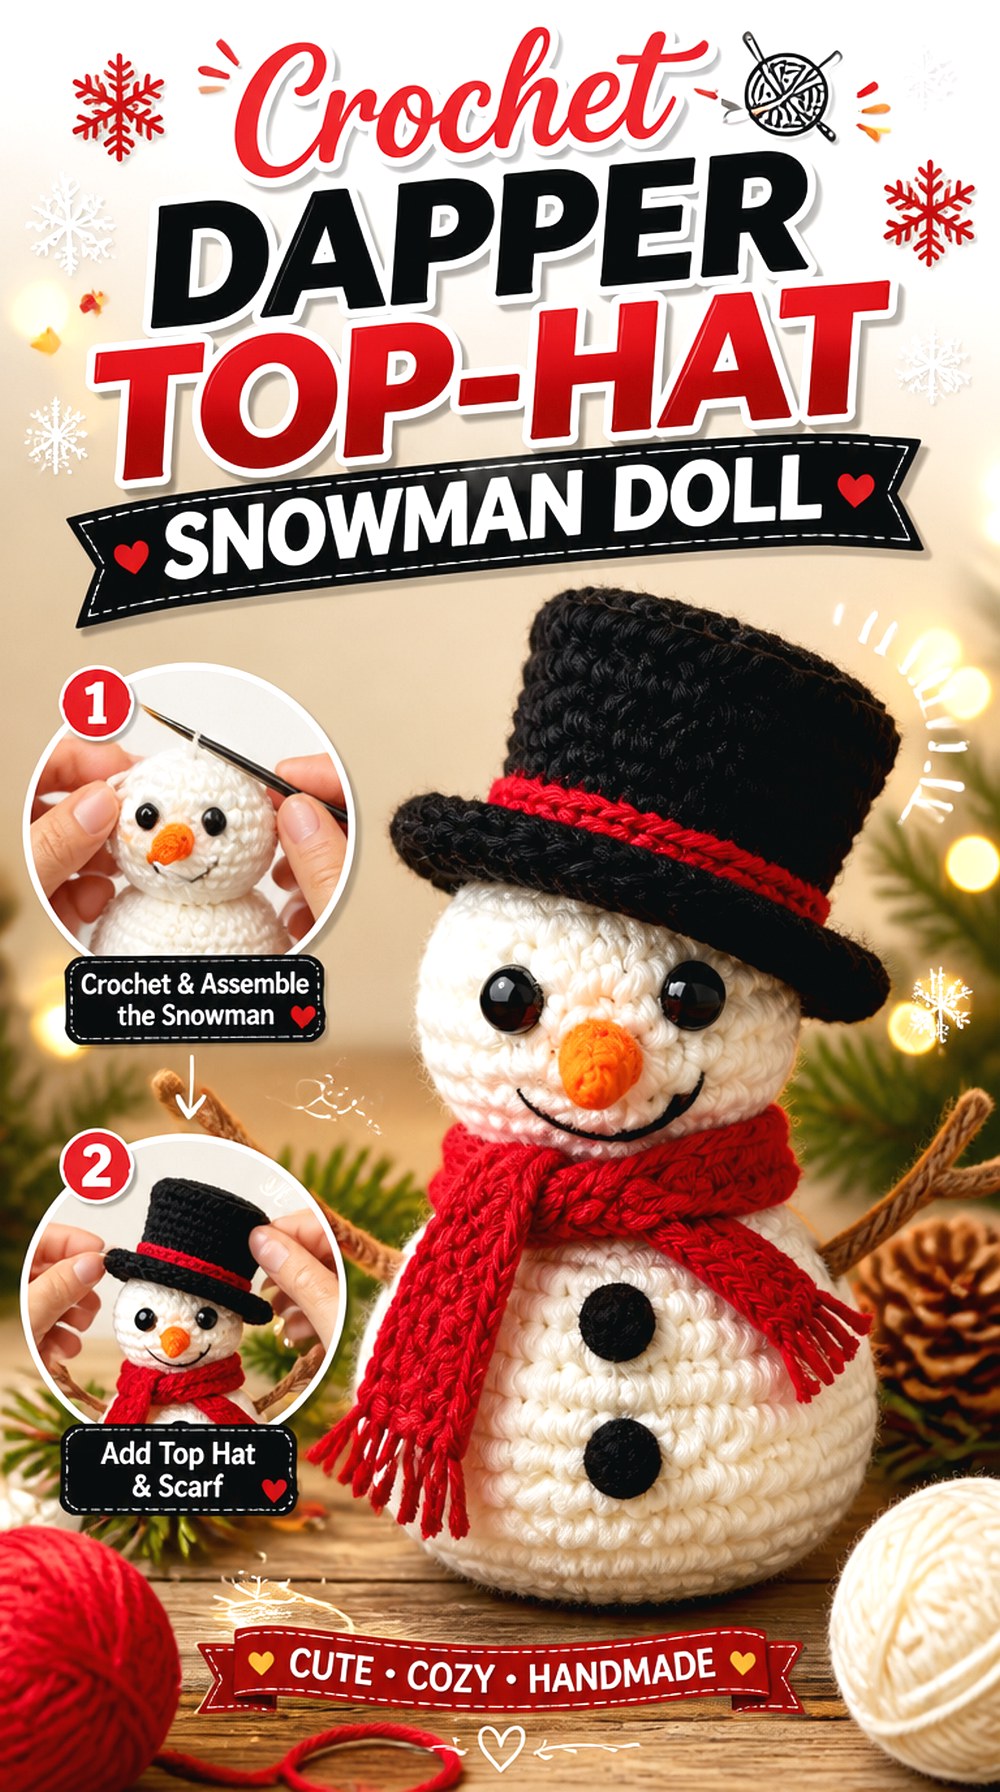
18. Crochet Dapper Top Hat Snowman Doll
 SAVE
SAVECosy Rosie Crochet’s “Simon the Snowman” leans into the dressed-up side of traditional winter amigurumi. The tutorial covers the body and head along with a hat, nose, arms, scarf, and facial finishing, creating a character whose personality depends on several separately considered details.
This is a good match if you enjoy the finishing stage and want a snowman that feels more like an individual doll than a simplified holiday symbol. Compared with a no-sew plush, it offers more places to fine-tune placement, expression, and accessory angle before the final look is fixed.
A Formal Hat Benefits From Careful Alignment
A top hat has stronger geometric lines than a floppy winter cap. If the crown or brim sits noticeably off-axis, the entire character can appear tilted even when the body is straight. Check the hat against the eyes and nose rather than using the top of the crocheted head as your only reference.
Arms Can Add Gesture to a Static Body
Separately positioned arms give you a subtle way to change the snowman’s mood. Before sewing, try both symmetrical and slightly varied positions and view the result from normal display distance. A small angle change can make the character feel welcoming, formal, or more animated without changing the underlying pattern.
Keep the Scarf From Hiding the Neck Shaping
A scarf can cover minor transitions, but if it is too bulky it may erase the visual boundary between the head and torso. Position it only after the snowman is fully stuffed so you can judge how much of the neck should remain visible.
Original Tutorial and Creator Credit
Creator: Cosy Rosie Crochet
19. Crochet Streamlined Snowman Amigurumi
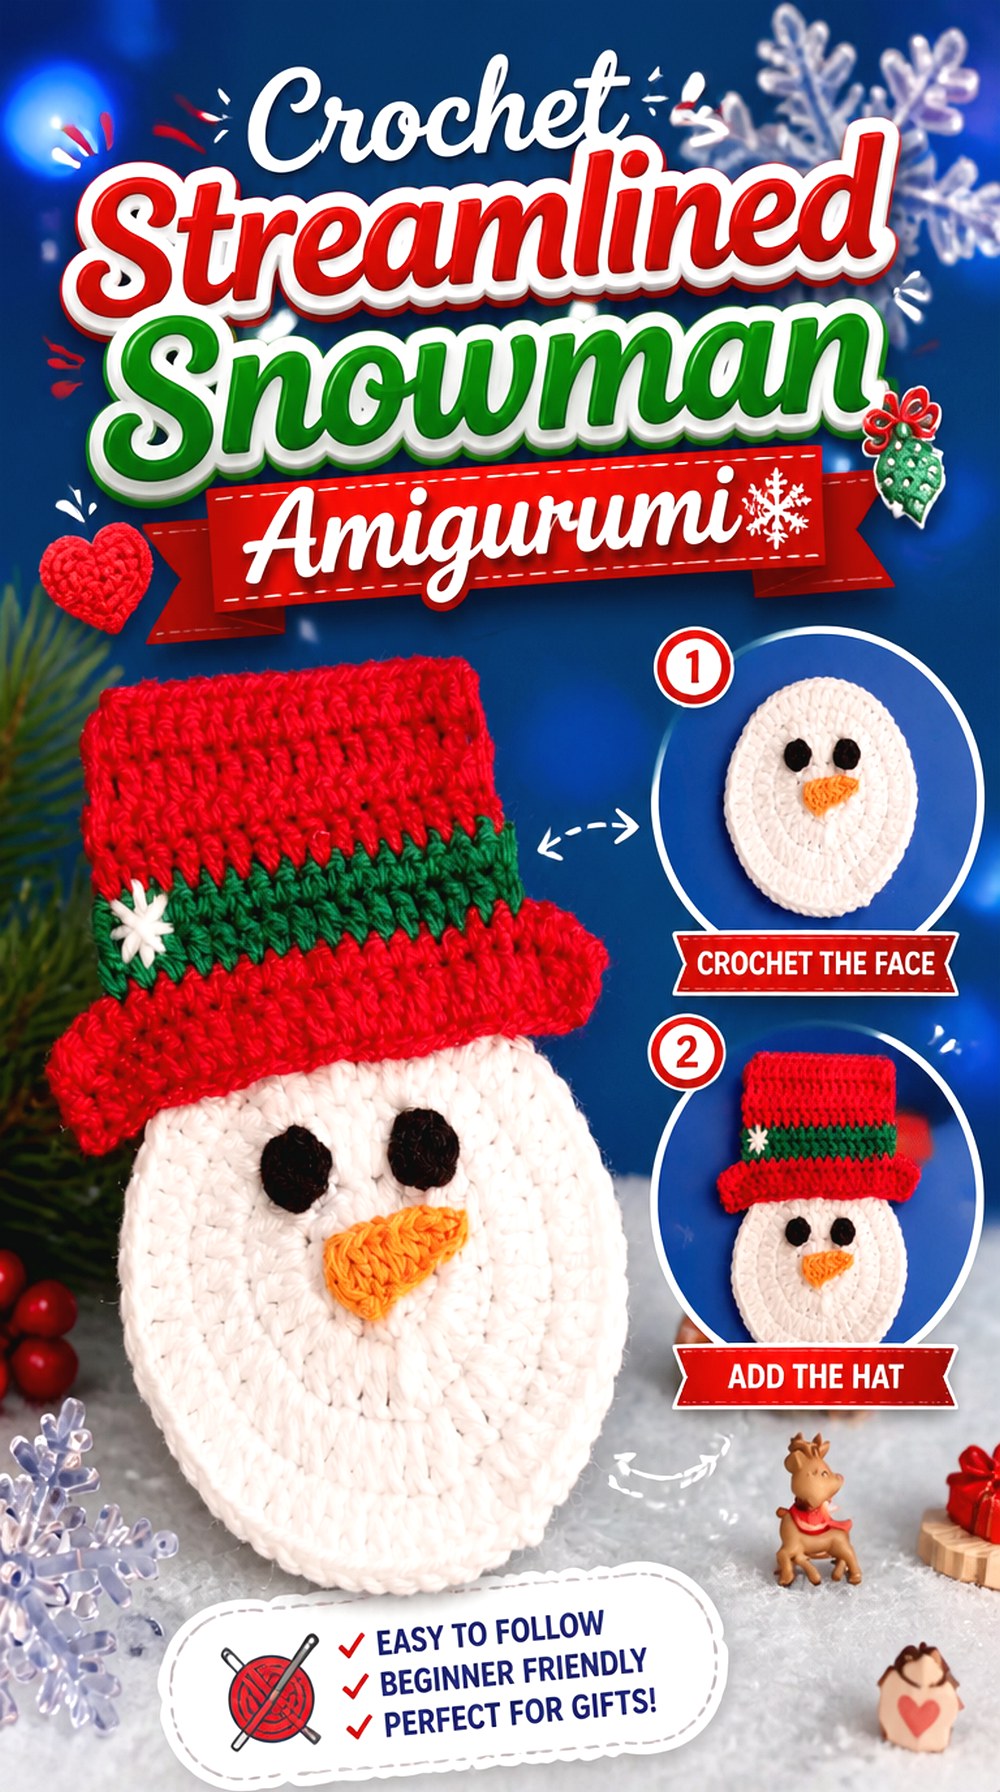 SAVE
SAVEDIY Crochet y Más provides a complete step-by-step tutorial for a classic amigurumi snowman. Rather than depending on an unusual gimmick such as a weighted base, head-only ornament, or jumbo scale, this option works as a straightforward reference for the core snowman form.
That simplicity gives it a useful place at the end of the collection. If you already know you want a recognizable stuffed snowman and do not need the project to function as a keychain, ornament, or large floor display, a streamlined traditional design can be easier to style around your existing holiday decor.
A Simple Shape Makes Proportion the Main Feature
When there are fewer unconventional details, head-to-body balance becomes more noticeable. Before adding the final facial and winter elements, evaluate the plain stuffed silhouette. If it already reads clearly as a snowman, accessories can enhance the character instead of being required to explain the shape.
Customize One Focal Area Instead of Everything
A classic snowman provides plenty of room for personalization, but coordinated changes usually look stronger than random additions. Choose one focal area—the hat, scarf, face, or body accents—and let the remaining elements support it. This also helps maintain the clean quality that makes a straightforward amigurumi design useful in the first place.
How to Choose Between These Crochet Snowmen
The biggest differences are construction and intended use, not color. If reducing assembly is your priority, start with the one-piece or no-sew options. Choose the rectangle-built snowman when you want an alternative to typical amigurumi shaping, or a traditional multi-piece design when you prefer more control over accessory placement.
For a Christmas tree, the full-body mini ornaments, head-only earmuff ornament, and pom-pom versions keep the project intentionally small. The keychain design is better suited to portable decorative use. Chunky plush snowmen create a softer, more substantial look, while the jumbo snowman family is intended to command much more display space. For tabletop use, look closely at base shape and stability rather than judging a design only by its face or hat.
Conclusion
The right crochet snowman depends on where it will live and how much finishing you enjoy. Choose a no-sew or one-piece design when reducing body assembly matters most, a traditional multi-part snowman when you want more control over expression and accessories, or a miniature ornament when storage and tree display are priorities. Chunky plush yarn creates a softer statement, while rectangle and head-only constructions provide genuinely different ways to approach the theme.
Before starting, also consider whether the finished piece needs to stand, hang, travel as a charm, or be suitable for gifting. Once you have chosen the form, use the original tutorials for the creators’ exact construction details and material guidance.
Frequently Asked Questions
What type of yarn works well for crochet snowman amigurumi?
There is no single yarn that is right for every snowman. Smooth yarn makes stitches, shaping, and facial placement easier to see, which can be helpful on detailed miniatures. Plush or chenille-style yarn creates a softer, fuller surface but can conceal stitch openings. Choose according to the look you want and follow the tutorial’s material guidance when matching a specific finished result.
How can I keep stuffing from showing through a crochet snowman?
Aim for a sufficiently dense crocheted fabric and inspect it before adding all the stuffing. If you can already see large openings when the fabric is relaxed, stuffing pressure may make them more noticeable. Add filling gradually rather than forcing a large amount into one area. Changing yarn or hook size affects the fabric, so remember that modifying either can also change the finished scale.
Is a no-sew crochet snowman always easier than a sewn amigurumi?
Not necessarily. A no-sew design eliminates some attachment work, but integrated construction can make shaping, color transitions, and stuffing placement more important because you cannot reposition the main components later. A multi-piece design takes longer to assemble but lets you adjust the relative position of the head, arms, nose, or accessories before sewing them permanently.
Can I turn a regular crochet snowman into a Christmas ornament?
Sometimes, but check scale and weight first. A small plush may adapt well with a securely anchored hanging loop, while a large or heavily stuffed design could pull down a tree branch. Also consider where the balance point falls. Test the piece by holding it from the proposed loop position before attaching the hanger permanently so the snowman faces the direction you want.
Should I use safety eyes on a crochet snowman for a child?
Do not assume safety eyes, buttons, pom-poms, or other small embellishments are appropriate simply because they are common in amigurumi. For a snowman intended for a young child, embroidered eyes and facial details can remove some detachable hard components. Also inspect every attachment carefully and distinguish decorative ornaments from toys intended for handling or unsupervised play.
How do I make several crochet snowmen look like a coordinated set?
Repeat a limited number of visual elements rather than making every snowman identical. For example, use a related scarf palette across the group while varying hat shapes, or repeat one hat style while changing body scale. Keeping one or two features consistent creates a family relationship, while differences in proportion, accessory placement, and expression stop the display from looking repetitive.
What should I check before changing the size of an amigurumi snowman?
Changing yarn thickness or hook choice can affect more than height. It can alter fabric density, the relative size of safety eyes or buttons, accessory proportions, stuffing requirements, and how well a standing figure balances. If you resize a design, treat the face, hat, scarf, hanging loop, and other components as parts that may also need reevaluation rather than assuming they will remain proportional automatically.