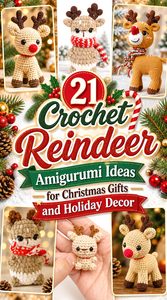
Crochet reindeer amigurumi can take surprisingly different forms. A tiny velvet reindeer made for a stocking or desk has very different proportions from a full Christmas doll with long antlers, while a hanging ornament needs a compact silhouette and a lovey needs softness and secure finishing. Even two classic Rudolph-style projects can feel quite different once yarn texture, pose, assembly, and facial shaping are considered.
These 21 ideas are organized to make those differences useful. You will find no-sew minis, plush-yarn characters, sitting reindeer, traditional dolls, an ornament, a comforter-style project, and several full amigurumi constructions. Use the comparisons to decide how the finished reindeer will be displayed or gifted before committing to a tutorial.
Quick List
- Crochet Wire-Antler Christmas Reindeer Doll
- Crochet Chunky Plush Holiday Reindeer
- Crochet Rudolph Head Ornament
- Crochet Reindeer Lovey Comforter
- Crochet Colorful Christmas Reindeer Doll
- Crochet Classic Multipart Reindeer
- Crochet Mini Baby Reindeer
- Crochet No-Sew Pocket Reindeer
- Crochet Rounded Holiday Reindeer
- Crochet Small Traditional Reindeer Amigurumi
- Crochet Velvet No-Sew Mini Reindeer
- Crochet Soft Plush Reindeer Toy
- Crochet Sitting Rudolph Reindeer
- Crochet Classic Reindeer Doll with Subtitle-Supported Tutorial
- Crochet Plush Christmas Reindeer
- Crochet Potato-Shape No-Sew Reindeer
- Crochet Tall Christmas Reindeer Figure
- Crochet Jelly Bean No-Sew Reindeer
- Crochet Tiny Christmas Reindeer
- Crochet Classic Red-Nosed Rudolph Doll
- Crochet Christmas-in-July Rudolph Amigurumi
Choose the Reindeer Shape Before Choosing the Colors
Scale and pose have a bigger effect on this project than the exact shade of brown. Small pocket and ornament reindeer depend on clear, compact antlers and readable facial features. Larger dolls have room for muzzles, limbs, scarves, color changes, and more complex antler shapes, but usually bring additional assembly.
Pose matters too. A sitting reindeer needs its body and legs balanced so it rests naturally on a surface. A hanging ornament needs a reliable attachment point and a center of gravity that keeps the face visible. A standing or long-limbed doll needs proportionate antlers so the head does not look visually top-heavy. Decide whether your finished reindeer is meant for a tree, stocking, mantel, gift basket, or cuddly display before comparing tutorials.
Yarn Texture Can Change the Antlers as Much as the Body
Smooth cotton or acrylic-style yarn usually makes small stitches and facial details easier to see, which can be useful around muzzles, ears, and branching antlers. Plush, chenille, and velvet yarn create a softer, rounder silhouette, but the pile can hide individual stitches and make very small details look less defined.
Changing yarn can also change the whole scale of an amigurumi. Do not assume that replacing a tutorial’s yarn with something much thicker will simply produce the same reindeer with a softer surface. Antlers may become disproportionately bulky, facial spacing will enlarge, and a small ornament can turn into a substantial plush. When shape matters, compare the creator’s finished example and material information before substituting yarn.
Plan Gift Safety Before Attaching the Face
Amigurumi made for holiday display and amigurumi intended for a young child are not automatically interchangeable. Safety eyes, bells, beads, loosely attached embellishments, and small decorative pieces require special consideration. For babies and young children, embroidered facial details may be a more appropriate direction than detachable components, depending on the project and intended use.
Also inspect antler and limb attachments rather than treating them as purely decorative finishing. A reindeer that will sit on a mantel can prioritize appearance differently from one expected to withstand regular handling. Follow the original creator’s safety notes where provided, and do not assume a decorative tutorial has been designed or certified as a children’s toy.
1. Crochet Wire Antler Christmas Reindeer Doll
 SAVE
SAVEThis full Christmas reindeer has a strong character-doll look rather than a tiny ornament silhouette. The tutorial’s finished example includes a defined head, substantial antlers, limbs, and colorful seasonal details, making it well suited to a mantel, shelf, or tabletop arrangement. The creator also demonstrates a larger amigurumi format rather than a palm-sized project.
Choose this direction when the antlers and accessories are meant to be prominent features. Because the source material list includes wire, this project also calls for a different planning mindset from completely soft constructions, especially if the intended recipient may handle the doll.
Wire Changes the Role of the Antlers
Structured antlers can retain a more deliberate shape than very soft crocheted branches. That helps a larger reindeer keep its recognizable silhouette, but it also makes the project less comparable to a fully soft plush. Decide whether you need poseable structure for display or whether a completely textile construction would suit the intended use better.
Give the Face Enough Visual Space
Large antlers, ears, a muzzle, eyes, and a nose all compete for space around the head. Before permanently attaching pieces, check the finished view from the front rather than judging each component separately. Balanced spacing keeps the character readable and prevents the upper half from feeling crowded.
Treat This as Display-First Unless Suitability Is Confirmed
A project incorporating wire deserves extra thought before being given as a toy. Use the creator’s exact construction guidance and independently decide whether the finished object suits your recipient. For a shelf decoration, internal support may be useful; for a cuddly child’s toy, a different all-soft reindeer may be the more appropriate choice.
2. Crochet Chunky Plush Holiday Reindeer
 SAVE
SAVEA plush-yarn reindeer changes the character immediately. Instead of emphasizing tiny stitch definition, this version leans toward a soft, rounded stuffed-toy appearance with a substantial head and body. Rose and Lily Crochet’s tutorial identifies plush-style yarn in its source information, so it is a useful choice for comparing fuzzy amigurumi with the smoother small dolls elsewhere in this collection.
The larger texture makes this direction appealing when softness matters more than intricate surface detail. At the same time, fuzzy yarn can make stitches harder to read, so it helps to be comfortable recognizing increases, decreases, and round boundaries without relying entirely on visible stitch legs.
Plush Yarn Softens Small Shaping Details
The pile of plush yarn visually blends neighboring stitches. That can make the body look wonderfully smooth, but it also means tiny sculptural details may be less obvious. Keep the important features—muzzle, nose, eyes, ears, and antlers—visually separated so the face does not disappear into one fuzzy shape.
Check Antler Scale Against the Chunky Head
Antlers that look delicate in smooth yarn can become much heavier when worked in a bulky plush fiber. Follow the source proportions rather than automatically enlarging or improvising them. The goal is enough presence to read as a reindeer without allowing the antlers to dominate the entire head.
Stuffing Affects the Plush Silhouette
A plush animal can change significantly depending on how firmly individual sections are filled. An overfilled head may stretch the stitches and alter facial placement; uneven limb filling can make the pose look lopsided. Use the tutorial’s visual checkpoints and judge the developing silhouette before permanently closing and assembling sections.
Original Tutorial and Creator Credit
Creator: Rose and Lily Crochet
3. Crochet Rudolph Head Ornament
 SAVE
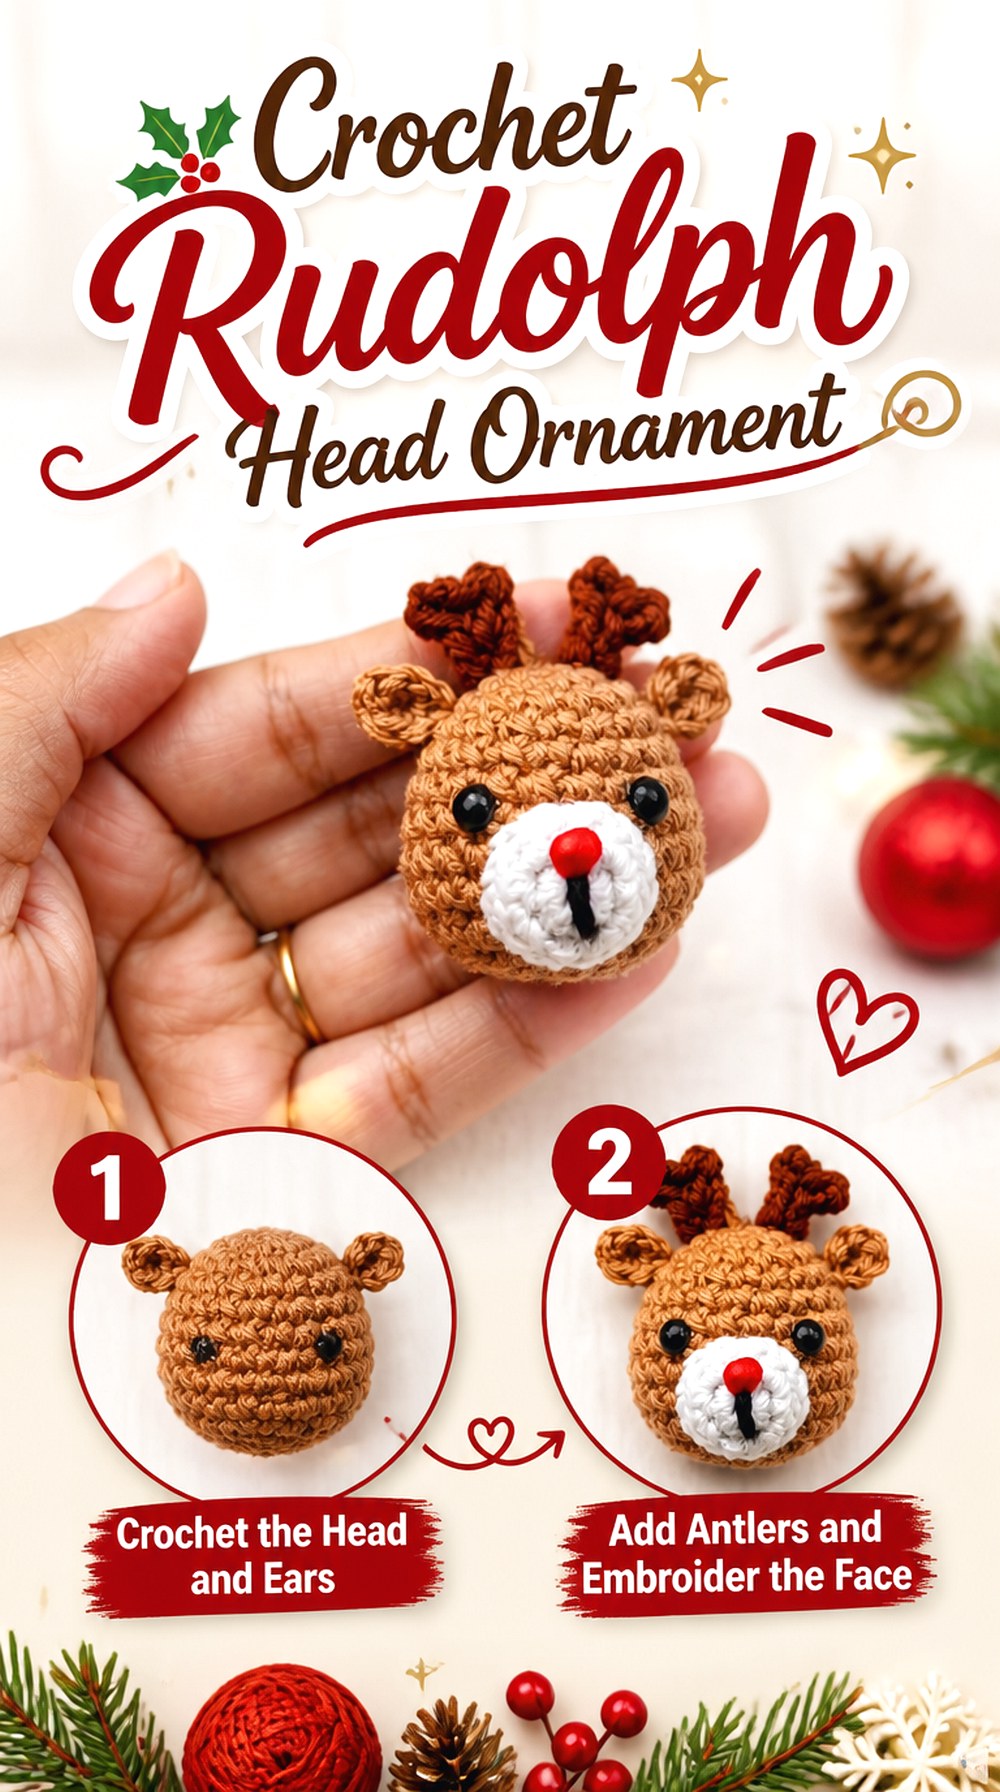
SAVEThis ornament reduces the reindeer concept to the features that matter most: a rounded head, ears, antlers, muzzle, and recognizable Rudolph-style face. Because there is no full doll body to balance visually, facial proportions become the entire project. The smaller hanging format also makes it more directly suited to a Christmas tree, garland, gift package, or ornament exchange than a shelf-sized amigurumi.
Choose it when you want a clearly seasonal reindeer without committing to multiple limbs and a large stuffed body. Its compact form also makes it practical for creating a coordinated set, provided you keep facial placement and hanging orientation consistent.
Hanging Orientation Is Part of the Design
An ornament may look balanced while lying flat but tilt once suspended. Before calling it finished, check where the hanging loop sits relative to the weight of the muzzle and antlers. You want the face to remain visible from the front rather than pitching downward.
Compact Antlers Need a Clean Silhouette
Tree ornaments compete visually with branches, lights, and other decorations. Wide or floppy antlers can disappear into that background. Keep close to the creator’s intended proportions, especially if changing yarn thickness, because a small adjustment can make a big difference at ornament scale.
Embroidered Features Can Simplify the Front
If the ornament is intended for a setting where hard or detachable facial pieces are undesirable, review whether embroidered alternatives would work with the construction. Do this before closing the head so you are not forced into awkward finishing after stuffing.
Original Tutorial and Creator Credit
Creator: Cute Crochet
4. Crochet Reindeer Lovey Comforter
 SAVE
SAVEThis reindeer moves away from a conventional stuffed doll and into lovey or comforter territory. The animal head and reindeer details provide the character, while the extended cuddler format creates a softer object intended to be held rather than simply balanced on a shelf. Tommy’s sheep crochet and knitting presents the tutorial in multiple parts, with the first covering major character components including the head, tail, nose, and ears.
It is the most functionally different project in this roundup. Choose it for the comforter format itself, not simply because you like the face; construction and recipient considerations differ from those of a decorative Christmas ornament.
A Lovey Needs Softer Visual Weight
Oversized, rigid-looking antlers could work on a mantel doll but feel out of place on a comforter. Keep the head and upper details proportionate to the soft body below so the finished piece still reads as something designed to cuddle rather than a toy head attached to a blanket.
Facial Finishing Deserves Extra Attention
A comfort object may receive far more direct handling than seasonal shelf decor. Review the creator’s materials and assembly carefully, particularly around the eyes, nose, and other small elements. Recipient age and intended use should determine whether attached components are appropriate.
Check the Full Multi-Part Tutorial Before Starting
Because the source is divided into parts, confirm that you have located all the sections needed for the exact finished reindeer before buying materials. This prevents starting from the appealing head tutorial and later discovering that the remaining construction uses techniques or materials you did not expect.
Original Tutorial and Creator Credit
Creator: Tommy’s sheep crochet and knitting
5. Crochet Colorful Christmas Reindeer Doll
 SAVE
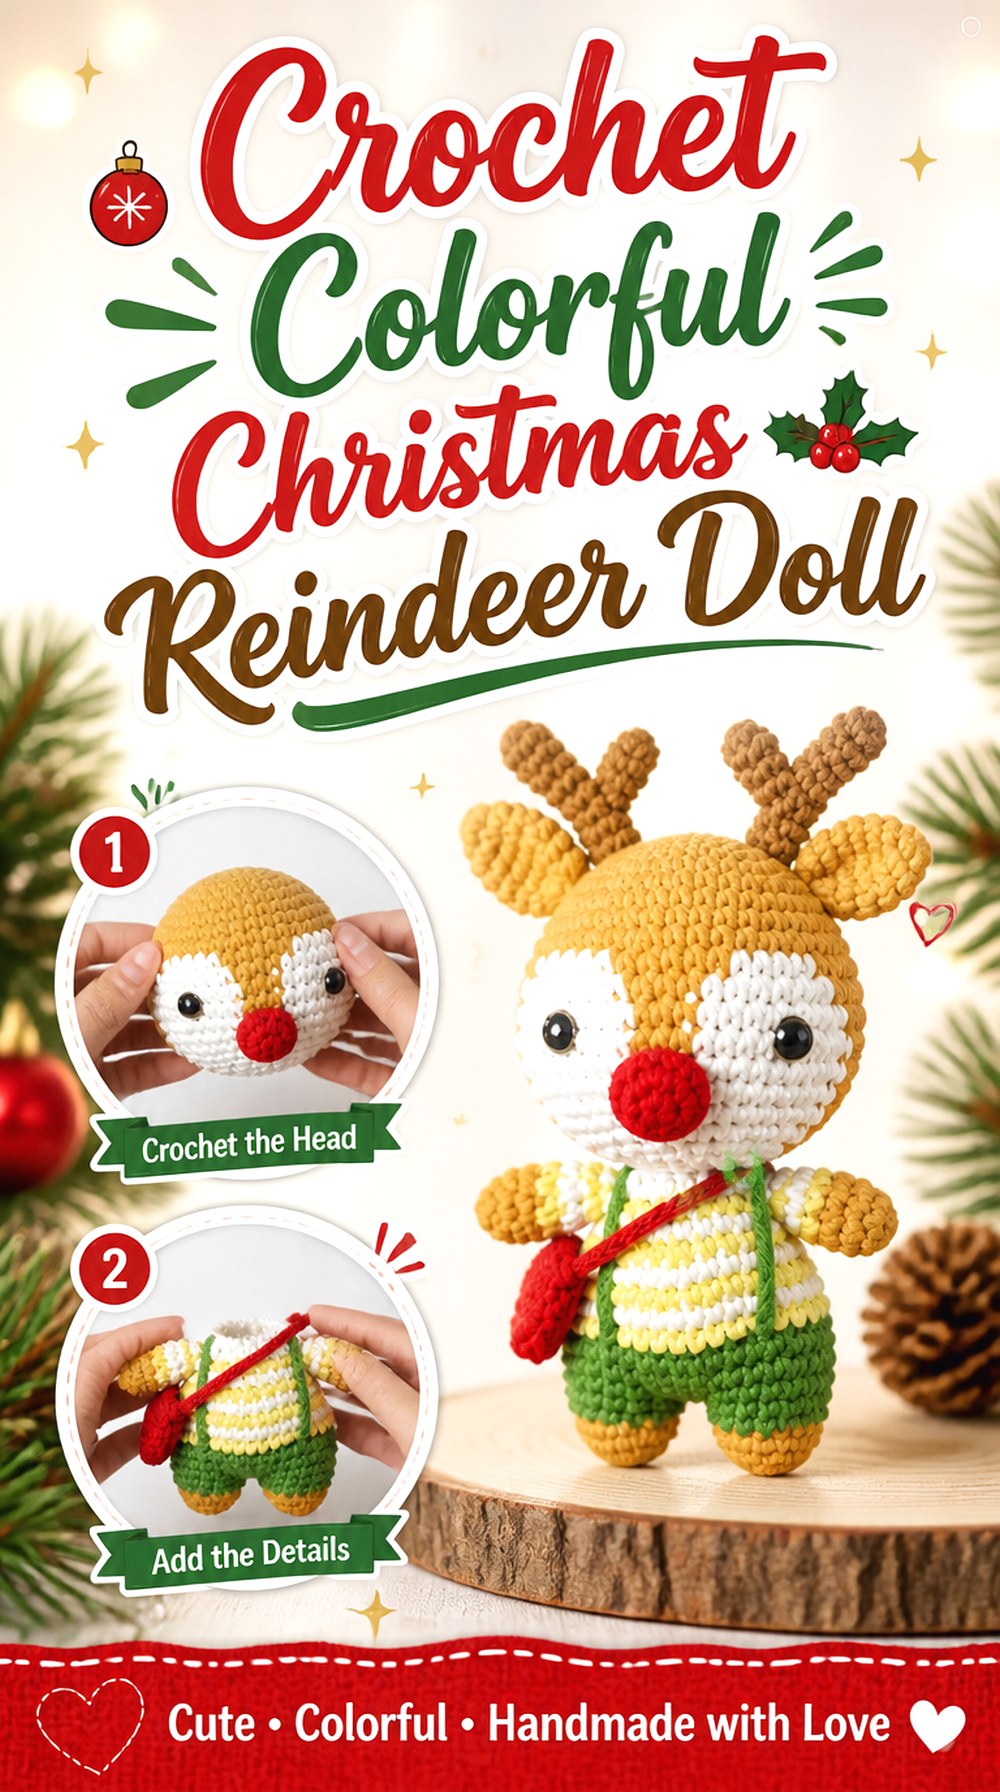
SAVEAmi Saigon’s reindeer tutorial takes the project toward a full seasonal character with multiple colors rather than a simple brown woodland animal. The source material information includes several festive shades, which makes this a good option when the Christmas palette is meant to be integrated into the amigurumi rather than added only through a red nose.
This is a multipart tutorial, so it suits readers willing to work through a longer build and manage several pieces. Compared with the pocket and no-sew projects later in the list, the appeal here comes from the fuller doll presentation and the extra room for decorative color.
Color Changes Should Support the Silhouette
With several colors available, it is tempting to add contrast everywhere. A clearer result comes from deciding which areas deserve attention. Keep the muzzle, antlers, and face readable first; then let holiday colors emphasize clothing or decorative zones rather than competing with every anatomical feature.
Multipart Construction Rewards Early Organization
Separate tutorial sections are easier to manage if you label completed components and retain yarn for later assembly. Even without reproducing the creator’s sequence, it helps to know which colors and pieces must still interact so you do not use up a small contrast shade prematurely.
Watch the Final Assembly Before Sewing
A full doll’s personality can change dramatically with ear angle, limb placement, and head position. Preview the finishing portion before permanently attaching pieces. Pins or temporary placement can help you evaluate symmetry from the front and side.
Original Tutorial and Creator Credit
Creator: Ami Saigon
6. Crochet Classic Multipart Reindeer
 SAVE
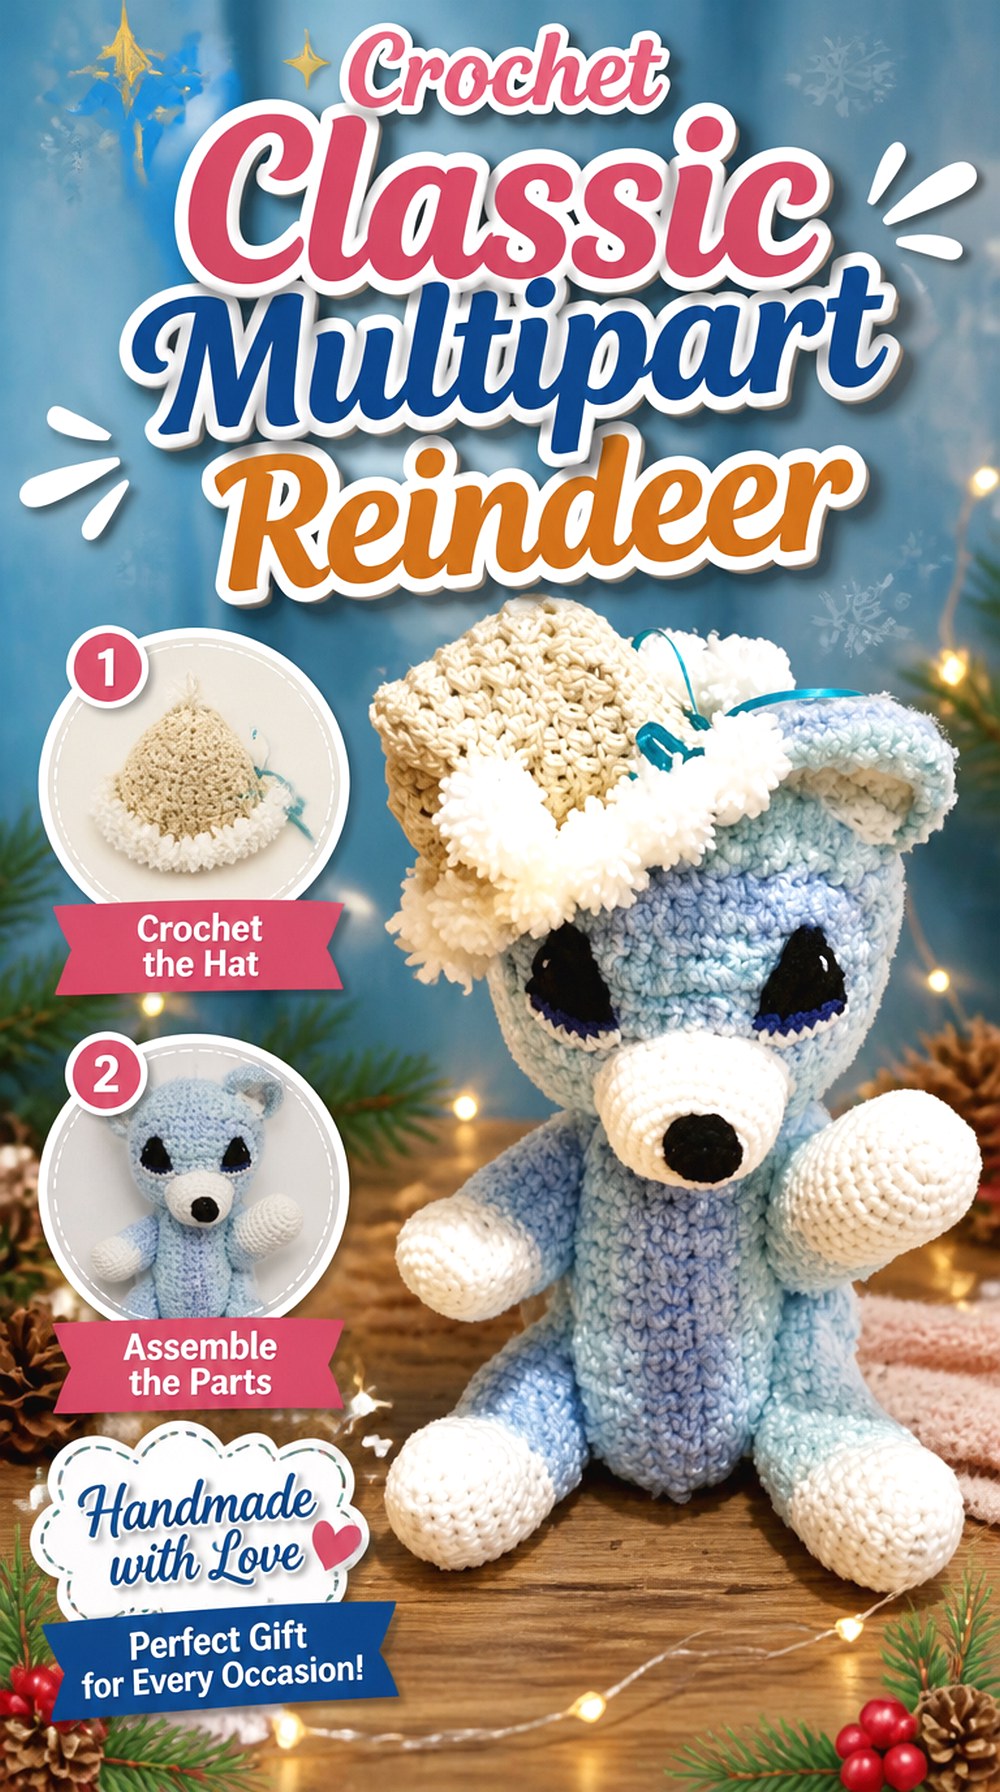
SAVEHelenMay Crochet’s version is a traditional full amigurumi reindeer presented as a three-part tutorial. Rather than shrinking the idea into an ornament or simplifying it into a no-sew ball, this project leaves room for the animal’s full shape and recognizable seasonal proportions.
This makes it a strong choice when you enjoy assembly and want the finished reindeer to feel like a substantial handmade character. The multipart format also gives you natural stopping points. Before beginning, however, confirm that all tutorial sections are accessible and preview the finished result so you know how the pieces relate.
Separate Pieces Give More Placement Control
Assembly takes longer than with an integrated no-sew form, but it also lets you fine-tune angles. Ears can be adjusted for expression, limbs can be positioned for the intended pose, and antlers can be checked for symmetry before the seams are fully secured.
Symmetry Matters Most Above the Muzzle
Human eyes notice uneven antlers and ears quickly. Rather than attaching one side completely and then guessing the second, compare both positions while they are temporarily held in place. View the head straight on and from above to catch twisting that is harder to see from the side.
Use the Tutorial Parts as Checkpoints
After each major stage, compare the shape you have with the creator’s finished components. Catching an unexpectedly narrow body or unevenly stuffed head before final assembly is far easier than correcting the same issue once every piece has been attached.
Original Tutorial and Creator Credit
Creator: HelenMay Crochet
7. Crochet Mini Baby Reindeer
 SAVE
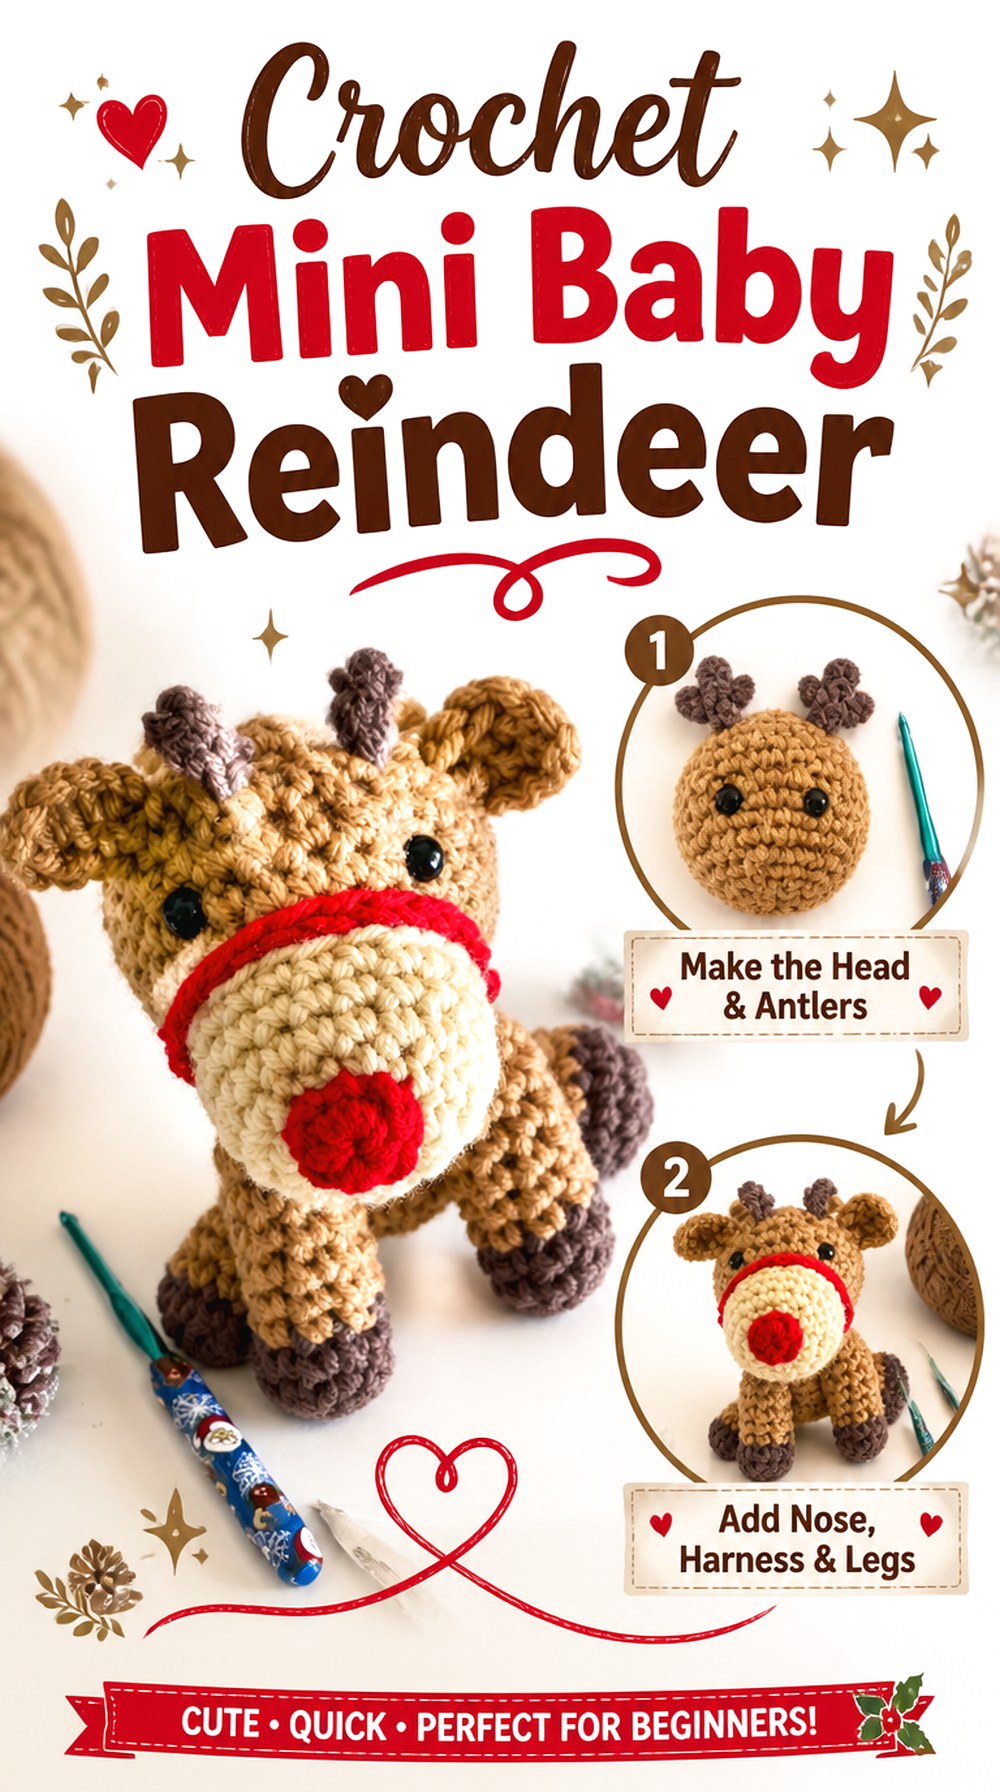
SAVERepeat Crafter Me’s mini baby reindeer offers a smaller full-body alternative to the large classic dolls. The creator’s project page shows the idea in both Rudolph-style and other reindeer variations, which makes this especially useful when you want to build a small coordinated herd rather than make a single large centerpiece.
Its baby-animal proportions also distinguish it from the compact potato and jelly bean shapes later in the list. There are recognizable limbs, muzzle, ears, and antlers, but they are kept visually small enough for a mini Christmas character.
Mini Proportions Need Consistent Feature Scale
If the head is compact, a slightly oversized muzzle or antler can change the entire expression. Avoid enlarging one component independently unless you are willing to evaluate the whole face again. Small amigurumi benefits from keeping every feature in the same scale family.
A Herd Looks Better With Repeated Placement
When making several named reindeer, color can change while construction stays consistent. Use the first finished animal as a placement reference for later eyes, ears, legs, and antlers. That helps the group look intentionally coordinated rather than like unrelated projects in similar yarn.
Decide Between Rudolph and Neutral Noses Early
A red nose immediately establishes a Rudolph-style focal point. A brown or neutral nose allows another member of Santa’s team—or a more general woodland reindeer—to fit beside it without competing visually. Plan the group before attaching facial details if you want a complete set.
Original Tutorial and Creator Credit
Creator: Repeat Crafter Me
8. Crochet No Sew Pocket Reindeer
 SAVE
SAVEYarn Society’s pocket reindeer compresses the animal into a tiny chenille-style form and minimizes finishing assembly. The source describes it as a no-sew pocket reindeer and provides both right- and left-handed video support, giving it a noticeably different construction route from multipart dolls.
This is a good choice when the appeal is a compact stocking-sized character with integrated details rather than a large poseable toy. Its small scale also makes it suitable for grouping with other pocket amigurumi, but the tiny format means the face and antlers carry a lot of visual responsibility.
No-Sew Does Not Mean No Placement Planning
When details are created as part of the body, there may be fewer opportunities to reposition them later. Read or watch ahead before reaching the ears, antlers, and facial sections so you understand where the character features will emerge.
A Flat Enough Base Helps Pocket Amigurumi Sit
Very small plush figures can roll or lean if stuffing concentrates unevenly. Before closing, set the reindeer on a surface and inspect its balance. A small adjustment to stuffing distribution can matter more than it would on a long-legged doll.
Chenille Makes Tiny Projects Look Fuller
A fuzzy super-bulky yarn can give a very small amigurumi a substantial visual presence. The trade-off is reduced stitch visibility. Use a marker and count carefully rather than depending on the texture alone to show where a round begins.
Original Tutorial and Creator Credit
Creator: Yarn Society
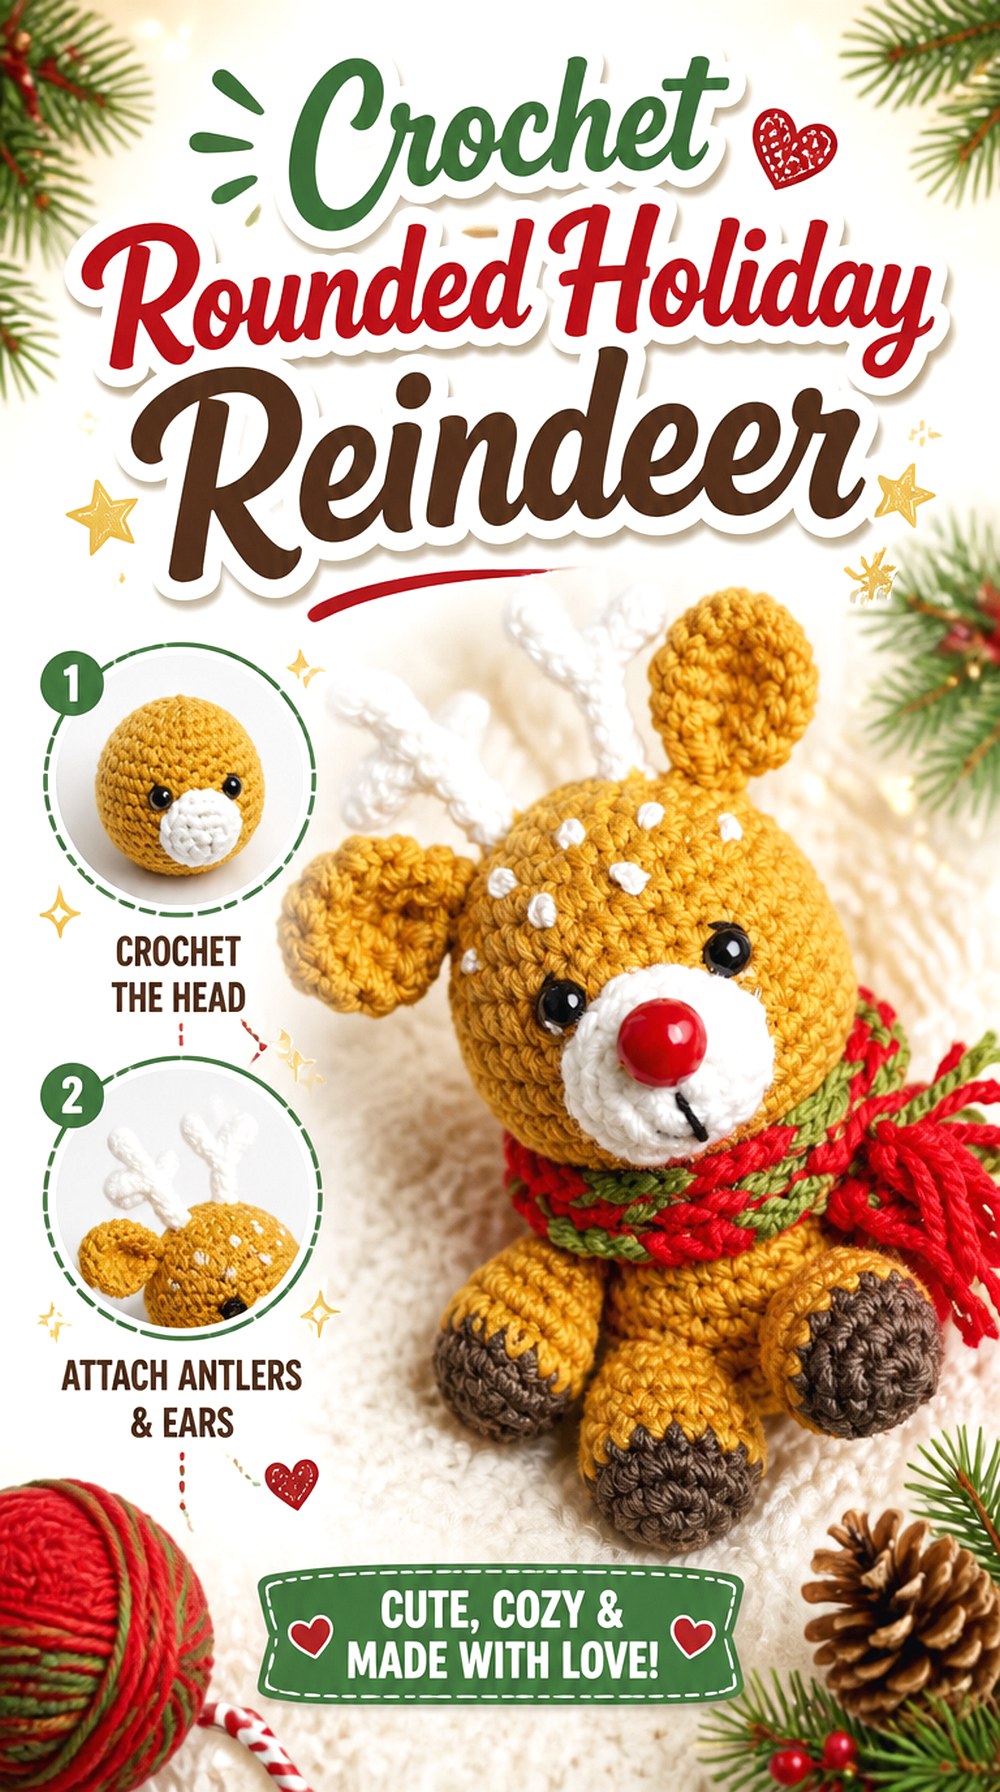
9. Crochet Rounded Holiday Reindeer
 SAVE
SAVEMagic Uncinetto’s tutorial centers on a recognizable amigurumi reindeer with a compact rounded presence. This is a useful middle ground between ultra-small pocket projects and elaborate long-limbed dolls: the reindeer still reads clearly as a complete character without depending on a special lovey, ornament, or novelty-body format.
Use this direction if you want a straightforward Christmas amigurumi for a shelf or gift basket and would rather let the face and antlers provide the seasonal identity. It also offers a neutral base for experimenting with red-nose or woodland styling without changing the underlying object type.
Rounded Bodies Need Thoughtful Balance
A compact curved body can look appealing from the front yet roll slightly when set down. Watch how the finished tutorial example sits. If display stability is important, judge the base during stuffing rather than waiting until every decorative piece has been attached.
Keep the Muzzle From Crowding the Eyes
A rounded head provides less vertical space than an elongated animal face. Check the relationship between muzzle height, eye position, and antler base before securing everything. A few millimeters can noticeably change the expression on small amigurumi.
Neutral Styling Extends the Display Season
If you want a reindeer that can stay out beyond December, earthy browns and a subdued nose create a more woodland-oriented result. If the goal is clearly Christmas, stronger red or green accents can move the same overall form toward holiday decor.
Original Tutorial and Creator Credit
Creator: Magic Uncinetto
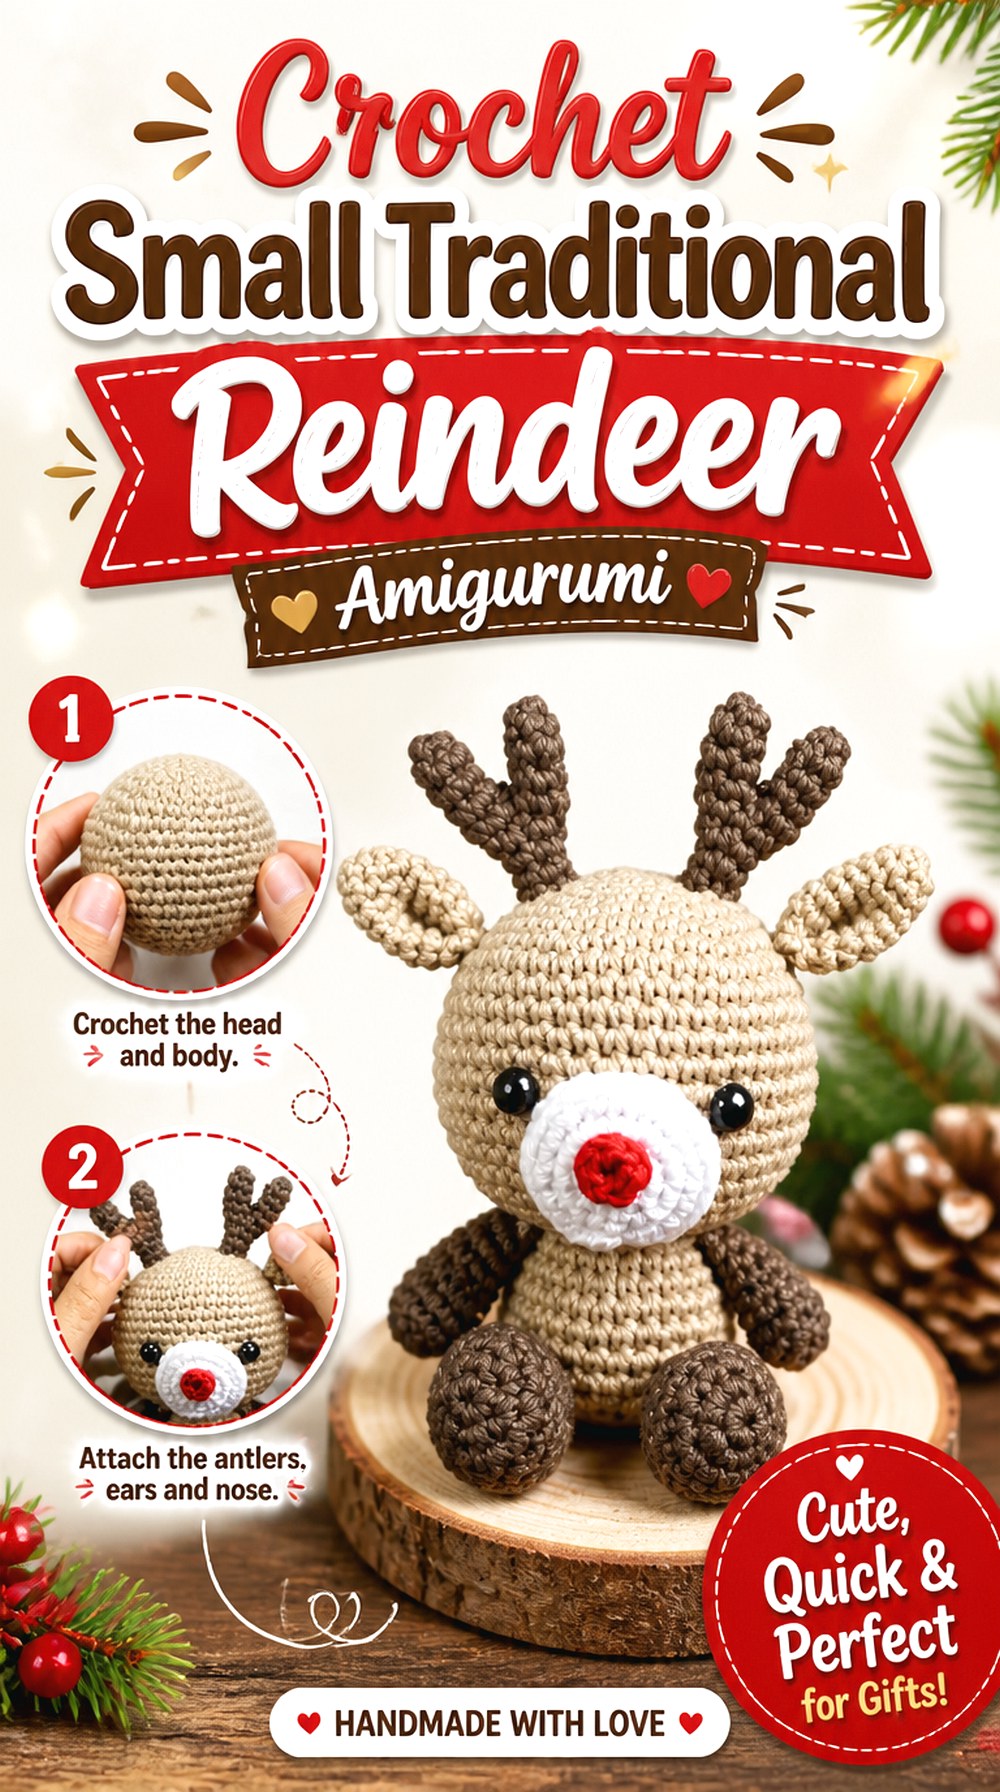
10. Crochet Small Traditional Reindeer Amigurumi
 SAVE
SAVEOdinka Wisanindhi’s reindeer tutorial gives you a small traditional animal shape rather than a fuzzy no-sew blob or a flat ornament. The finished style leaves room for recognizable legs, body shaping, facial features, ears, and antlers while remaining more compact than a large statement doll.
This is useful when you want the visual language of classic amigurumi: tighter-looking fabric, clearly shaped components, and a defined animal silhouette. It can sit naturally in a woodland collection as well as a Christmas arrangement, depending on the nose and accessory colors you choose.
Defined Stitches Help With Small Components
Smooth yarn and visible stitch structure can be an advantage when working narrow antlers and small ears. If you substitute a fuzzier yarn, be prepared for those details to look thicker and less sharply shaped even when the underlying construction is unchanged.
Small Limbs Need Even Stuffing
Tiny arms and legs can become noticeably mismatched if one receives more filling than another. Compare paired components side by side before attachment and check both length and fullness rather than assuming the crochet alone guarantees identical proportions.
Keep Woodland and Rudolph Styling Distinct
A classic brown body can support either direction. Red accents push the finished character toward Christmas, while muted facial details keep it closer to a generic deer or reindeer. Making that decision before the nose and accessories are attached produces a more coherent result.
Original Tutorial and Creator Credit
Creator: Odinka Wisanindhi
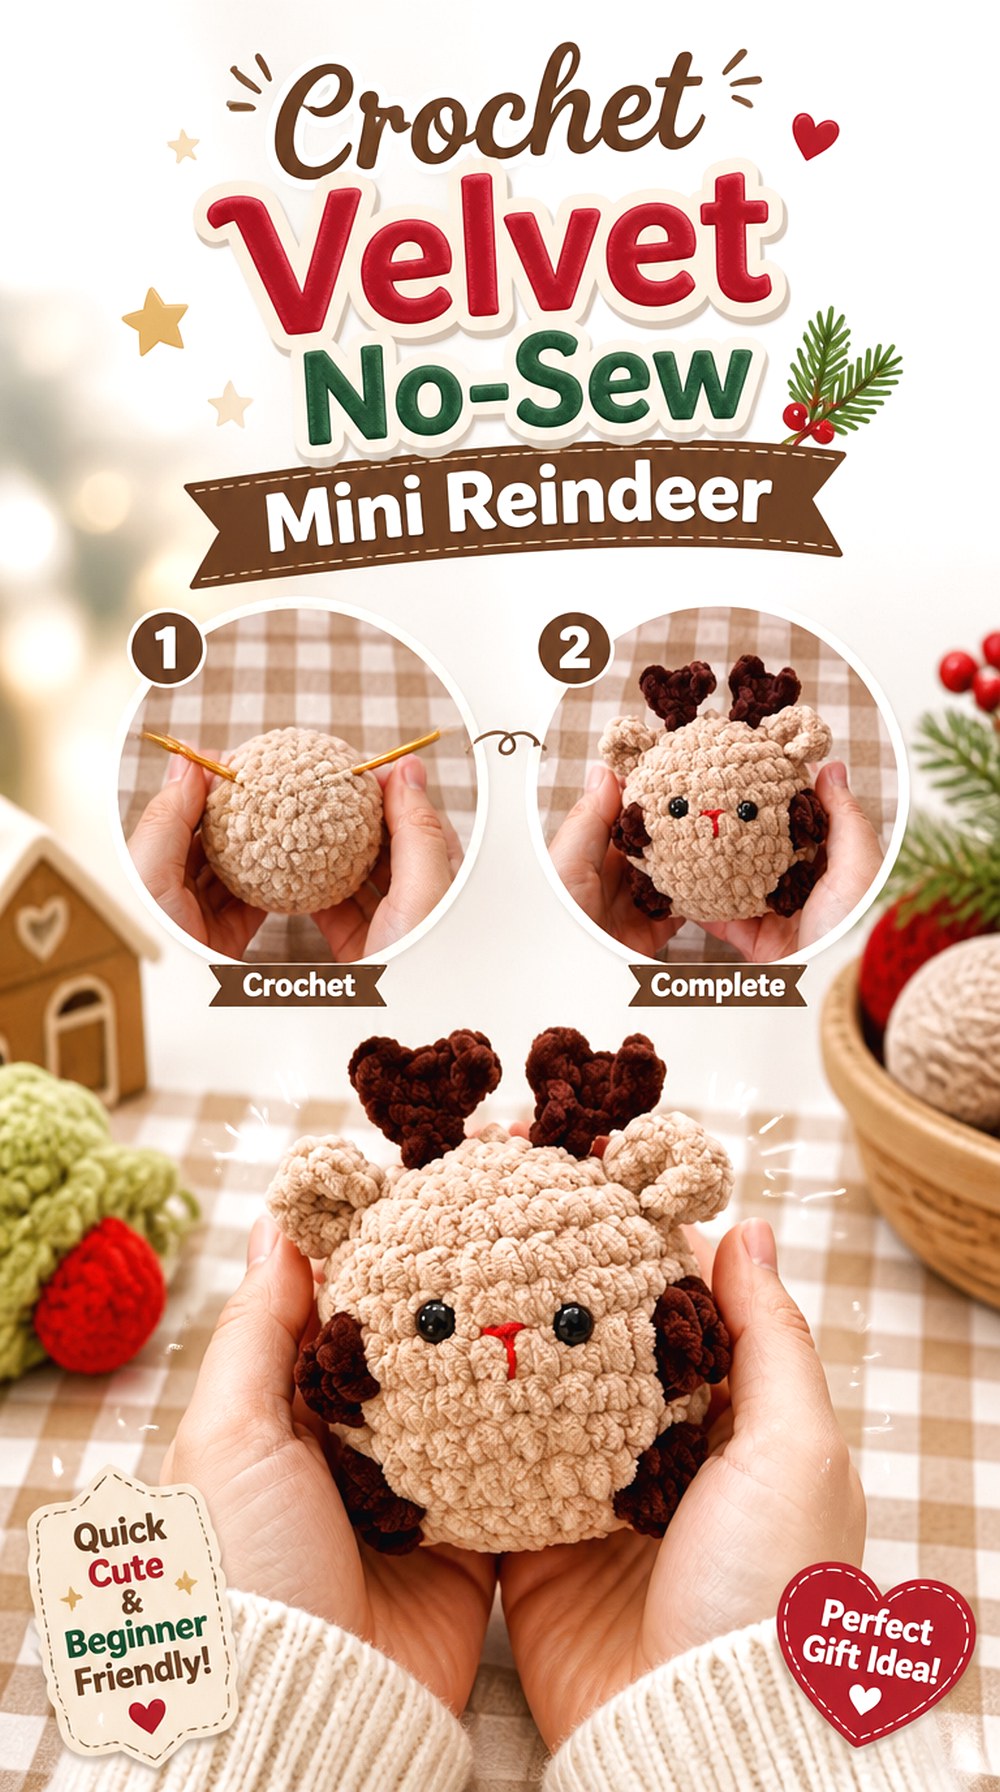
11. Crochet Velvet No Sew Mini Reindeer
 SAVE
SAVEThis project combines two choices that strongly affect the working experience: mini scale and velvet yarn. By Asalet Calışkan identifies the tutorial as a no-sew reindeer made with velvet yarn, giving the finished piece a softer surface than tightly stitched cotton-style minis while avoiding a large pile of parts to attach afterward.
It is a useful option for a small desk character, stocking addition, or light seasonal display. The main trade-off is visibility. Velvet makes the finished amigurumi look plush, but finding individual stitches can require more careful counting.
Velvet Can Hide Round Boundaries
A stitch marker becomes particularly valuable when the yarn surface obscures the first stitch of a round. Do not rely only on visual texture. Losing a round boundary in such a small project can shift ears, antlers, and facial features noticeably off center.
Integrated Details Reduce Finishing Seams
No-sew construction removes some of the final attachment work, which is useful when tiny pieces are difficult to position. The trade-off is that feature placement may be built into earlier stages, so preview the tutorial before reaching the head.
Small Accessories Need a Clear Purpose
If you turn the mini reindeer into an ornament or bag charm, treat the hanging hardware as functional rather than decorative. Attach it to a structurally appropriate point and check that the reindeer hangs in the intended orientation before use.
Original Tutorial and Creator Credit
Creator: By Asalet Calışkan
12. Crochet Soft Plush Reindeer Toy
 SAVE
SAVEWonder Crochet’s reindeer leans into a soft plush-toy appearance rather than a tiny ornament or novelty potato shape. A fuller stuffed silhouette gives the face more room to read, while the visible antlers and muzzle preserve the recognizable reindeer character.
Choose this idea when you want a cozy-looking Christmas figure with more presence than the pocket projects but without relying on a rigid display structure. A soft plush reindeer also works well visually alongside other chunky seasonal amigurumi such as snowmen, bears, or gingerbread characters.
Face Contrast Matters on Fuzzy Yarn
A light muzzle against a medium or dark body can make the facial structure easier to recognize. If every feature is close in value, plush texture may visually blend them together. Photographing your yarn choices in grayscale can quickly reveal whether enough contrast exists.
Antlers Should Stay Legible From a Distance
Plush reindeer are often displayed farther away than tiny handheld amigurumi. Step back before final attachment and check whether the antlers still read as two distinct shapes. If they disappear into the head, contrast and careful positioning matter more than adding extra decoration.
Soft Does Not Automatically Mean Child-Safe
Plush texture can make a project look like a children’s toy even when the tutorial was created primarily as a crochet decoration. Check the eye style, attachments, and source guidance before choosing a recipient; appearance alone does not establish suitability.
Original Tutorial and Creator Credit
Creator: Wonder Crochet
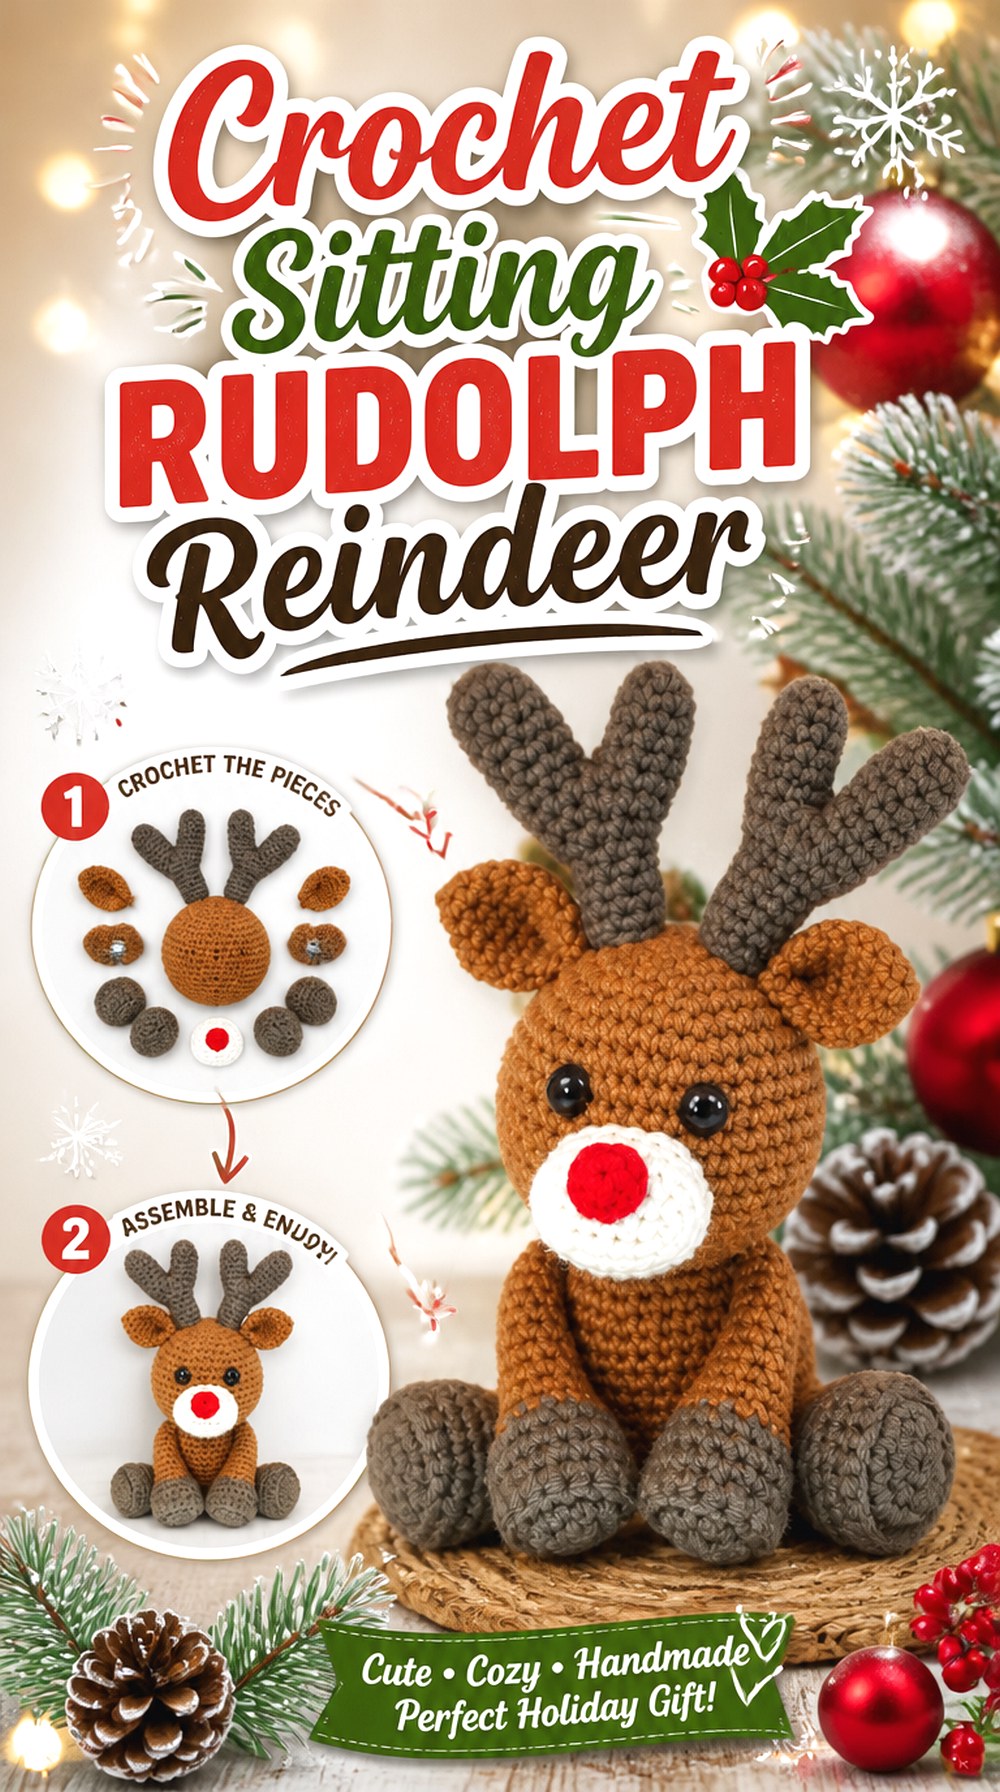
13. Crochet Sitting Rudolph Reindeer
 SAVE
SAVEA sitting reindeer has a completely different display logic from a hanging ornament or upright long-legged doll. Rhonda Butler’s crochet-along specifically centers on a sitting reindeer/Rudolph form and includes the sewing process in real time.
The finished pose makes this idea well suited to a shelf, hearth, table, or holiday scene where the entire body remains visible. It is also a useful tutorial choice for crocheters who prefer to watch assembly rather than infer where limbs should attach from a still image.
The Legs Establish the Sitting Pose
If the legs sit too high, too low, or at different angles, the animal can look as though it is falling backward or sliding forward. Temporarily position both limbs before sewing and place the body on a flat surface to check the pose in real conditions.
Real-Time Assembly Is Valuable Here
A sitting amigurumi depends on the relationship among several separate components. Watching the sewing stages can clarify not only where a piece goes, but how its angle affects the final posture. This is one project where assembly footage may be just as important as the crocheting itself.
Antler Weight Can Pull the Head Visually Backward
The sitting body already creates a low center of gravity, while antlers add height. Check the head angle before attachment so the reindeer appears alert rather than tilted backward. This is mainly a visual balance issue, but it changes the whole finished expression.
Original Tutorial and Creator Credit
Creator: Rhonda Butler
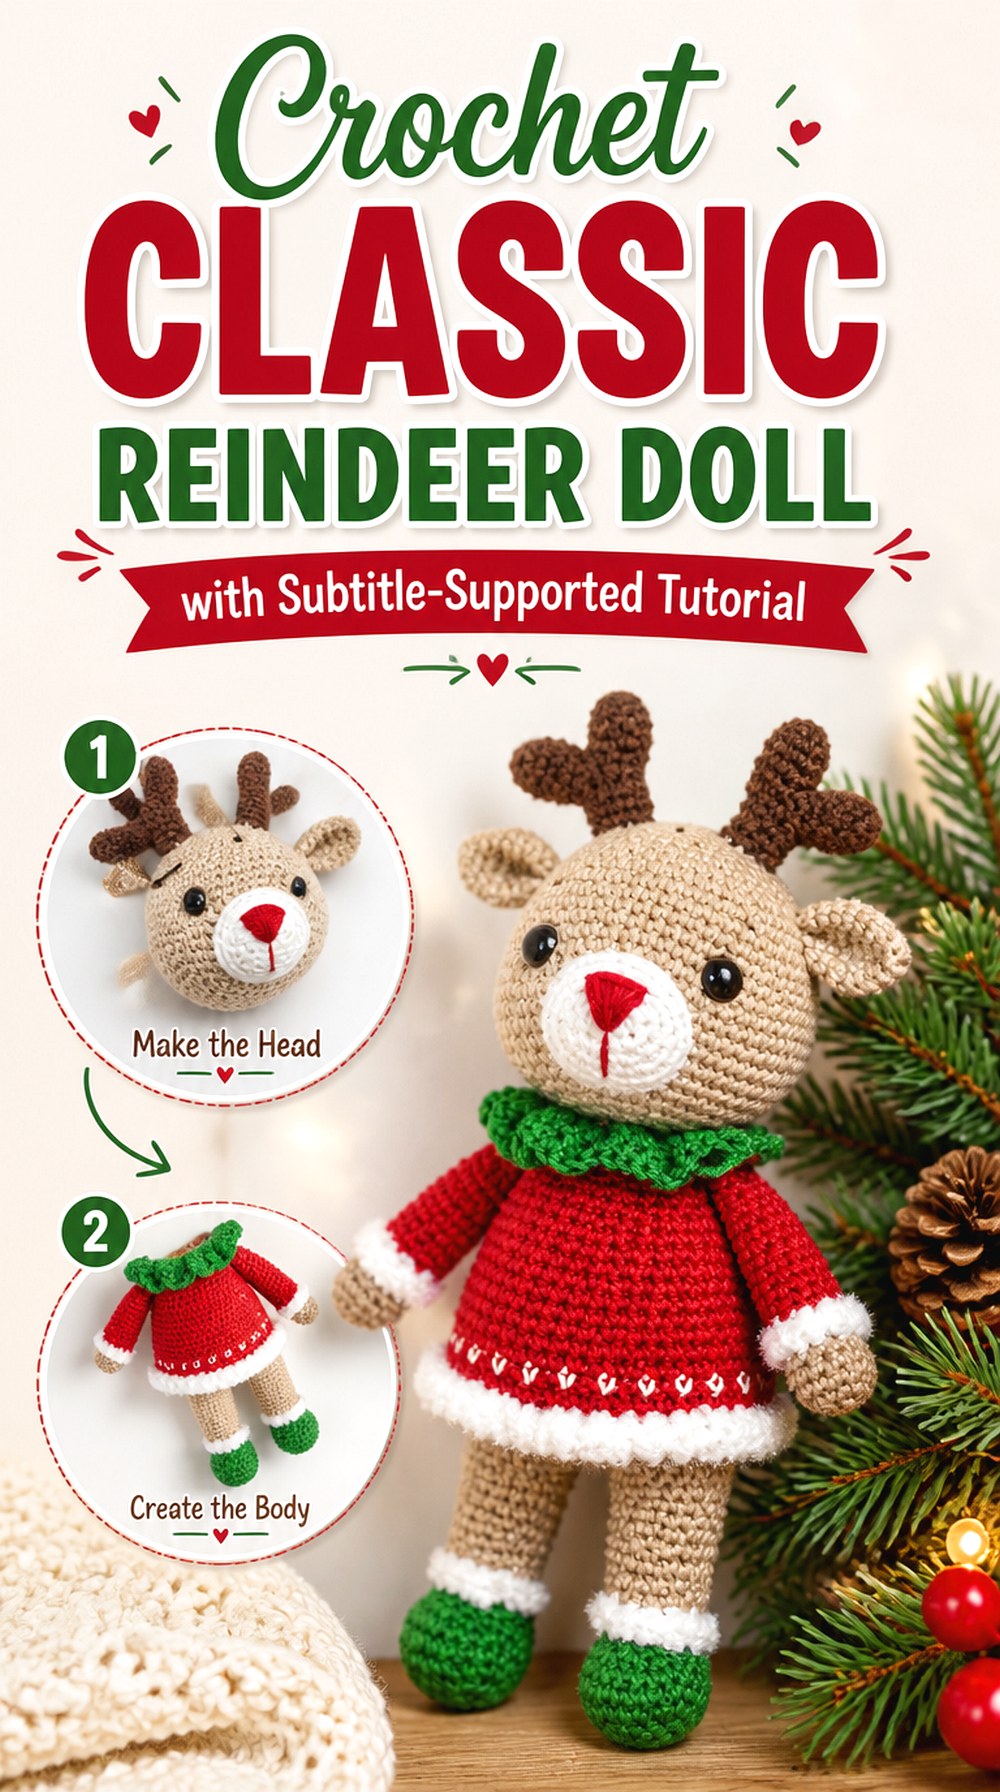
14. Crochet Classic Reindeer Doll with Subtitle Supported Tutorial
 SAVE
SAVEThis classic amigurumi reindeer is especially notable for its learning format: the source is presented with English subtitles. That makes it a different choice from voice-led English tutorials even when the finished doll itself has a familiar traditional reindeer shape.
Select it if you are comfortable watching close visual demonstrations and reading translated on-screen guidance. The full doll format provides room for a defined face, ears, antlers, body, and limbs, so it works better as a shelf character than a tiny hanging ornament.
Preview the Subtitle Pace First
A subtitle-supported tutorial can be very effective, but only if you can comfortably read the instructions while watching the hands. Test a shaping section before committing to the project and adjust playback speed when needed rather than trying to catch every detail at full pace.
Classic Proportions Offer Styling Flexibility
Because the reindeer is not locked into a novelty bean or ornament shape, accessories can change the seasonal mood. A red scarf or nose strengthens the Christmas character; neutral details can make the same broad silhouette feel more woodland-oriented.
Assembly Views Matter More Than Language
Ear angle, muzzle height, and antler position are visual decisions. Even when the spoken language differs from yours, clear assembly footage can be particularly valuable for these stages. Pause on front-facing views and compare both sides before sewing permanently.
Original Tutorial and Creator Credit
Creator: TRIANTAFILLIA PAPADOPOULOU
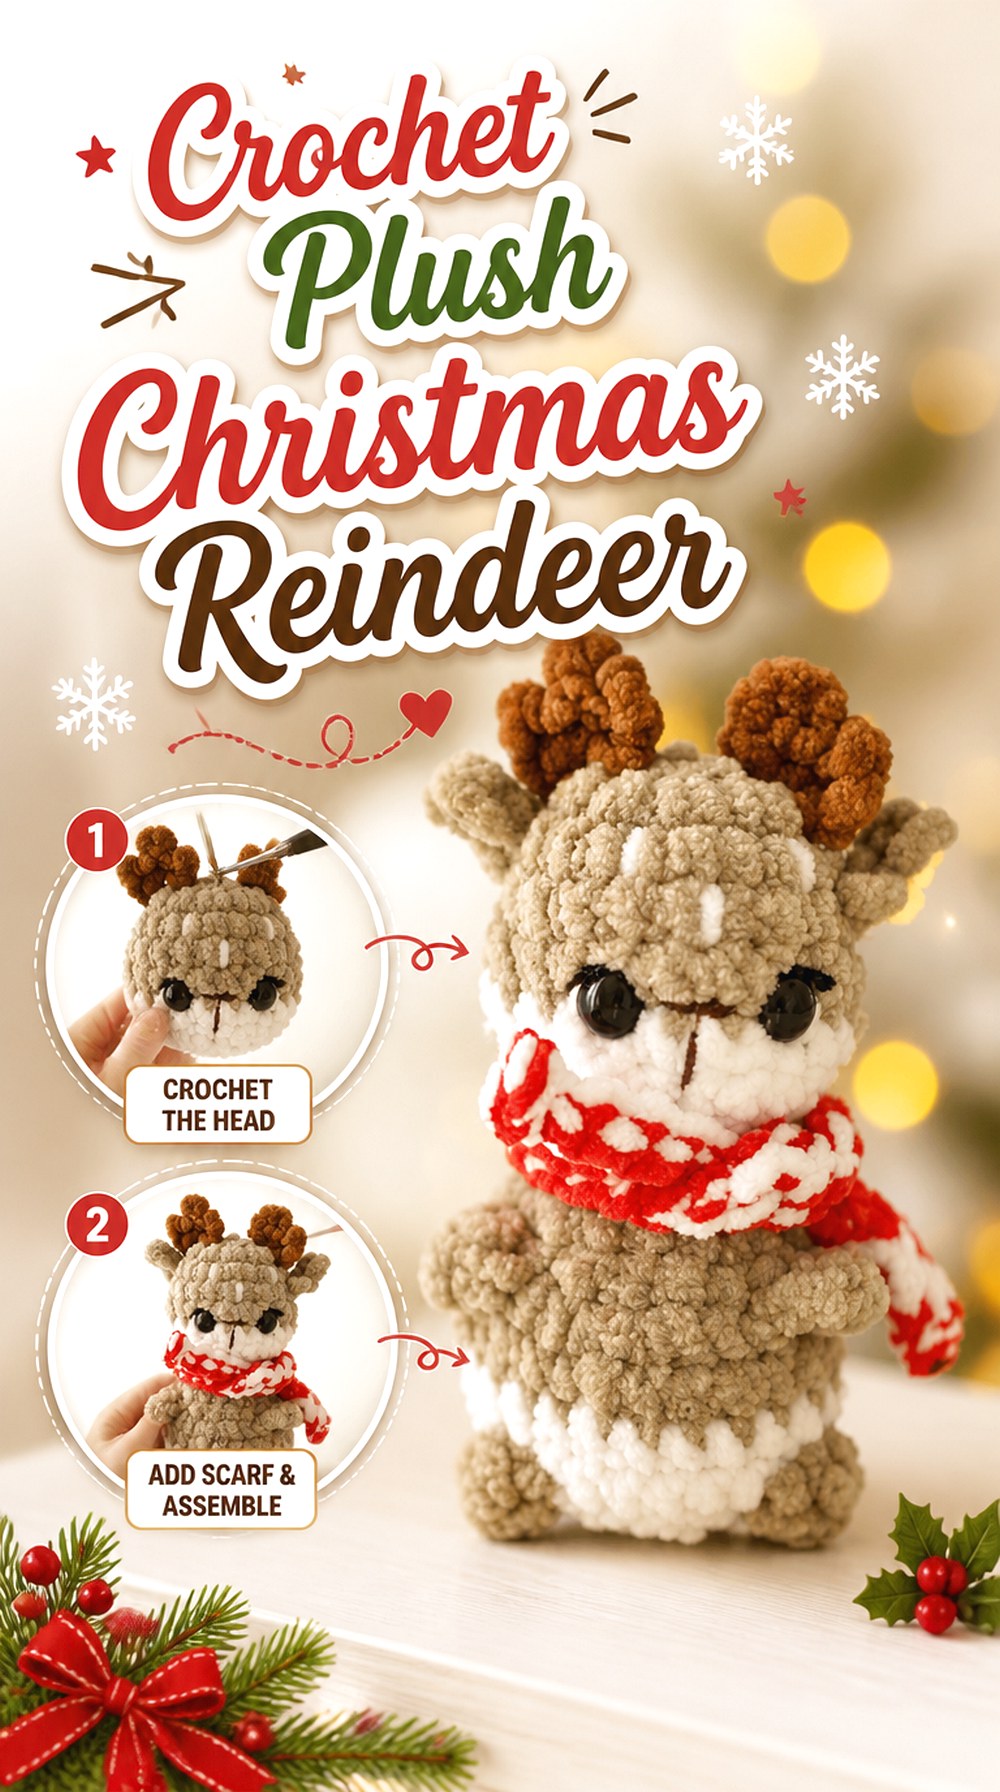
15. Crochet Plush Christmas Reindeer
 SAVE
SAVECrochetGrams presents a plush reindeer tutorial built around a soft Christmas amigurumi result. This gives you another plush-yarn option, but it can still serve a different purpose from the tiny velvet and pocket designs: the emphasis is on a fuller holiday toy with clearly visible body shaping.
Use it when you want softness and volume to be obvious parts of the finished look. Before substituting yarn, compare the creator’s result with your intended scale. Plush yarn varies widely in thickness, and that difference can change an amigurumi much more than switching between similar smooth yarns.
Make the Muzzle Read Against the Plush Surface
With fuzzy yarn, the face benefits from distinct shapes and values. If the muzzle blends completely into the head, even neatly placed eyes and a nose can appear crowded. A contrasting muzzle can create the visual separation needed for a recognizable reindeer face.
Check Paired Parts Before Attachment
Plush yarn can hide small differences in stitch placement while you work, only for those differences to become obvious when two ears or antlers sit beside each other. Place paired pieces together before sewing and correct major fullness or shape differences first.
Display Space Should Match the Finished Bulk
A plush reindeer occupies more visual space than a fine-yarn figure of similar height. Consider neighboring decorations as well as the object’s dimensions. A full, fuzzy silhouette benefits from some open space around the antlers and sides.
Original Tutorial and Creator Credit
Creator: CrochetGrams
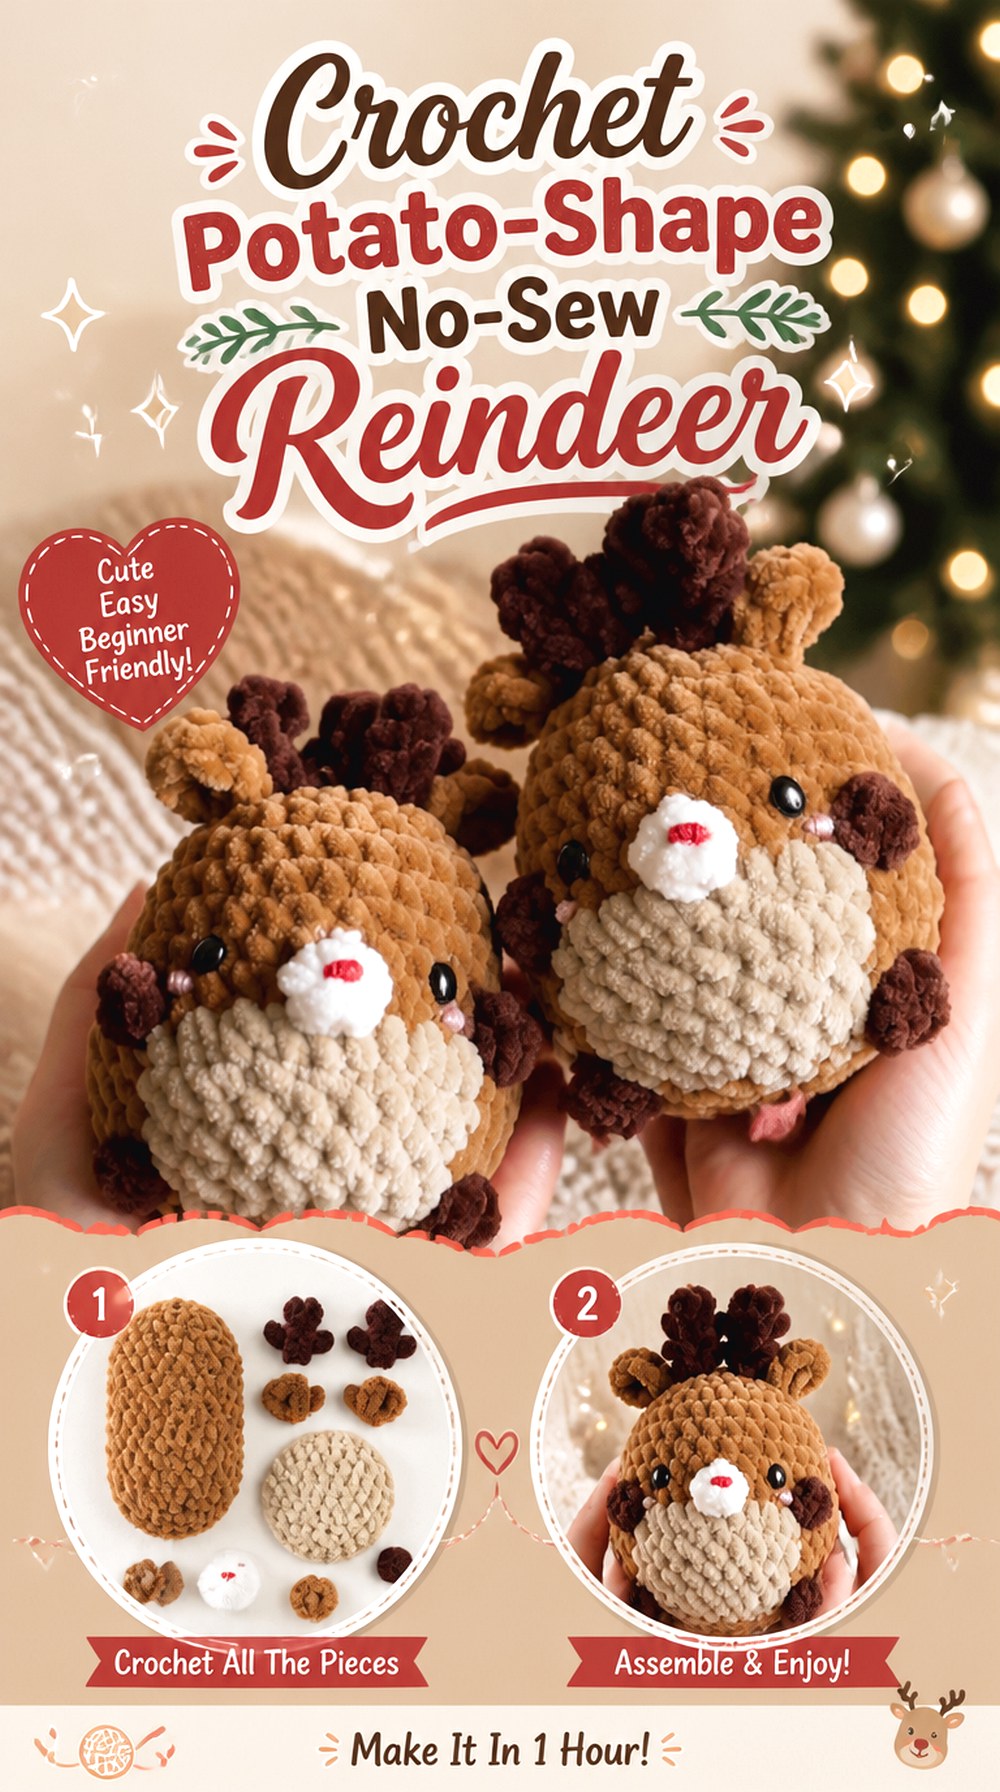
16. Crochet Potato Shape No Sew Reindeer
 SAVE
SAVELanarumi’s reindeer takes a novelty approach with the Potato Pals concept. The compact body minimizes separate limbs and keeps the character concentrated in one rounded form, while the creator’s pattern information identifies it as a no-sew project.
This makes it substantially different from realistic animal proportions or long-limbed Christmas dolls. The appeal is the recognizable reindeer face and antlers sitting on a simplified plush body. It can work well for a coordinated group because repeated potato-style animals share an intentionally consistent silhouette.
The Body Shape Is the Main Design Feature
Do not judge this project by the standards of a proportional deer. The round, compact body is intentionally part of the character. If you lengthen it too much or add oversized limbs, you may lose the specific potato-style appearance that makes it distinct.
Small Antlers Need Enough Contrast
A compact body leaves little unused space around the face. Choose an antler color that does not disappear against the main yarn, and check the finished silhouette from several feet away. Clear branching matters more than adding extra decorative elements.
No-Sew Formats Work Well for Repeated Sets
When making several holiday animals, reducing final assembly can keep the process consistent. Still, use one finished reindeer as the visual standard for later pieces so eye and antler placement remain coordinated across the group.
Original Tutorial and Creator Credit
Creator: Lanarumi
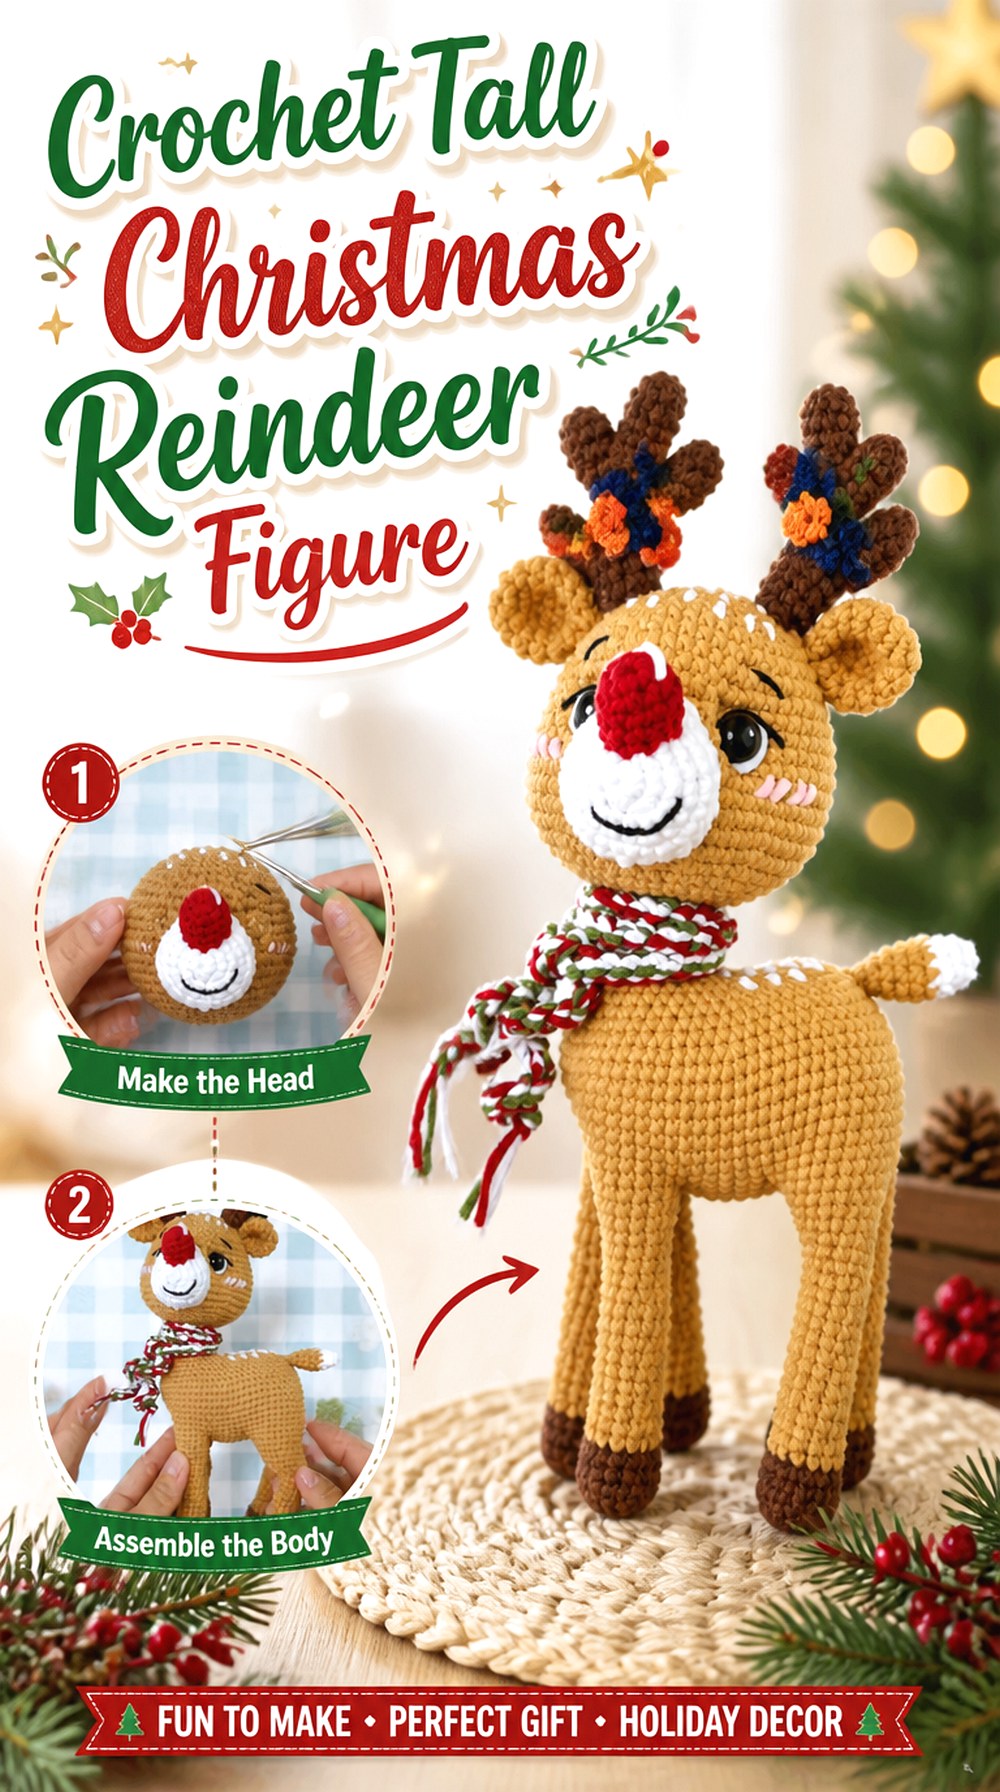
17. Crochet Tall Christmas Reindeer Figure
 SAVE
SAVECrochet with Aybi’s Christmas reindeer tutorial is presented in multiple parts, giving readers a route toward a fuller amigurumi character rather than a quick ornament or tiny pocket plush.
This idea suits a Christmas display where a conventional reindeer figure can stand out among smaller decorations. Because multipart full-body projects require more finishing than bean-shaped no-sew designs, the key question is whether you enjoy shaping and assembly enough to make those extra components worthwhile.
Full-Body Projects Benefit From a Final-Shape Preview
Before crocheting the first component, watch enough of the tutorial to understand the finished proportions. This makes it easier to decide whether your yarn choice will produce the kind of substantial display figure you actually want.
Keep the Upper and Lower Body in Scale
Longer figures can look top-heavy when the head and antlers become too large relative to the torso and legs. If substituting materials, avoid mixing different yarn thicknesses across major body sections unless you intentionally want to alter the proportions.
Use Assembly to Fine-Tune Character
Multipart construction gives you control over ear angle, head direction, and limb position. Take advantage of that flexibility. Temporary pinning lets you compare a straight, formal stance with a slightly more playful arrangement before committing to seams.
Original Tutorial and Creator Credit
Creator: Crochet with Aybi
18. Crochet Jelly Bean No Sew Reindeer
 SAVE
SAVEDarling Maple Designs uses a Jelly Bean construction, creating a squat, compact reindeer with a deliberately simplified body. The creator’s site and YouTube channel identify this as a no-sew reindeer tutorial, separating it clearly from the traditional multipart dolls.
It is especially useful for anyone building a collection of small amigurumi in one shared body style. Rather than spending visual space on long limbs, the design concentrates attention on the reindeer face, antlers, color changes, and rounded silhouette.
The Jelly Bean Shape Should Stay Compact
The charm depends on width and roundness rather than realistic animal anatomy. If changing yarn or tension, compare the emerging proportions to the finished tutorial example so the body does not become unexpectedly tall and narrow.
Facial Placement Creates Most of the Personality
With few separate body parts, the eyes, muzzle, ears, and antlers become the primary character cues. Pause before irreversible facial finishing and make sure the features appear centered when the reindeer is resting naturally.
This Style Is Useful for Mixed Holiday Collections
A simplified bean body makes it easier to place the reindeer beside similarly styled seasonal characters without one figure looking much more anatomically detailed than the others. Match overall scale and yarn texture if you want the set to feel cohesive.
Original Tutorial and Creator Credit
Creator: Darling Maple Designs
19. Crochet Tiny Christmas Reindeer
 SAVE
SAVEHappygurumi’s tutorial focuses specifically on a tiny reindeer, making scale the defining feature. Unlike the larger plush projects, this one relies on delicate proportions and a small finished silhouette.
Tiny reindeer work well in miniature Christmas scenes, small gift presentations, or collections where several amigurumi need to fit into limited display space. The trade-off is precision: tiny ears and antlers can quickly look oversized, and facial placement becomes visually significant because there is so little room between features.
Tiny Antlers Need Restraint
On a very small head, even a slight increase in antler thickness changes the silhouette. If you change yarn, consider whether the resulting antlers still look proportional before continuing with the same substitution across every component.
Smooth Yarn Makes Mini Shaping Easier to Read
A yarn with clear stitch definition can make small rounds and narrow details easier to manage. Highly fuzzy yarn may produce a cute result, but it can obscure the very shaping that gives a tiny reindeer its refined appearance.
Use a Miniature Display to Its Advantage
This scale shines when the surroundings are also small. Pair it with miniature trees, tiny gift boxes, or a restrained shelf vignette rather than placing it where a large plush would visually overpower it.
Original Tutorial and Creator Credit
Creator: Happygurumi
20. Crochet Classic Red Nosed Rudolph Doll
 SAVE
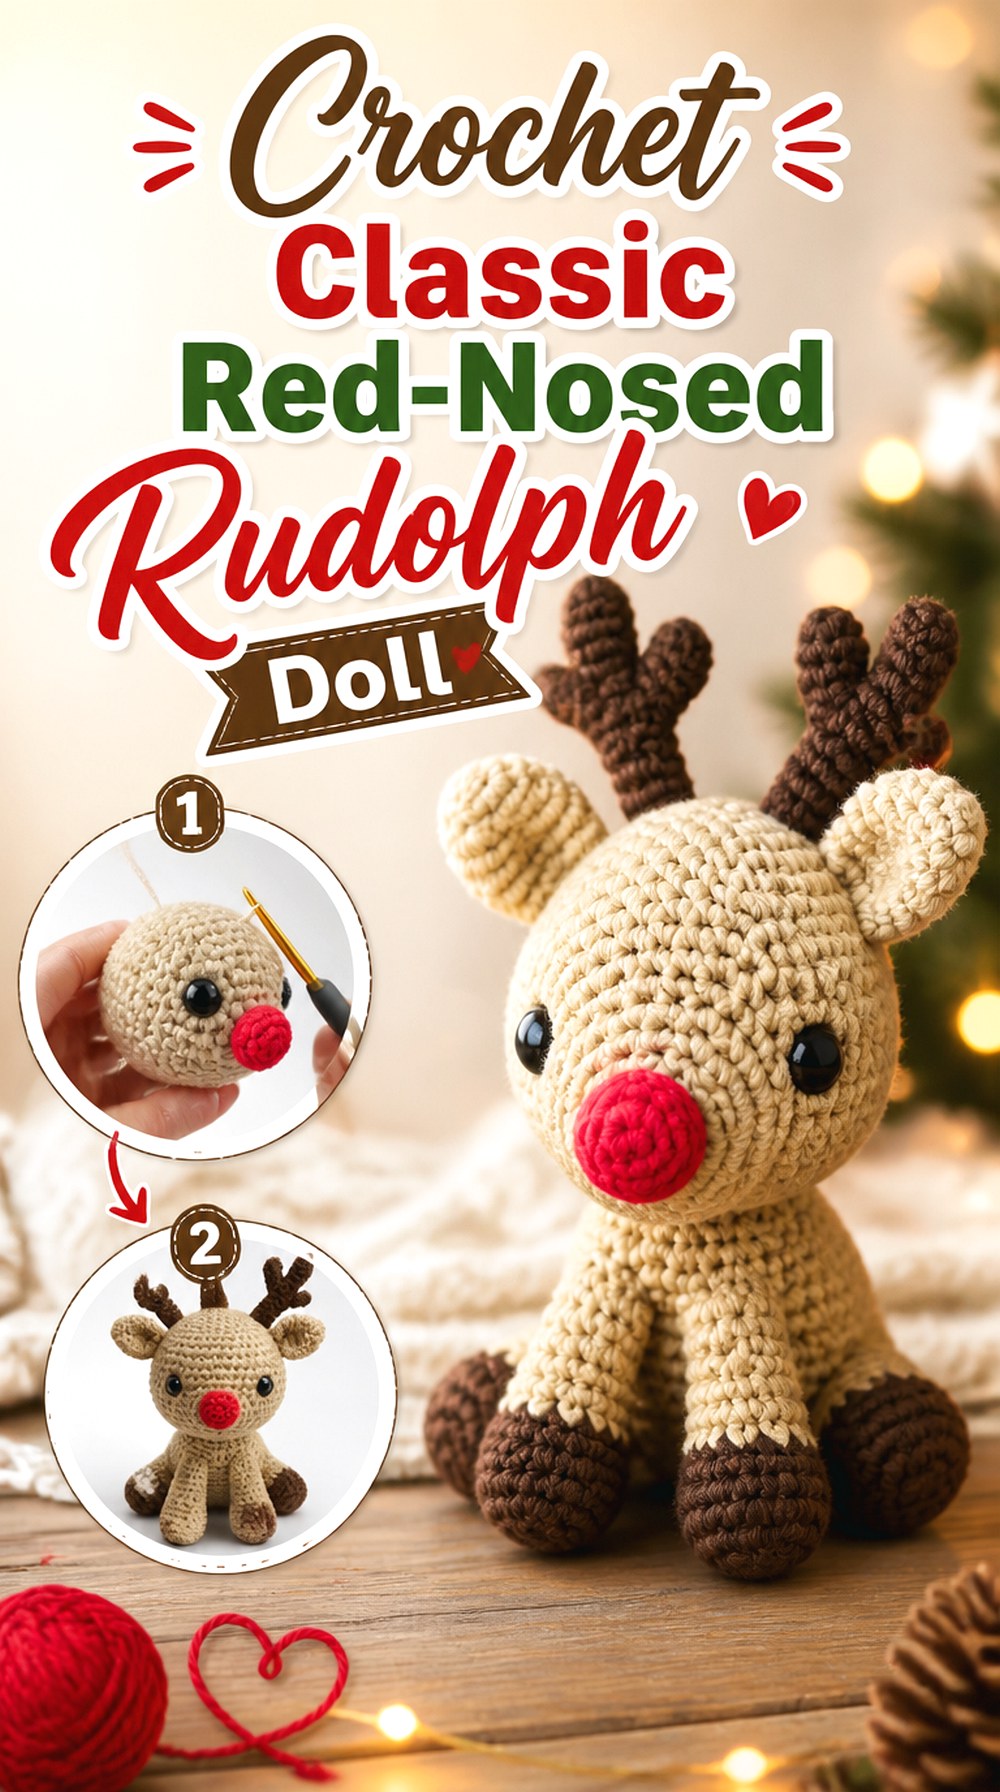
SAVEThe Corner of Craft’s tutorial gives Rudolph a recognizably traditional amigurumi treatment with a full stuffed character rather than an ornament-only head or simplified bean shape. The video’s focus on a Christmas Rudolph makes the red nose a deliberate centerpiece instead of an optional color variation.
This is a useful choice if you want an unmistakably seasonal figure. Compared with neutral woodland reindeer, a classic Rudolph benefits from stronger facial contrast and a clear red nose that remains proportionate to the muzzle.
Make the Red Nose a Focal Point, Not the Whole Face
The nose should attract attention without hiding the muzzle or crowding the eyes. If changing yarn thickness, reassess its scale independently rather than assuming every facial component should enlarge equally.
Traditional Rudolph Colors Pair Easily With Decor
Brown, cream, red, and dark antler tones sit naturally beside classic Christmas greenery and neutral ornaments. If your room already contains strong patterns, keeping the reindeer palette simple can help the handmade stitches remain visible.
Older Tutorials Can Still Be Useful Visual References
A video’s age does not determine whether the construction is useful. Preview the picture quality and teaching pace first. If both suit the way you learn, a clear established tutorial can be just as practical as a newer upload.
Original Tutorial and Creator Credit
Creator: The Corner of Craft
21. Crochet Christmas in July Rudolph Amigurumi
 SAVE
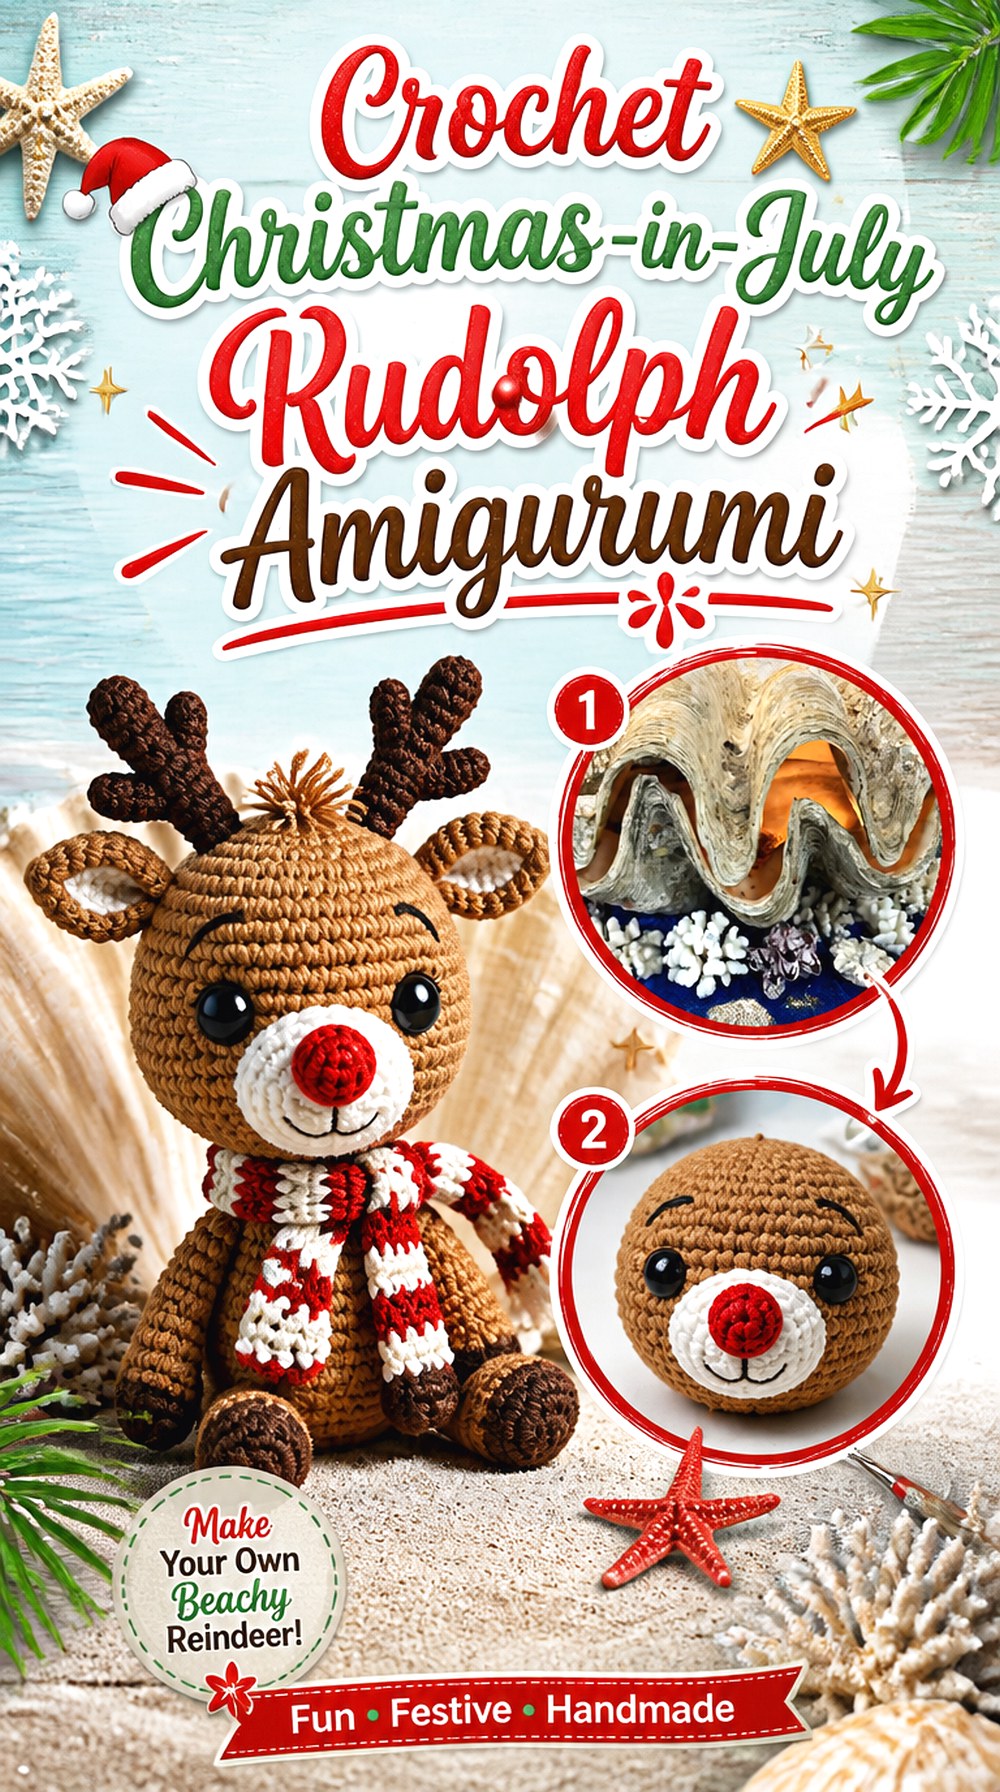
SAVEThis Rudolph project comes from Strawberry Bonnie Crochet and is framed as a Christmas-in-July amigurumi project, making it a useful final idea for crocheters who plan seasonal work well before December.
The main value here is not simply starting early. Working on a display reindeer outside the holiday rush gives you room to evaluate colors, finishing, and whether you want to repeat the project for gifts. The recognizable red-nosed character also makes it an easy focal point for a larger handmade Christmas collection.
Early Seasonal Making Helps With Repetition
If you ultimately want several reindeer, finishing one well ahead of the holidays gives you a physical sample. You can use it to compare later antler placement, facial spacing, stuffing firmness, and overall scale without relying solely on notes.
Photograph the First Face Before Repeating It
Amigurumi expressions are surprisingly sensitive to placement. A straight-on photo of the first successful reindeer creates a practical visual reference when attaching the eyes, nose, muzzle, and ears on later versions.
Decide Whether Every Reindeer Needs a Red Nose
For a coordinated herd, one Rudolph can act as the visual focal point while the others use neutral noses. This preserves the recognizable Christmas character without making every figure compete for the same bright facial accent.
How to Choose Between the 21 Reindeer Styles
For the smallest projects, start with the Crochet Tiny Christmas Reindeer, Crochet Velvet No-Sew Mini Reindeer, or Crochet No-Sew Pocket Reindeer. The pocket and velvet choices emphasize soft texture, while Happygurumi’s tiny version is more about miniature scale.
If reducing assembly is the priority, compare the Pocket, Potato-Shape, and Jelly Bean reindeer. They all simplify finishing, but their silhouettes are clearly different. For a traditional amigurumi experience, the Odinka Wisanindhi, HelenMay Crochet, Ami Saigon, and Crochet with Aybi projects provide fuller animal or doll constructions.
Choose the Sitting Rudolph when tabletop posture matters, the Rudolph Head Ornament for hanging decor, and the Reindeer Lovey Comforter when you specifically want a cuddler format rather than a conventional stuffed figure.
Conclusion
The most useful way to choose among these 21 crochet reindeer amigurumi ideas is to begin with the finished object’s job. Pick a tiny, pocket, potato, or jelly bean reindeer for compact holiday displays; choose a plush version when soft texture is the priority; and use a classic multipart doll when antlers, limbs, facial shaping, and accessories are part of the appeal.
The sitting Rudolph works especially well for shelf scenes, while the ornament and lovey serve completely different functions from ordinary dolls. Once you have selected the shape, compare yarn texture, assembly, facial finishing, and recipient safety. Use the original tutorials near each project for the creators’ exact construction details.
Frequently Asked Questions
What yarn is most useful for crochet reindeer amigurumi?
It depends on the finish you want. Smooth yarn gives clearer stitch definition around small muzzles, ears, and antlers. Chenille, plush, and velvet create a softer and rounder toy but can make individual stitches harder to see. Follow the tutorial’s listed materials when you want a result close to the creator’s example, particularly on tiny or highly structured reindeer.
How can I keep crochet reindeer antlers from looking uneven?
Compare both antlers before permanent attachment and temporarily position them on the head at the same time. Look at the reindeer directly from the front and from above; a small twist that is invisible from one side can become obvious from another. Also check that the ears are not creating the illusion that one antler sits higher than the other.
Can I substitute thicker yarn to make a larger reindeer?
A thicker yarn generally changes scale, but it may also alter proportions, texture, and the apparent weight of small features. Antlers that look delicate in the original material can become bulky, and a tree ornament may become too substantial for its intended display. Treat yarn substitution as an adaptation and evaluate the whole silhouette rather than expecting only a straightforward size increase.
Are no-sew reindeer always quicker than multipart amigurumi?
They remove much of the final sewing, but that does not automatically make every no-sew design faster for every crocheter. Integrated ears, antlers, bobbles, or color changes may require careful counting while the body is being constructed. Choose no-sew because you prefer fewer attachment seams, not because you assume there will be no precision work.
Should I use safety eyes on a crochet reindeer for a young child?
Do not assume safety eyes are appropriate simply because a project is called a plush or amigurumi. Check the creator’s guidance and consider the recipient’s age and intended use. Embroidered facial features can remove some detachable components, but the entire project—including antlers, accessories, seams, and other embellishments—still needs to be evaluated for suitability.
How can I make several crochet reindeer look like one coordinated set?
Keep the body yarn, hook choice, stuffing firmness, and feature placement consistent, then vary selected details such as nose color or accessories. Finish one reindeer first and use it as a physical reference for the others. A straight-on photograph also helps you reproduce eye spacing, muzzle position, ear angle, and antler height more consistently.
Can I sell reindeer made from these YouTube tutorials?
A public tutorial does not automatically grant commercial permission. Check the creator’s video description, linked written pattern, website, or shop terms for rules about selling finished items and required credit. Those terms can differ between designers, and they may change. Also confirm any labeling, product-safety, or business requirements that apply where you sell handmade goods.