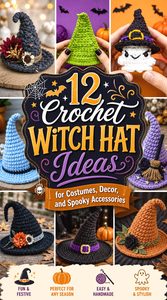
A crochet witch hat does not have to mean one tall black cone with a brim. The same recognizable shape can become a full-size Halloween costume hat, a crooked fantasy accessory, a tiny amigurumi topper, a hanging decoration, a hair clip, or even a flat bookmark and coaster. Construction and scale change considerably across those uses.
This collection focuses on those meaningful differences. You can compare hats that need to fit and hold a brim with miniature projects where attachment, display, or portability matters more. Each idea also points to an original YouTube tutorial from a different crochet creator, so you can choose the format that matches the finished object you actually want to make.
Quick List
- Crochet Classic Pointed Costume Witch Hat
- Crochet Whimsical Crooked Witch Hat
- Crochet Structured Single-Crochet Witch Hat
- Crochet Mini Amigurumi Witch Hat
- Crochet Plush Witch Hat Keychain
- Crochet Mini Display Witch Hat
- Crochet Surface-Band Mini Witch Hat
- Crochet Witch Hat Garland
- Crochet Witch Hat Hair Clip
- Crochet Witch Hat Bookmark
- Crochet Witch Hat Coaster
- Crochet Witch Hat Appliqué
Choose the Witch Hat by Function Before You Choose the Look
Start with where the finished hat will be used. A wearable witch hat has to work with head circumference, crown depth, brim width, and the amount of structure you want around the face. A miniature hat has different priorities: the point should read clearly at a small scale, the brim should stay recognizable, and any attachment needs to suit the doll, keychain, clip, or display.
Flat witch-hat motifs change the problem again. For a bookmark, coaster, or appliqué, silhouette and edge finishing matter more than crown volume. A garland also needs repeated pieces that hang consistently rather than one perfectly fitted hat.
Matching the construction to the intended use before thinking about color prevents many adaptation problems later.
Structure, Scale, and Brim Behavior Change the Finished Result
Witch hats rely heavily on silhouette. A soft fabric can produce a relaxed or bent point, while a firmer fabric can emphasize a defined cone and stronger brim. Neither is automatically better; the right choice depends on whether you want something theatrical and slouchy or something that holds a crisp outline.
Scale also changes how details read. A wide contrasting band that looks balanced on a costume hat can overwhelm a tiny amigurumi hat. Likewise, an embellishment that is subtle on a wearable can become the focal point of a miniature version.
Before changing yarn or hook size, consider what else will change with it. The brim may become softer or stiffer, the point may stand differently, and a miniature accessory may no longer fit the object it was intended for.
What to Verify Before Adapting a Witch Hat Tutorial
For wearable hats, confirm the creator’s sizing information rather than assuming that adding rounds will automatically give the right fit. Head circumference is only part of the decision; crown depth and how the brim sits also affect comfort and appearance.
For small projects, check the finished scale against its intended use. A doll hat, hair clip decoration, and keychain can all be called “mini,” yet they do not necessarily need the same proportions.
Also look closely at finishing. If you plan to turn a decorative hat into a clip, ornament, keyring, or garland piece, decide how it will be attached before changing the original shape. Added hardware and hanging points can affect balance, particularly on lightweight crochet pieces.
1. Crochet Classic Pointed Costume Witch Hat
 SAVE
This version is closest to the familiar costume silhouette: a long pointed crown widening into a recognizable brim. It is a useful starting point when your main goal is an actual wearable witch or wizard hat rather than a miniature Halloween object. ElyseCrochets presents the project specifically as a witch or wizard hat for Halloween, dress-up, or costume use and works with worsted-weight acrylic yarn in the demonstrated version.
Compared with the more sculptural hats below, this idea keeps the emphasis on the basic cone-and-brim shape. That makes color bands, appliqués, patches, or other surface decoration easier to plan around a relatively clean silhouette.
Check the Crown Fit Before Judging the Brim
A dramatic brim can distract from a crown that is too loose or too tight. For a wearable version, compare the tutorial’s intended fit with the wearer’s head measurement before committing to decorative finishing. If you adapt the yarn, the resulting circumference and crown depth can change together, so do not treat the brim as an independent sizing adjustment.
The hat should also sit at the intended level before you decide whether a wider or narrower brim would look balanced.
A Softer Point Can Be Part of the Style
A witch hat does not necessarily need a rigid point. A somewhat flexible crown can create a relaxed fantasy look and can be easier to pack or store than a heavily reinforced shape. If you want a much sharper architectural point, first determine whether the tutorial’s fabric naturally provides that structure.
Adding stiffness later can change how the crown bends and how comfortably the hat sits, so decide whether softness is actually a problem before trying to remove it.
Original Tutorial and Creator Credit
Creator: ElyseCrochets 💌
2. Crochet Whimsical Crooked Witch Hat
 SAVE
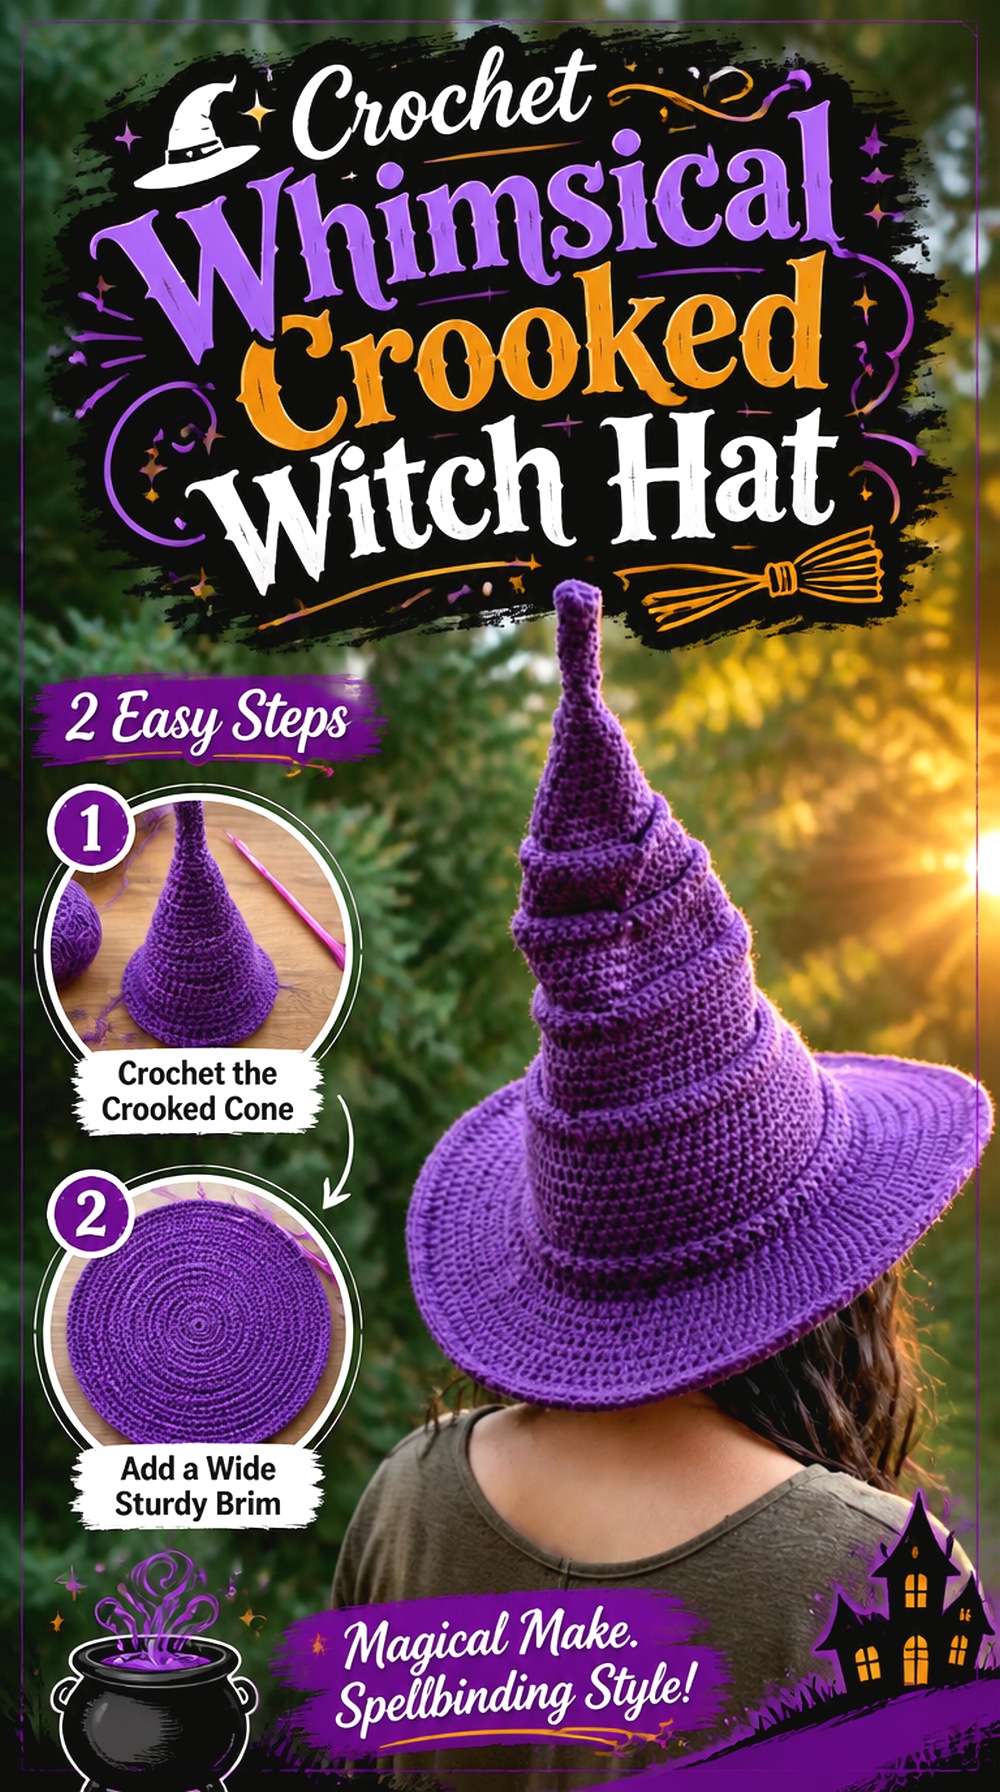
A crooked witch hat makes the bend in the crown part of the design rather than treating it as something that must be corrected. Crochet with illJay’s tutorial is explicitly presented as a whimsical Halloween witch hat, making it a strong reference for readers who want a more character-driven costume piece instead of a straight symmetrical cone.
This style works particularly well when the hat itself needs to carry the costume. The irregular crown creates visual movement even with relatively simple colors. Because the point is already expressive, extra decoration can stay restrained without making the project look unfinished.
Decide Where You Want the Crown to Bend
A crooked point looks most intentional when its direction works with the way the hat will be worn. Before final finishing, look at the hat from the front, side, and back rather than judging only the crown in your hands.
If you plan to add a band, buckle, flower, or other focal detail, consider whether it should visually balance the bend or sit on the same side to exaggerate the asymmetry.
Keep the Brim From Competing With the Point
On a whimsical hat, the crown is usually the visual feature that distinguishes the project. An extremely busy brim can make the silhouette harder to read. If you add embellishment, decide whether the crown or brim should be the main focal area.
A relatively simple brim also makes a strongly bent point look deliberate rather than distorted. That distinction matters when adapting the project into brighter fantasy colors rather than traditional black.
Original Tutorial and Creator Credit
Creator: Crochet with illJay
3. Crochet Structured Single Crochet Witch Hat
 SAVE
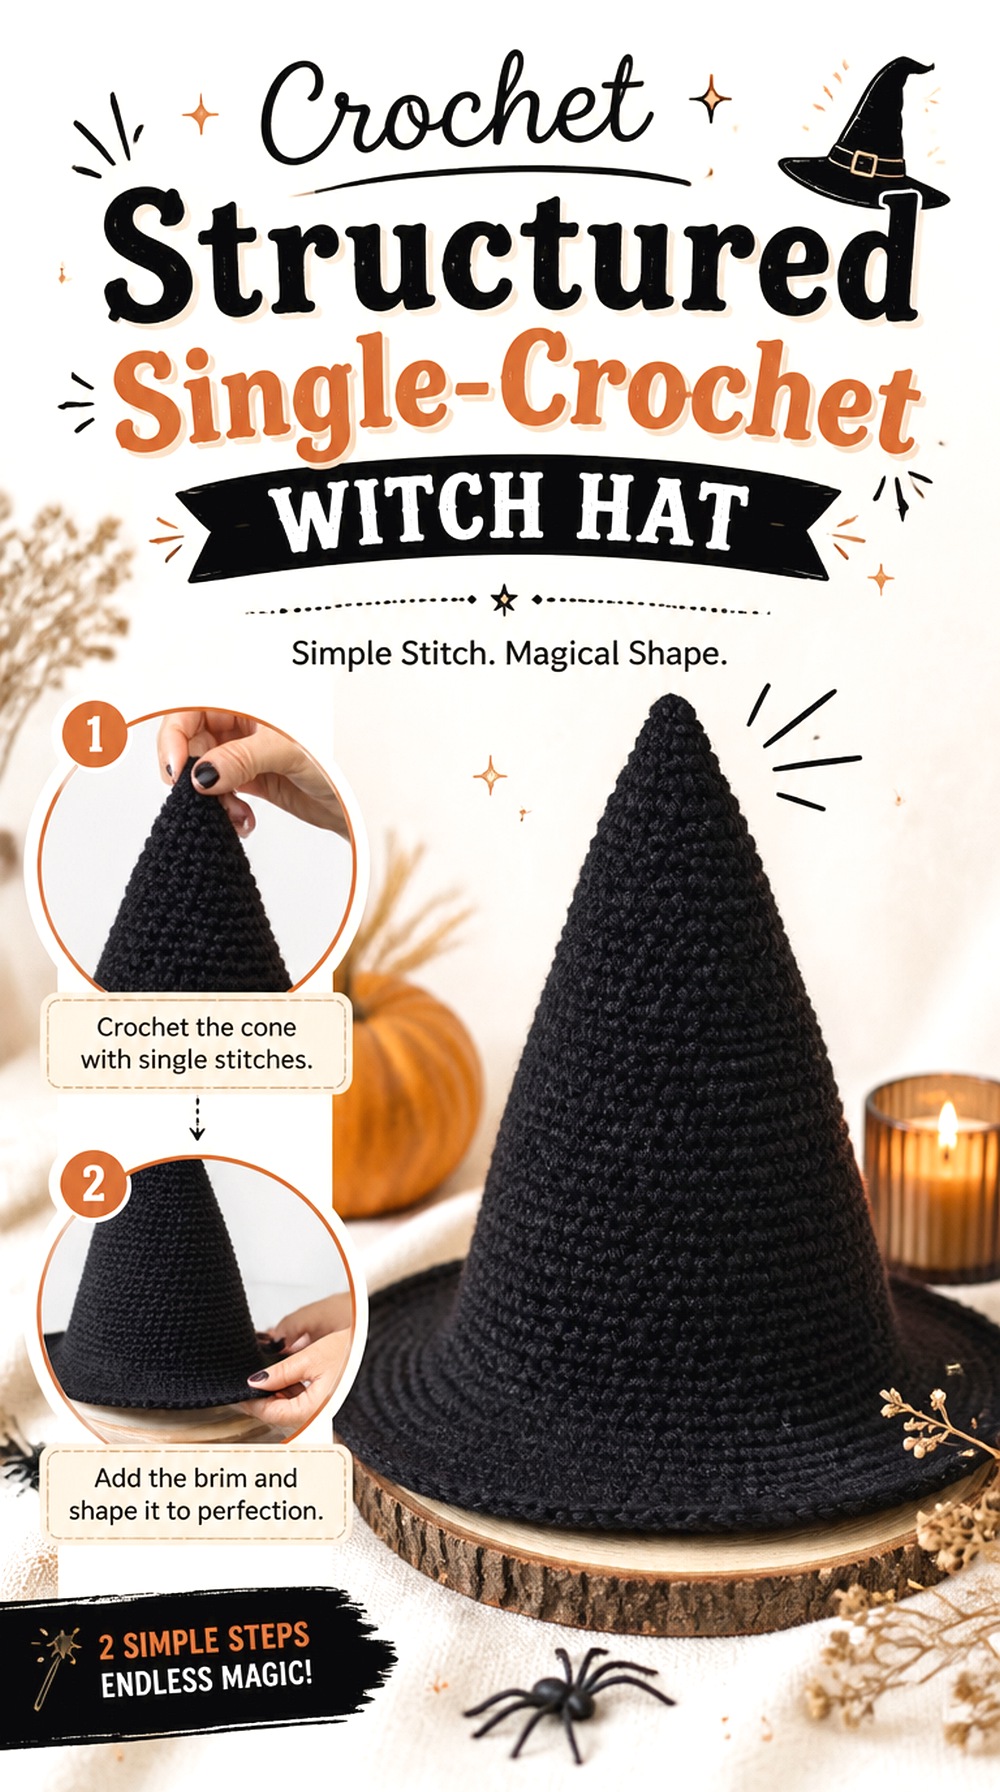
For a denser-looking costume hat, Delia Creates offers a version built around single crochet and super-bulky wool or wool-blend yarn. The accompanying sizing information covers child through adult ranges, and the designer specifically notes that firm tension is important to the structure.
That makes this idea notably different from a lightweight novelty hat. The fabric itself contributes strongly to the finished shape, so gauge and tension matter more than they might on a deliberately floppy design. It is a useful route for someone who wants the familiar pointed profile while keeping the surface visually simple and substantial.
Dense Fabric Makes Gauge More Important
Tight single crochet can produce a fabric that resists stretching more than an airy stitch pattern. That is useful for structure, but it also means a sizing error may be less forgiving.
Make the gauge check the creator recommends rather than relying only on a general head-size label. If your stitches are substantially tighter or looser than the tutorial’s fabric, the crown can fit differently even when your yarn is labeled the same weight.
Super-Bulky Yarn Changes the Visual Scale
Thicker yarn makes individual stitches more prominent and gives the hat a substantial surface. That can suit a bold costume, but small decorative details may need to be reconsidered because delicate trims can look visually undersized against chunky stitches.
If you plan to add a band or buckle, compare its width against the completed crown rather than choosing it in isolation. The larger stitch scale should guide the size of any added feature.
Firm Tension Can Be Physically Different to Work
A tightly worked super-bulky project may feel quite different from loose amigurumi or drapey garments. If maintaining very firm tension becomes uncomfortable, avoid forcing the hook through stitches. Confirm the recommended hook and gauge, and take breaks when needed.
The goal is consistent fabric rather than simply making every stitch as tight as possible.
Original Tutorial and Creator Credit
Creator: Delia Creates
4. Crochet Mini Amigurumi Witch Hat
 SAVE
Club Crochet scales the witch-hat idea down specifically for amigurumi. The tutorial uses a small cone, contrasting color details, and a brim rather than trying to reproduce the proportions of a human-size costume hat exactly. The creator describes it as an accessory for dolls, pets, or other very small subjects.
For most readers, the strongest use is as a removable or decorative amigurumi accessory. Its small scale makes the recognizable point-and-brim silhouette more important than elaborate decoration. It can also help turn an existing plush character into a seasonal display without making an entirely new Halloween amigurumi.
Match the Hat to the Toy, Not the Yarn Label
Two amigurumi made from similar yarn can still have very different head shapes. Before treating a mini hat as interchangeable between toys, compare the crown opening with the actual plush or doll.
If you want to adapt the concept to another amigurumi, the key checkpoint is proportional fit. A brim that covers the character’s eyes or a crown that sits too high can change the personality of the finished figure.
Small Accessories Need Secure Placement
If the hat will only be used for shelf display, a loose removable fit may be sufficient. If it needs to stay attached, use a finishing method appropriate to the toy and its intended user.
For children’s or pet items, treat loose hats, yarn ties, and detachable embellishments cautiously. A decorative crochet accessory that works well for supervised display is not automatically suitable for unsupervised play.
Original Tutorial and Creator Credit
Creator: Club Crochet
5. Crochet Plush Witch Hat Keychain
 SAVE
Works of Whimsy Crochet Co presents a miniature witch hat as an amigurumi-style plushie that can also become a keychain. The video is intentionally a no-talking tutorial, making it notably different from the narrated projects in this collection.
This idea works when you want the hat itself to be the small finished object rather than an accessory for another toy. The dimensional shape gives it more presence than a flat appliqué, while keychain hardware makes the scale useful for bags or seasonal accessories. Because it will be handled more than shelf décor, finishing deserves extra attention.
Hardware Placement Affects How the Hat Hangs
A keychain attachment point should allow the hat to hang in a visually useful orientation. Before permanently installing hardware, hold the finished piece from the intended point and see whether the brim tilts, folds, or makes the hat hang sideways.
A balanced attachment is especially important on an asymmetrical or stuffed object because a small change in position can noticeably shift the way it hangs.
A Silent Tutorial Requires More Visual Attention
A no-talking format can be pleasant when you prefer to watch the hands and stitch work without extended narration. It also means you should pay close attention to on-screen cues and pause when the construction changes.
If you normally rely on spoken explanations, preview the video before starting so you know whether its teaching format matches the way you like to learn.
Original Tutorial and Creator Credit
Creator: Works of Whimsy Crochet Co (Jacki Chaplain)
6. Crochet Mini Display Witch Hat
 SAVE
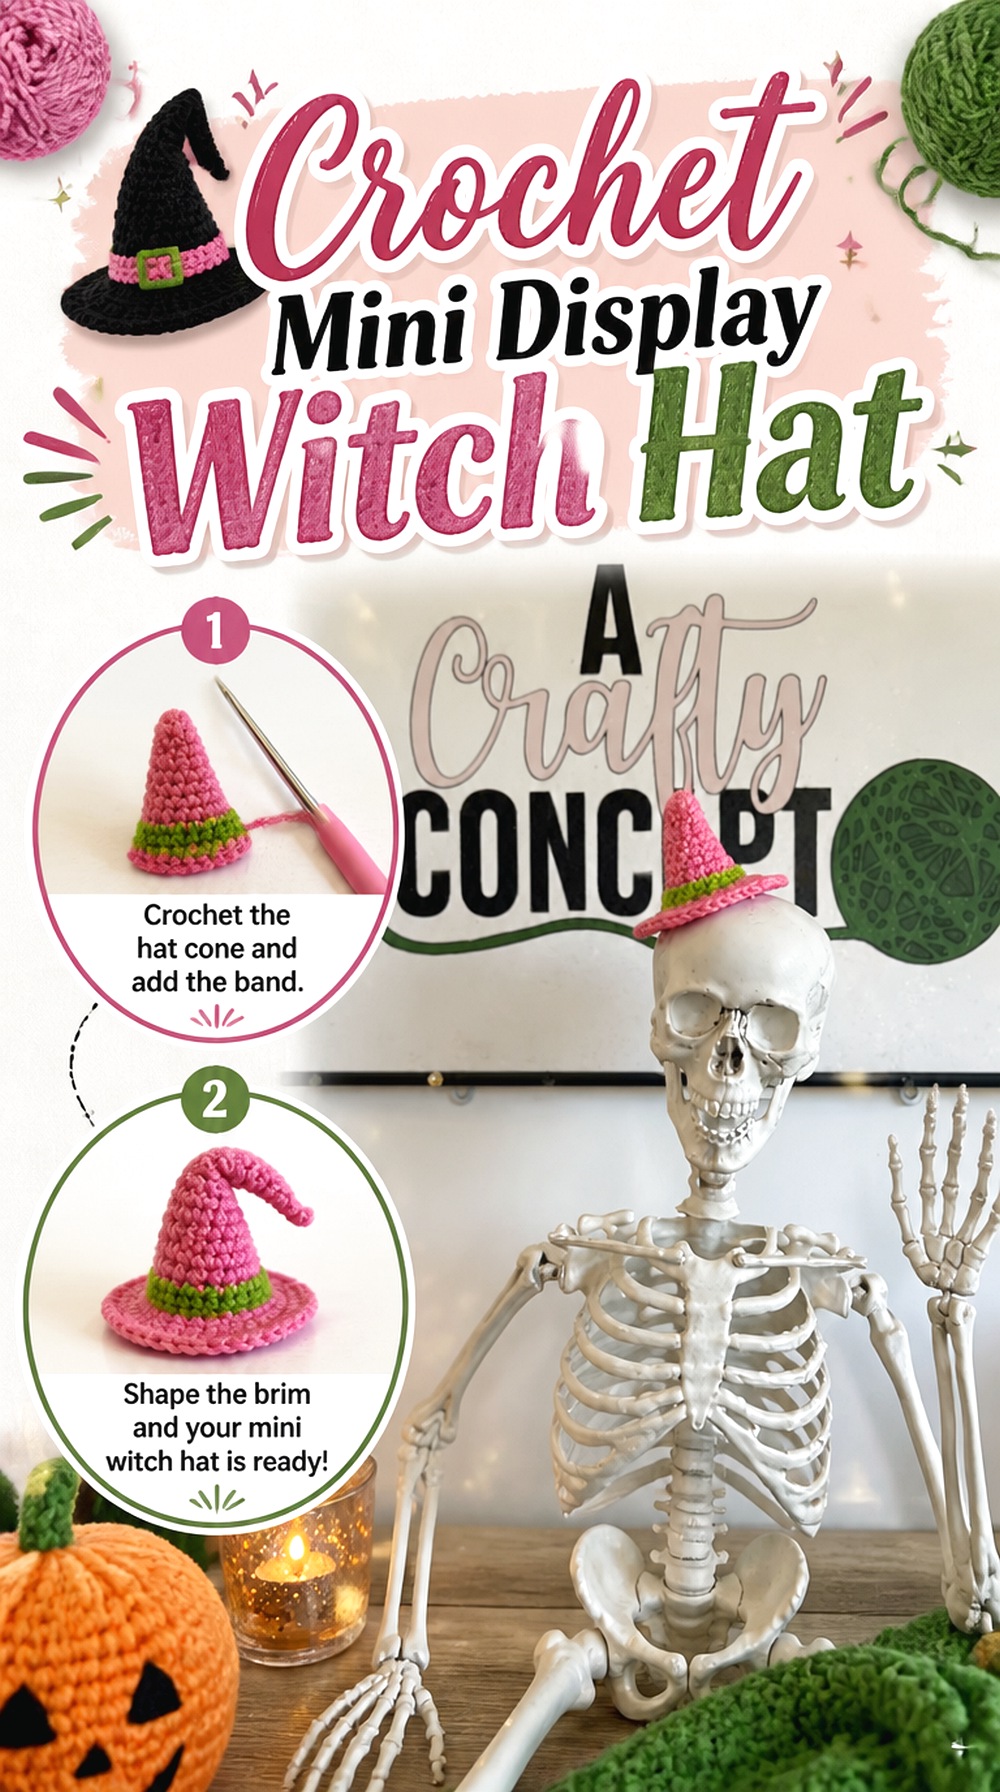
A Crafty Concept’s mini witch hat is a compact freestanding version made with two colors of worsted-weight yarn in the demonstrated project. The creator suggests several possible seasonal uses, including decorating plushies, garlands, headbands, pumpkins, or other Halloween displays.
That flexibility makes this a useful “base object” idea. Instead of deciding on hardware or a permanent attachment from the beginning, you can first make the miniature hat and then decide where it fits best. Its simple cone, contrasting band, and brim also make color changes easy to evaluate visually.
Make One Sample Before Planning a Whole Display
If you want several hats for a centerpiece, party table, or group of pumpkin toppers, complete one first and check the finished scale in the actual location.
A mini hat that looks substantial in your hand may feel tiny on a large mantel, while one intended for a mug or plush can be overwhelming. Testing one finished sample avoids committing to a large batch before you understand the visual proportion.
Brim Shape Controls How the Hat Sits
A decorative hat that will rest on a surface needs a brim that behaves differently from one attached to a soft toy. If the edge curls or tilts, decide whether that contributes to the whimsical style or prevents the hat from sitting as intended.
Blocking may help some fibers and constructions, but always consider the yarn’s care requirements before applying heat or aggressive shaping.
Original Tutorial and Creator Credit
Creator: A Crafty Concept
7. Crochet Surface Band Mini Witch Hat
 SAVE
tart Crochet’s miniature witch hat adds a useful surface-detail idea: the tutorial includes a contrasting belt worked as surface crochet after the main hat is formed. The project is presented for Halloween décor or as an accessory for amigurumi, and the creator also discusses adding playful decorative features.
The surface band is the main reason this version earns its own place in the collection. Instead of relying only on a separate ribbon or sewn-on trim, the accent becomes visually connected to the crochet fabric. That makes it a good choice if you enjoy small details but still want the recognizable mini-hat silhouette to remain dominant.
Surface Detail Can Emphasize an Uneven Join
A contrasting line naturally draws attention to the area where it is placed. Before adding a highly visible band, inspect the crown around that level and make sure you are happy with the shape.
If the line appears uneven, do not assume more decoration will disguise it. High-contrast edging often makes alignment easier to notice, so clean placement matters more as the color difference increases.
Keep Added Features in Scale
Eyes, buckles, bows, beads, and other additions can quickly crowd a very small hat. Choose one focal treatment rather than assuming every possible Halloween detail needs to appear together.
Set potential embellishments beside the completed hat before attaching them. The best scale is determined by the actual finished piece, not by how small an embellishment looked in its packaging.
Original Tutorial and Creator Credit
Creator: Start Crochet
8. Crochet Witch Hat Garland
 SAVE
Instead of treating each witch hat as a standalone object, this project repeats the motif and turns the group into hanging Halloween décor. Simply Made by Erin Crochet demonstrates the garland with super-bulky yarn and connects multiple dimensional hats along twine.
The shift from individual hat to repeated display changes the planning completely. Consistency between hats becomes more important, while a tiny variation that would be unnoticeable on one piece may stand out once several are hung together. The spacing and total visual weight also need to suit the mantel, window, shelf, or wall where the garland will be displayed.
Repeatable Proportions Matter More Than Perfect Copies
The hats do not need to be mechanically identical, but their overall scale should look intentional together. If one has a much wider brim or taller crown, decide whether it is a deliberate focal piece or an accidental mismatch.
For a balanced garland, compare each new hat with the previous finished pieces rather than relying only on memory. This is particularly useful when tension changes over several crochet sessions.
Check the Hanging Angle Before Stringing Everything
A dimensional hat may rotate once suspended. Test one or two pieces on the intended cord before attaching the whole set.
If the hats repeatedly turn away from the viewer, the problem may be the hanging point rather than the hat shape. Adjusting placement before assembling the full garland is easier than correcting every piece after the display is complete.
Plan Storage Along With Display
Seasonal garlands spend much more time stored than displayed. A bulky brim can crease if the hats are compressed tightly, while embellishments can catch on neighboring pieces.
Choose a storage container that allows the hats to retain their shape, and avoid stacking heavy decorations on top. If the garland includes glued or wired additions, inspect those attachments when you unpack it the following season.
Original Tutorial and Creator Credit
Creator: Simply Made by Erin Crochet
9. Crochet Witch Hat Hair Clip
 SAVE
Suzi Handmade turns the witch-hat silhouette into a small Halloween hair accessory instead of a freestanding decoration. The tutorial is specifically for a crocheted witch-hat hair clip, making attachment and scale central to the finished project.
This is a good option when you want a wearable seasonal detail without making a full costume hat. The smaller shape can add a recognizable Halloween accent while leaving the hairstyle visible. Because the crochet piece is attached to hardware, the back of the motif matters almost as much as the decorative front.
The Back Needs to Work With the Clip
Before attaching the crochet piece, check how much flat contact area the chosen hair clip provides. A large dimensional brim on a narrow clip may wobble or tilt even if the front looks attractive.
Position the hardware while looking at the hat from the front. A clip placed exactly in the geometric center does not always create the most visually level result if the hat itself is asymmetrical.
Keep Weight Appropriate for a Hair Accessory
Heavy embellishments can make a small clip slip or pull uncomfortably. If you add beads, buttons, charms, or layered decorations, attach them temporarily first and test the balance.
The goal is not simply to make the hat more detailed. For a wearable clip, keeping the finished accessory light and stable can be more useful than adding another decorative element.
Original Tutorial and Creator Credit
Creator: Suzi Handmade
10. Crochet Witch Hat Bookmark
 SAVE
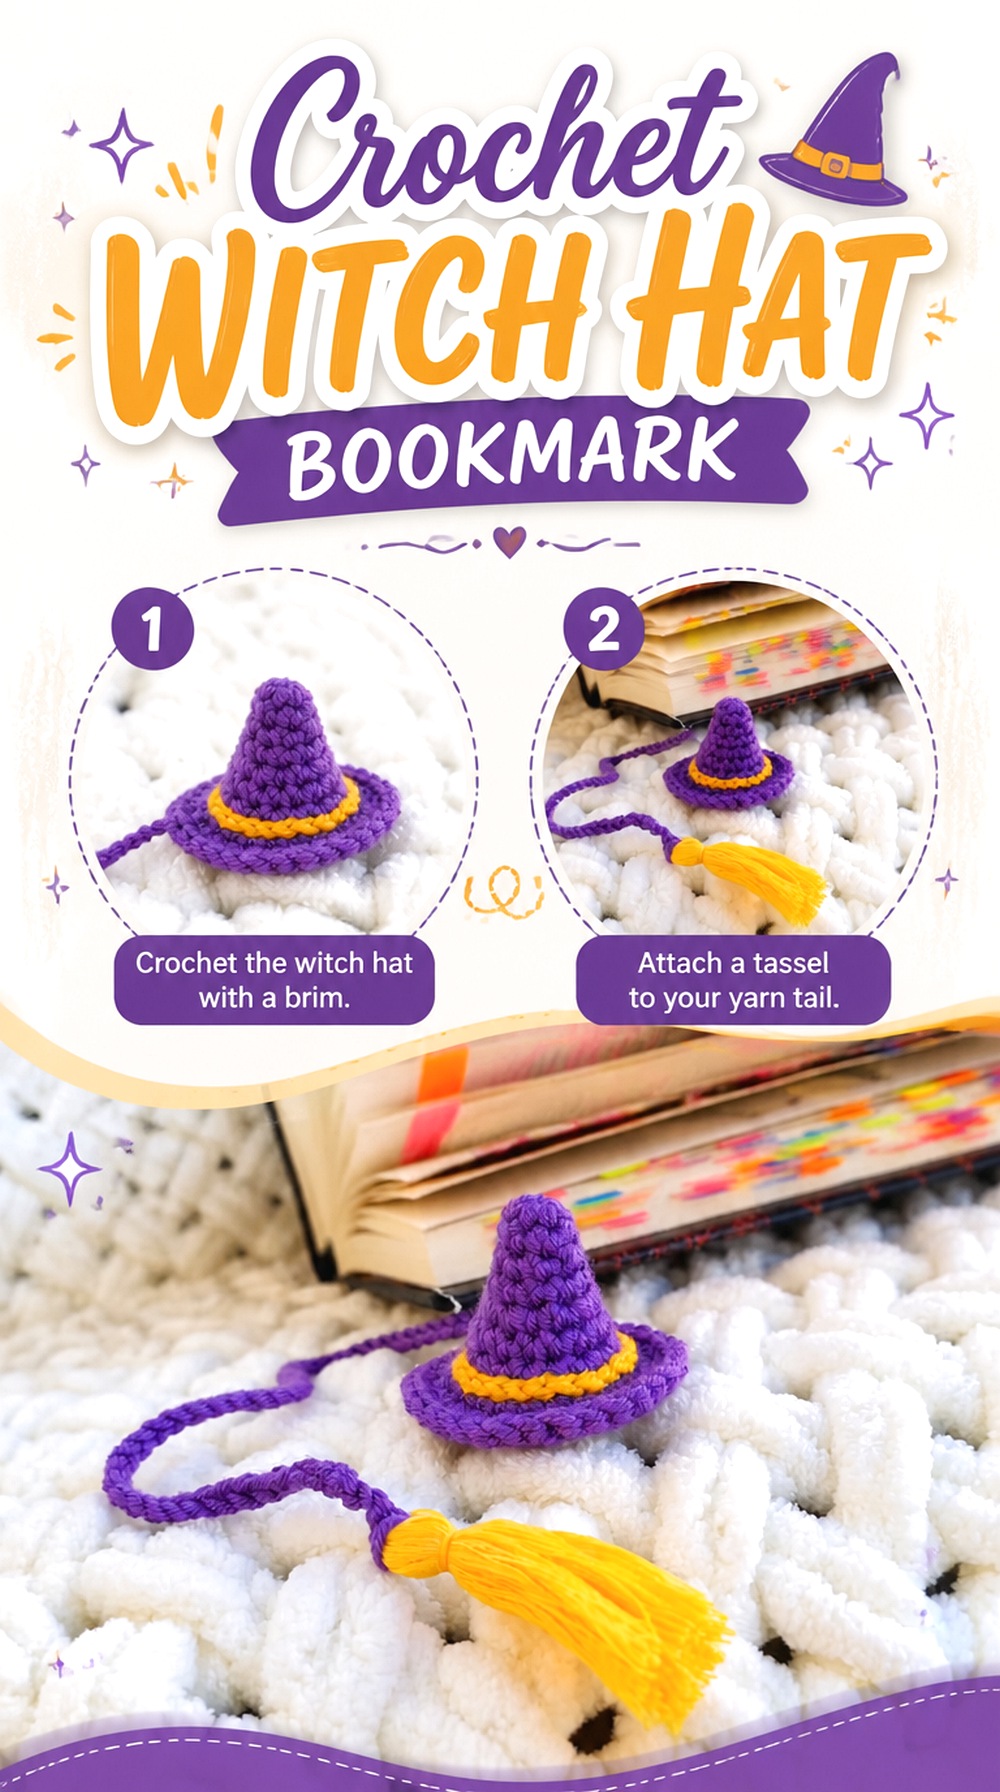
Reyra’s project flattens the witch-hat concept into a bookmark and finishes it with a tassel. The result keeps the pointed hat recognizable without creating a dimensional crown, which makes it substantially different from the costume and amigurumi options above.
This approach works especially well if you like Halloween crochet but do not need more seasonal display objects. The finished item has a practical use, stores flat, and can be paired with a book as a small themed gift. Because it sits between pages, bulk and finishing become more important than brim structure.
Flatter Is Usually More Useful Between Pages
A bookmark can be decorative without being heavily dimensional. Large knots, thick buttons, or stacked embellishments may prevent a book from closing comfortably.
If you customize the hat, concentrate decoration toward the portion that remains outside the book whenever possible. Before gifting it, place the bookmark in a similar-size book and check whether any added detail presses noticeably into the pages.
Tassel Length Should Suit the Intended Book
The tassel gives this design movement and makes the bookmark easier to locate, but proportion still matters. A very large tassel may overwhelm a small paperback, while an extremely short one can disappear between pages.
Finish the crochet hat first, then hold it against the type of book you expect to use. That visual check is more useful than choosing the tassel entirely from leftover yarn length.
Original Tutorial and Creator Credit
Creator: Reyra
11. Crochet Witch Hat Coaster
 SAVE
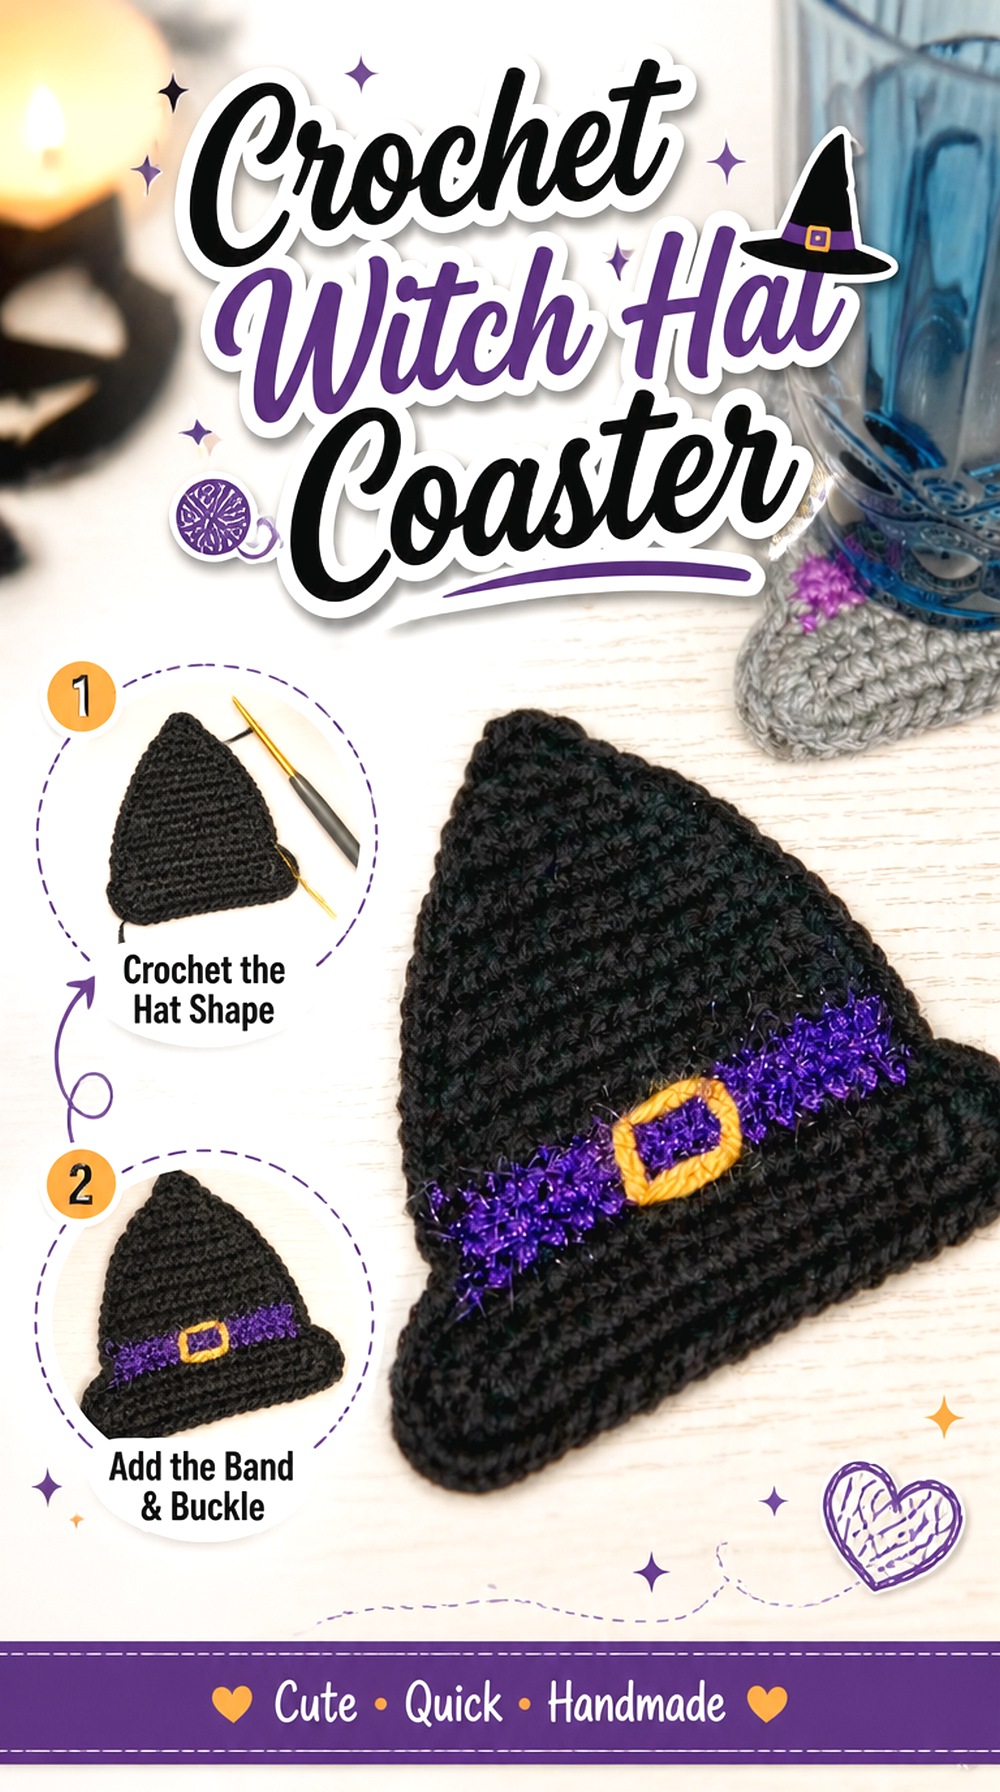
DoodabsDesigns Crochet translates the pointed hat into a flat coaster rather than a wearable or hanging item. The demonstrated project uses DK-weight yarn and combines the pointed crown, brim, and contrasting band into a compact tabletop silhouette.
This version is useful for Halloween place settings, coffee tables, or a set of seasonal tabletop pieces. Because it needs to lie flat, the success of the project depends less on making a cone stand upright and more on keeping the edges controlled and the shape recognizable from above.
Flat Edges Matter More on a Tabletop Piece
Curling that looks charming on an appliqué can make a coaster rock under a cup. Once the project is finished, place it on a genuinely flat surface and check all edges rather than judging it while holding it.
If shaping is needed, follow care methods appropriate to the fiber. Do not assume that a heat-based method is safe simply because another crocheter uses it with a different yarn.
Think About Use Before Adding Raised Decoration
Dimensional buttons or bulky buckles can interfere with whatever is placed on the coaster. If the piece will function as actual tabletop protection rather than decorative display, keep the central surface reasonably even.
A raised feature near an outer brim may be less intrusive, but test the finished layout with the type of mug or glass you expect to use.
Original Tutorial and Creator Credit
Creator: DoodabsDesigns Crochet
12. Crochet Witch Hat Appliqué
 SAVE
Alt Knots offers a flat crochet witch-hat appliqué, giving you a motif that can be added to another project instead of serving as the final object by itself.
This is the most adaptable idea in the collection because the finished hat can become a focal detail on a bag, wall hanging, blanket block, costume accessory, or other compatible crochet surface. The trade-off is that you have to think about the receiving project as well as the motif. Size, fabric stretch, color contrast, and attachment method all influence whether the appliqué looks integrated or simply added afterward.
Match the Motif to the Stretch of the Base
A firm appliqué attached to a very stretchy fabric can distort the surrounding stitches when the item is worn or pulled. Before sewing it down, pin or baste it in position and gently move the base fabric as it will move in normal use.
For a structured bag or wall hanging, that may be less important. On clothing, stretch compatibility deserves much more attention.
Placement Can Change the Whole Composition
A witch hat placed exactly in the center creates a very different look from one positioned at a corner, pocket, shoulder, or lower edge. Move the motif around before attaching it permanently.
Also check orientation while the finished item is being used rather than lying flat. A motif that looks centered on a tabletop may sit noticeably off-center when a bag is filled or a garment is worn.
Original Tutorial and Creator Credit
Creator: Alt Knots
Which Crochet Witch Hat Style Should You Choose?
For an actual Halloween costume, start with the classic pointed, whimsical crooked, or structured single-crochet hats. The classic version keeps the silhouette straightforward, the whimsical design makes the bent crown the feature, and the structured option puts more emphasis on dense fabric and controlled fit.
For small seasonal décor, the amigurumi, plush, and mini-display hats are easier to place on shelves or existing crochet characters. The garland is better when you need a larger visual display across a mantel or window. Choose the hair clip or bookmark when you want something useful and portable, while the coaster and appliqué work best when a flat witch-hat silhouette is more practical than a dimensional cone.
Conclusion
The most useful way to choose among these crochet witch hat ideas is to decide what the finished piece needs to do. A wearable costume hat needs fit and brim planning; an amigurumi hat needs proportion; a garland needs consistent hanging pieces; and bookmarks, coasters, and appliqués benefit from staying relatively flat.
For a dramatic costume, compare the first three wearable designs. For compact Halloween projects, look at the mini hat, hair clip, bookmark, or plush keychain. The garland offers the strongest repeated décor option, while the appliqué is the easiest concept to incorporate into another project. Use the original tutorials for the creators’ exact construction details before making substantial size or material changes.
Frequently Asked Questions
Can I make a mini crochet witch hat larger just by using thicker yarn?
Thicker yarn and a larger hook will usually change the scale, but the result may not behave like a deliberately designed larger hat. The brim can become proportionally heavy, the crown may bend differently, and an amigurumi accessory still may not fit a human head correctly. For a true wearable, a tutorial designed with head sizing is a safer starting point than simply enlarging a miniature project.
How do I keep a crochet witch hat brim from looking too floppy?
First decide whether the softness is actually undesirable; a flexible brim suits some whimsical designs. If you want more structure, yarn choice, stitch density, gauge, and brim construction all matter. Follow the tutorial’s intended fabric before adding reinforcement. Any wire, stiffener, or other structural material should be chosen with the project’s use, storage, washing, and wearer comfort in mind.
Should I block a crochet witch hat?
Blocking can help even out some crochet fabrics and shape certain brims, but the appropriate method depends on the fiber. Check the yarn’s care instructions before using steam, heat, or moisture. Mini display hats and flat motifs may benefit from controlled shaping, while heavily structured wearable hats can require different treatment. Never assume that a blocking method shown for one fiber is safe for another.
Can I turn any mini crochet witch hat into a hair clip or keychain?
Not automatically. Check whether the finished piece provides a stable area for attaching hardware and whether it hangs or sits correctly after attachment. A very wide brim may tilt on a narrow clip, while an off-center keyring can make a dimensional hat rotate. Test hardware placement before permanently sewing or fixing it to the crochet piece.
What is the easiest way to make several crochet witch hats look consistent?
Use the same yarn, hook, and general tension, then compare each completed piece with the previous ones as you work. This is especially helpful for garlands or coordinated décor because small differences become more visible in a repeated display. If exact size matters, compare finished dimensions before joining or attaching the hats rather than relying only on the number of rounds completed.
Are crochet witch hats suitable for pets or small children?
Treat miniature hats, ties, keyrings, clips, beads, buttons, and other detachable details as potential safety concerns. A project demonstrated on a pet or toy is not automatically suitable for unsupervised use. For children or animals, consider how securely parts are attached, whether cords or hardware are present, and whether the item is intended only for supervised costume photos or display rather than play.