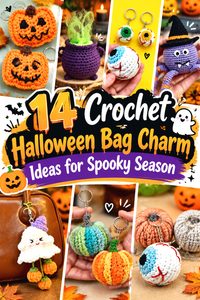
Halloween bag charms can range from compact, low-profile motifs to stuffed amigurumi characters with wings, hats, capes, and other dimensional details. That difference matters when the finished piece will actually hang from a purse or backpack: a flat skull behaves very differently from a dangling spider, while a soft pumpkin has different attachment needs than a narrow potion bottle.
The 14 ideas below cover classic ghosts, monsters, candy, witchy objects, animals, and jack-o’-lantern imagery. Each project is paired with an original tutorial source rather than a second-hand roundup. Along the way, you’ll also find practical checkpoints for scale, hardware, snag-prone details, small embellishments, and yarn substitutions so you can choose a charm that suits how you plan to use the bag.
Quick List
- Crochet Wavy Ghost Bag Charm
- Crochet Ribbed Pumpkin Bag Charm
- Crochet Winged Bat Bag Charm
- Crochet Pointed Witch Hat Bag Charm
- Crochet Flat Skull Bag Charm
- Crochet Frankenstein Monster Bag Charm
- Crochet Candy Corn Bag Charm
- Crochet Black Cat Buddy Bag Charm
- Crochet Witch-Hat Spider Bag Charm
- Crochet Eyeball Bag Charm
- Crochet Cape Vampire Bag Charm
- Crochet Potion Bottle Bag Charm
- Crochet Bubbling Cauldron Bag Charm
- Crochet Jack-o’-Lantern Face Bag Charm
Choose the Shape for the Way the Bag Will Be Used
The most decorative charm is not automatically the most practical one. Flat or lightly stuffed designs such as skulls and face-forward motifs usually sit closer to the bag, which can make them a sensible choice for backpacks, zipper pulls, or bags that are frequently placed under desks and seats. Dimensional amigurumi gives you more sculptural character, but wings, legs, hats, capes, and other projections create more places that can catch on clothing or nearby objects.
Scale matters too. Switching to thicker yarn can turn a compact keychain into a much bulkier accessory even when the construction stays the same. If portability is the goal, compare the source’s finished scale and materials before substituting yarn. For a decorative tote that is handled gently, you have more freedom to choose dimensional details than you would for an everyday commuter bag.
Treat the Attachment Point as Part of the Design
Bag-charm hardware has to fit both the crochet piece and the bag. A split ring can work well when you want a permanent-looking connection, while a lobster or swivel clasp makes removal easier. Underground Crafter specifically notes that a lobster clasp needs to be large enough for the zipper hardware or other attachment point on the intended bag.
Whatever hardware you choose, look at where the load will sit. Attaching through one loosely stretched stitch can distort a small amigurumi over time. A reinforced yarn loop, sturdy top section, jump ring, or attachment method demonstrated by the original designer may distribute movement more effectively. Check that the charm hangs in the orientation you want before permanently closing hardware, especially for faces, bats, hats, bottles, and other designs that have a clear front.
Think About Small Parts, Snagging, and Everyday Handling
Bag charms get knocked against doors, chairs, desks, and other objects, so finishing details deserve more attention than they might on stationary Halloween decor. Safety eyes, beads, buckles, felt pieces, loosely tied cords, and similar additions can potentially loosen. For a charm that might be handled by a young child, embroidered facial features can reduce reliance on detachable plastic pieces; the Yarn Society Frankenstein tutorial, for example, specifically warns that its plastic safety eyes are not recommended for children under three.
Long spider legs, wings, capes, and wispy cauldron steam create additional snag points. That does not make them unsuitable, but it may influence where you clip them. Care also depends on yarn fiber, stuffing, embellishments, and metal hardware, so follow the yarn label and original designer’s guidance rather than assuming every finished charm can be washed the same way.
1. Crochet Wavy Ghost Bag Charm
 SAVE
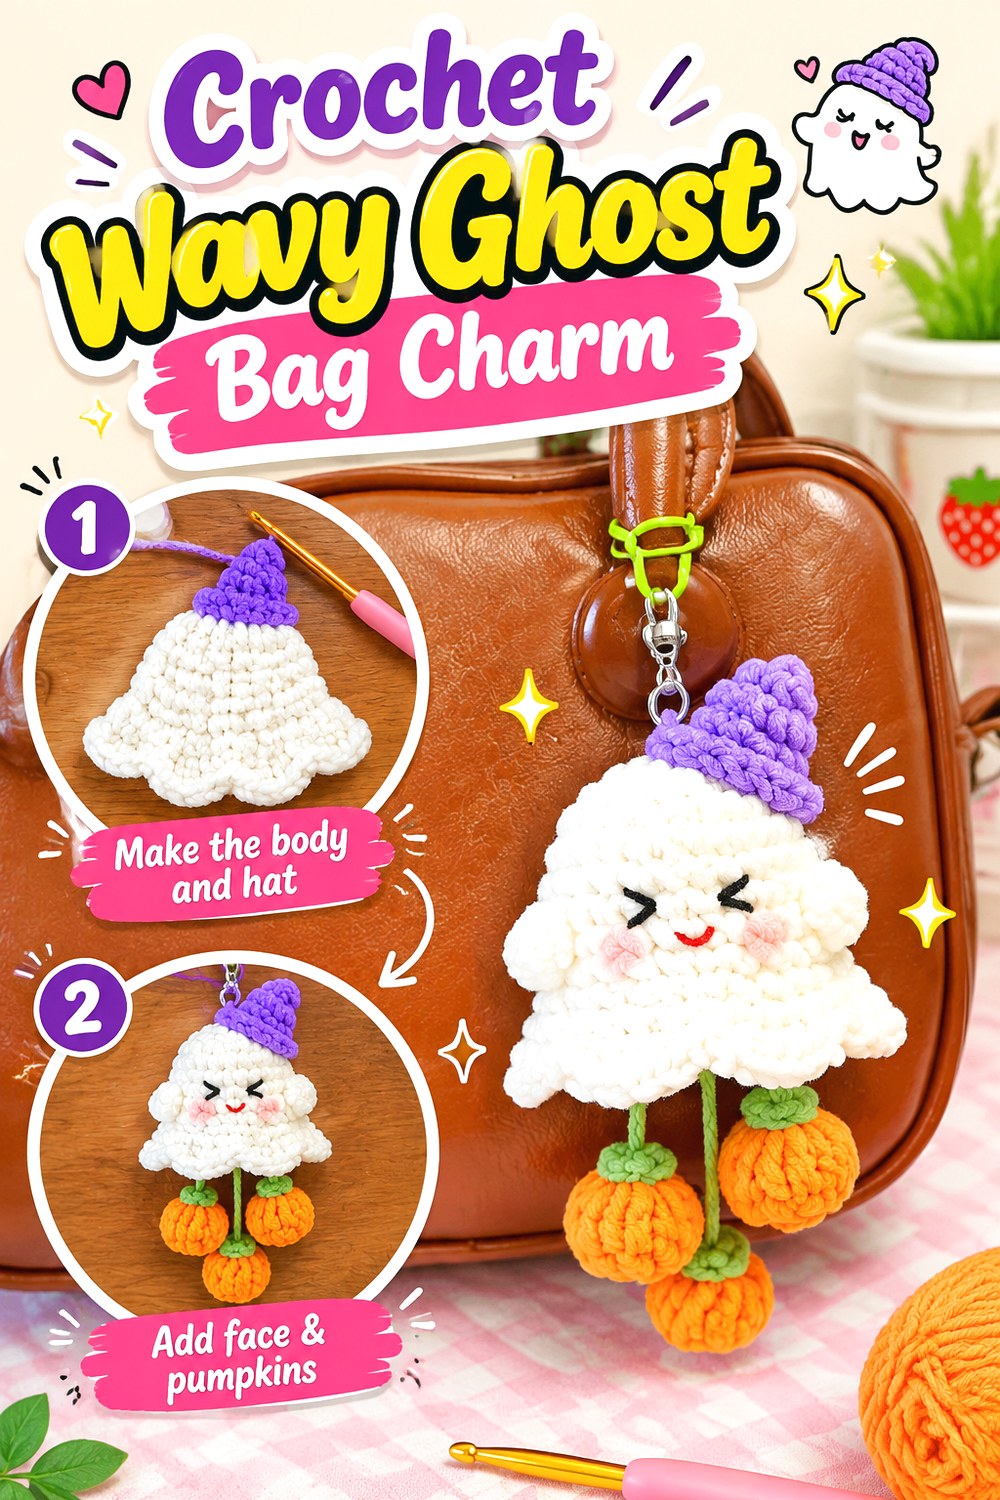
SAVEA ghost is a useful starting point when you want instantly recognizable Halloween imagery without relying on a complicated color palette. This version works as a small character charm that can hang from a keyring or bag, with the white body keeping the silhouette visually clear even from a distance. Myna Crochet’s tutorial is specifically presented as a Halloween ghost keychain that can also be used as a bag charm.
The simplicity of the theme also leaves plenty of room for personalization. A tiny embroidered expression can make the same basic ghost look cheerful, surprised, sleepy, or more traditionally spooky without adding heavy embellishments.
Keep the Face Legible at Small Scale
Tiny facial details can disappear visually when they are crowded together. Before permanently adding features, look at the charm from roughly the distance at which it will normally be seen on a bag. Strong contrast between the white body and dark facial details generally reads more clearly than several very small decorative elements competing for attention.
If you alter the yarn thickness, reconsider the scale of the face as well. Features that suit one finished size may look too small or disproportionately large after a yarn substitution.
Decide How Much Movement You Want
A ghost looks especially appropriate when it can swing slightly from the bag, but a very long connecting chain can turn that movement into extra wear. Think about where the charm will hang relative to zippers, straps, and corners.
A shorter attachment keeps the ghost close to the bag, while a longer connector makes it more visible. Whichever you choose, confirm that the top attachment does not pull the ghost sideways or obscure the face.
Original Tutorial and Creator Credit
Creator: Myna Crochet
2. Crochet Ribbed Pumpkin Bag Charm
 SAVE
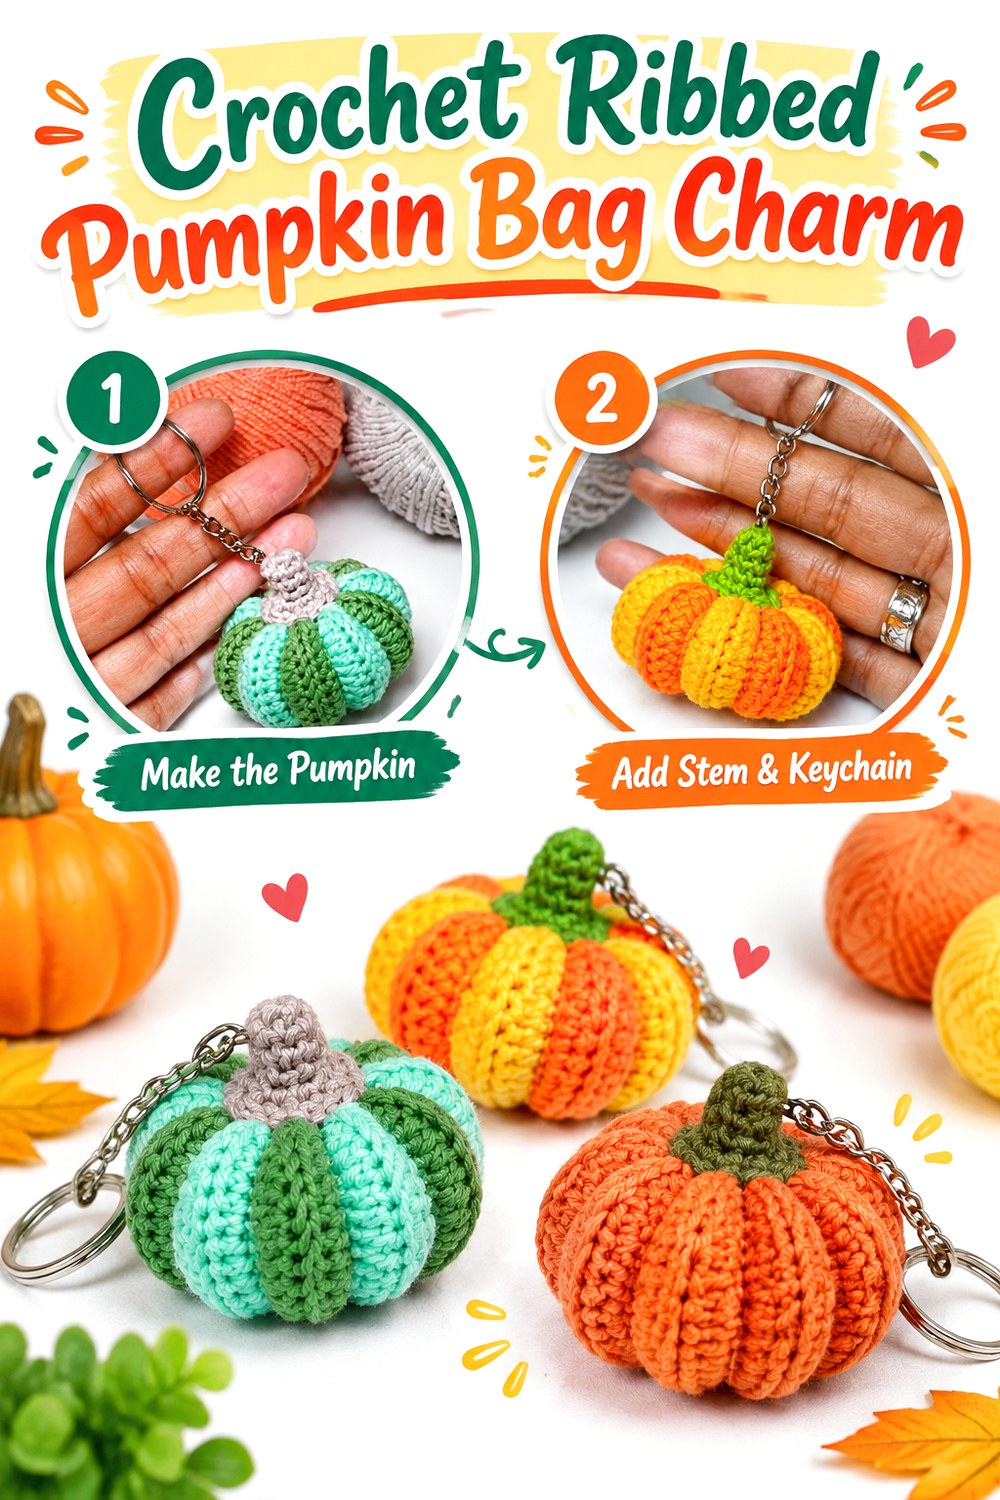
SAVEThis pumpkin brings more volume and texture than a flat Halloween motif. The source tutorial makes a striped amigurumi pumpkin keychain and specifically identifies the finished project as suitable for a bag charm, giving this idea a rounded fall silhouette rather than a face-driven jack-o’-lantern look.
Because the pumpkin’s identity comes from its segmented form and stem, you can keep the decoration fairly minimal. It works well for readers who want a charm that feels seasonal through both autumn and Halloween rather than one that becomes unmistakably spooky through eyes, teeth, or monster details.
Protect the Pumpkin Shape From Overstuffing
For a dimensional pumpkin, the ridged silhouette does a lot of the visual work. Excessive stuffing can push the fabric outward and reduce the definition between segments, while too little can leave the charm feeling collapsed.
Use the tutorial’s finished appearance as the reference rather than trying to make the piece unusually firm. If you substitute a thicker or more elastic yarn, check the shape before completely closing the piece because the same amount of stuffing can behave differently.
Place the Hanging Point Above the Center
A rounded object can rotate more noticeably than a flat charm. Before securing the keyring, hold the pumpkin from the proposed attachment point and see whether the stem stays upright.
If the hanging point sits too far to one side, the finished charm may tilt. This matters especially if you later add a face, leaf, bow, or other detail that has an intended front. Keep decorative additions clear of the hardware so they are not constantly rubbed by the ring.
Original Tutorial and Creator Credit
Creator: Crochet Craftsman
3. Crochet Winged Bat Bag Charm
 SAVE
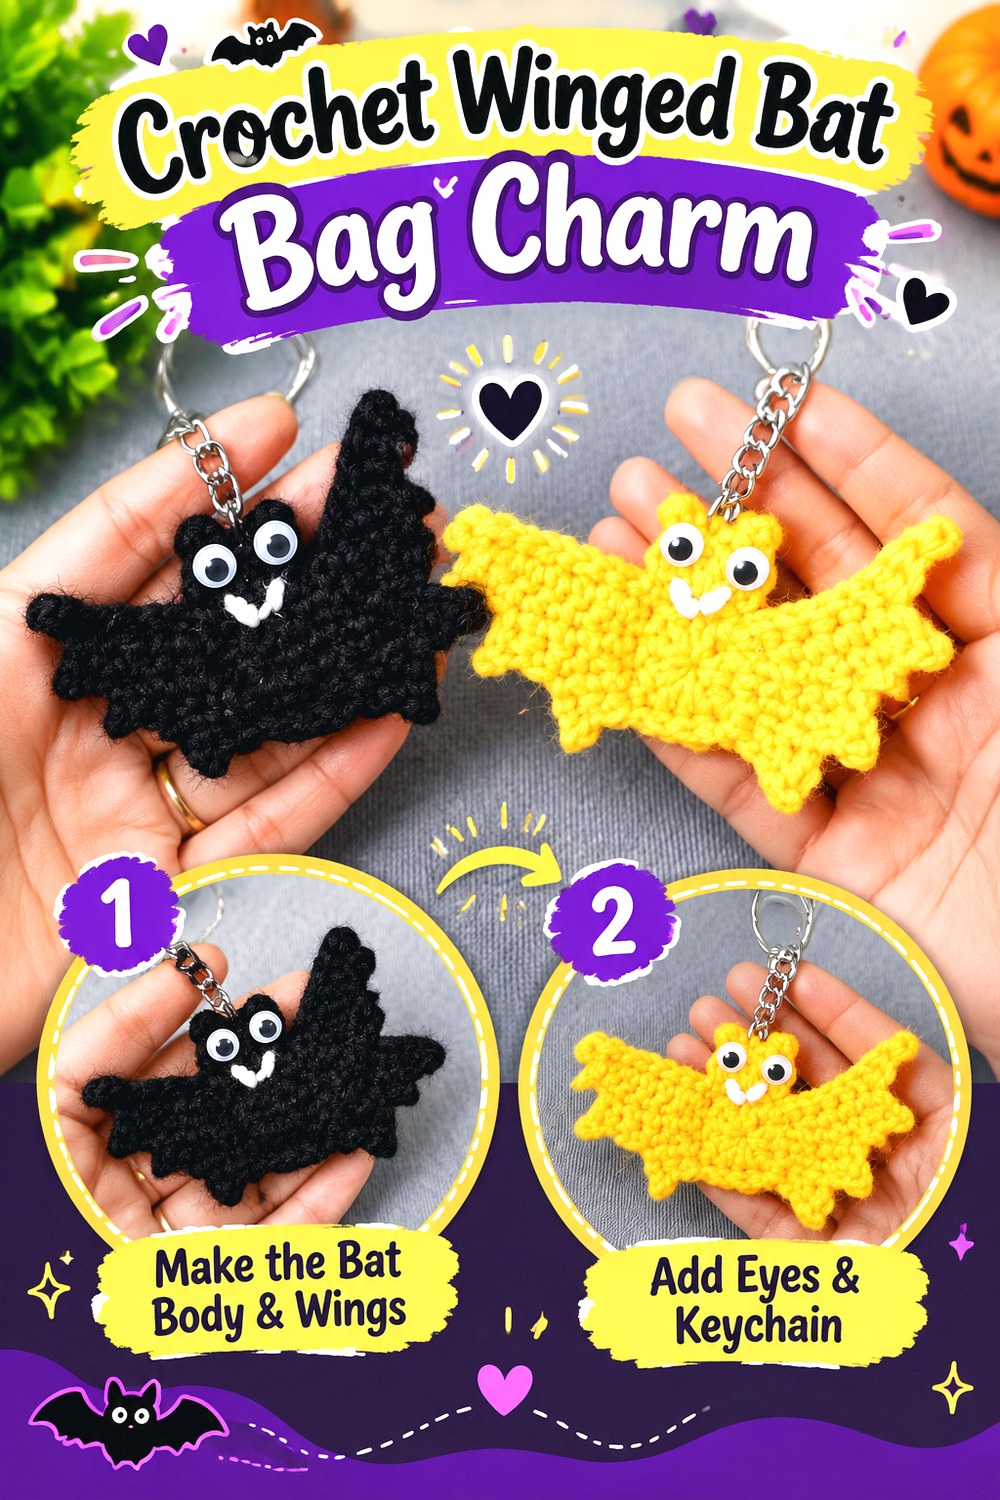
SAVEA bat changes the outline of a bag charm immediately because its width comes from the wings rather than the body. The Knitting Crochet by Sanju tutorial covers a bat body, shaped wings, facial details, and keyring attachment, and the creator explicitly includes bag charms among the intended uses.
That broad silhouette makes the design visually strong even in dark yarn. It also gives you a very different construction choice from rounded pumpkins and ghosts: the charm’s side pieces matter almost as much as its center. This is a good option when you want Halloween imagery that reads clearly without orange yarn.
Check the Wing Span Against the Bag
Wide wings can look impressive while hanging freely but may behave differently on a narrow zipper pull. Before committing to yarn substitutions, compare the likely finished span with the part of the bag where the charm will sit.
A thicker yarn may enlarge the wings enough to make them more prone to folding under a strap or catching on neighboring hardware. For a heavily used bag, keeping the finished bat compact may be more practical than emphasizing maximum width.
Secure Both Decorative and Structural Pieces
Wings are not merely decorative because they define the bat’s recognizable outline. If they are attached separately, inspect their bases carefully before adding the hardware and make sure loose yarn tails are finished securely.
The same applies to eyes or beads. For a charm intended for frequent handling—or where detachable components would be inappropriate—embroidered details are worth considering. Follow the original tutorial for construction, then choose finishing details appropriate for the eventual user.
Original Tutorial and Creator Credit
Creator: Knitting Crochet by Sanju
4. Crochet Pointed Witch Hat Bag Charm
 SAVE
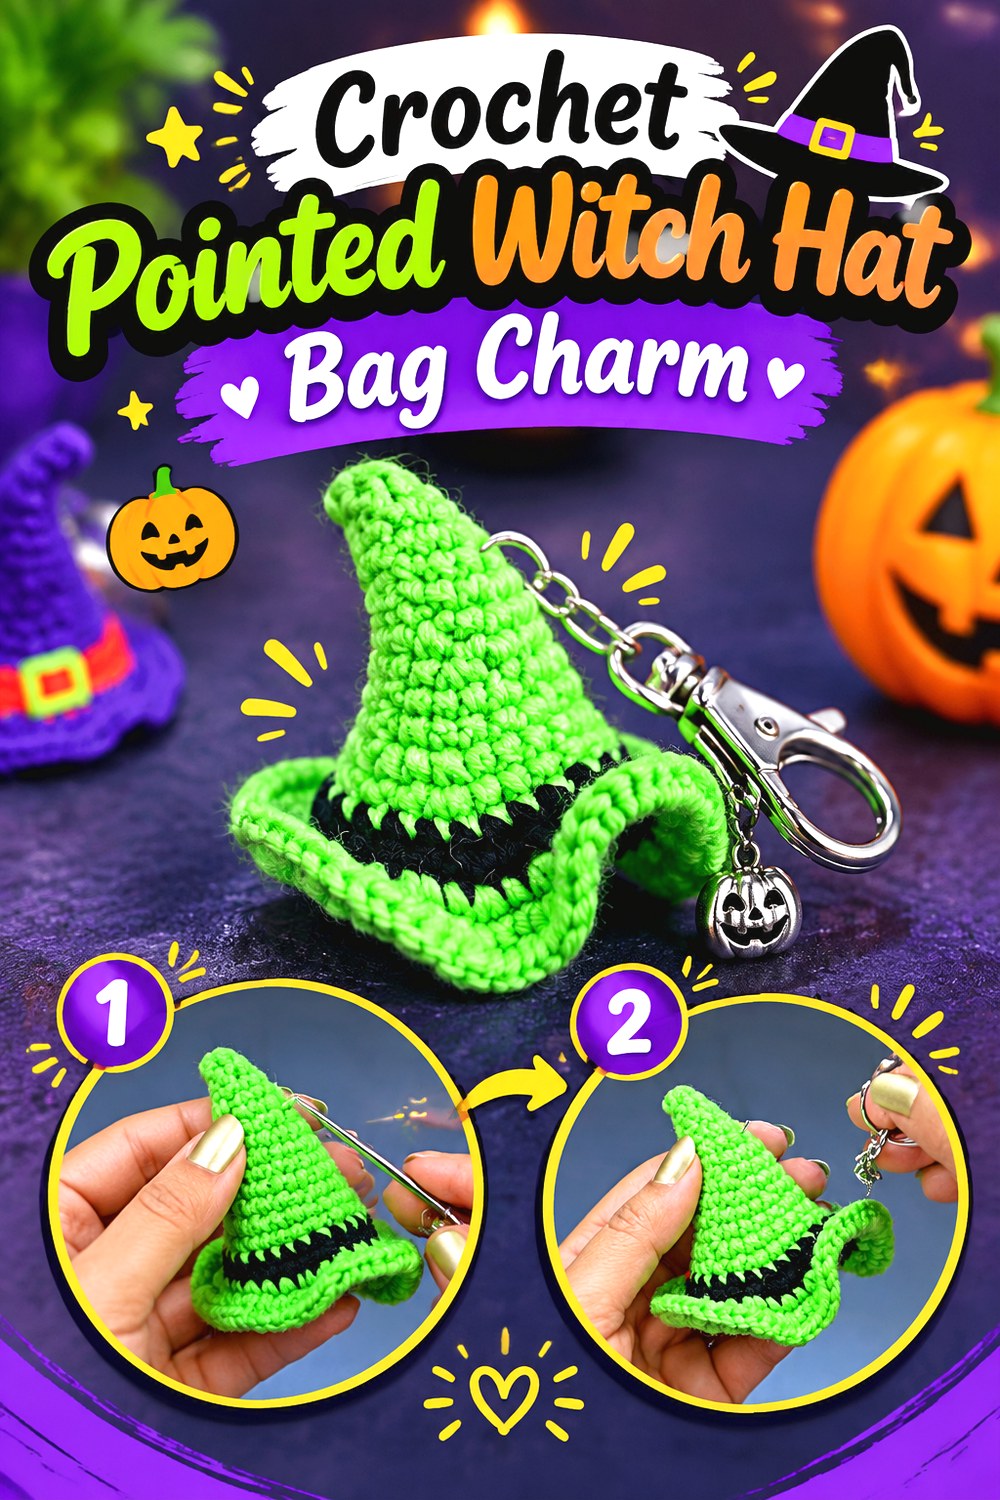
SAVEA witch hat gives you a tall, narrow Halloween silhouette rather than another character face. Fame art with Poonam’s tutorial creates a witch hat keychain with a pointed crown, buckle detail, and attached keychain ring, and the creator describes it as suitable for a spooky bag charm.
This makes it especially useful for bags where a slim hanging shape works better than a wide bat or round pumpkin. The buckle and hat-band area also give you a controlled place for a contrast color, so the design can look detailed without adding numerous loose pieces.
Preserve the Point Instead of Adding Bulk
The pointed crown is what separates the hat visually from a generic rounded charm. A yarn substitution that produces a much softer or bulkier fabric can change that profile.
If you switch materials, compare the developing hat with the tutorial’s finished silhouette and watch for a crown that collapses or becomes disproportionately thick. A small amount of shaping after finishing may help, but do not assume every fiber responds to blocking in the same way; check the yarn label first.
Keep the Buckle Away From Friction
A decorative buckle becomes a likely rubbing point when the charm repeatedly swings against a zipper or bag panel. Make sure any small sewn-on component is securely attached and does not sit directly beneath moving metal hardware.
If you prefer a lower-maintenance charm, the buckle area can remain visually distinct through embroidery or color contrast rather than a bulky separate embellishment. The goal is to preserve the witch-hat identity while matching the amount of detail to how the bag will be used.
Original Tutorial and Creator Credit
Creator: Fame art with Poonam
5. Crochet Flat Skull Bag Charm
 SAVE
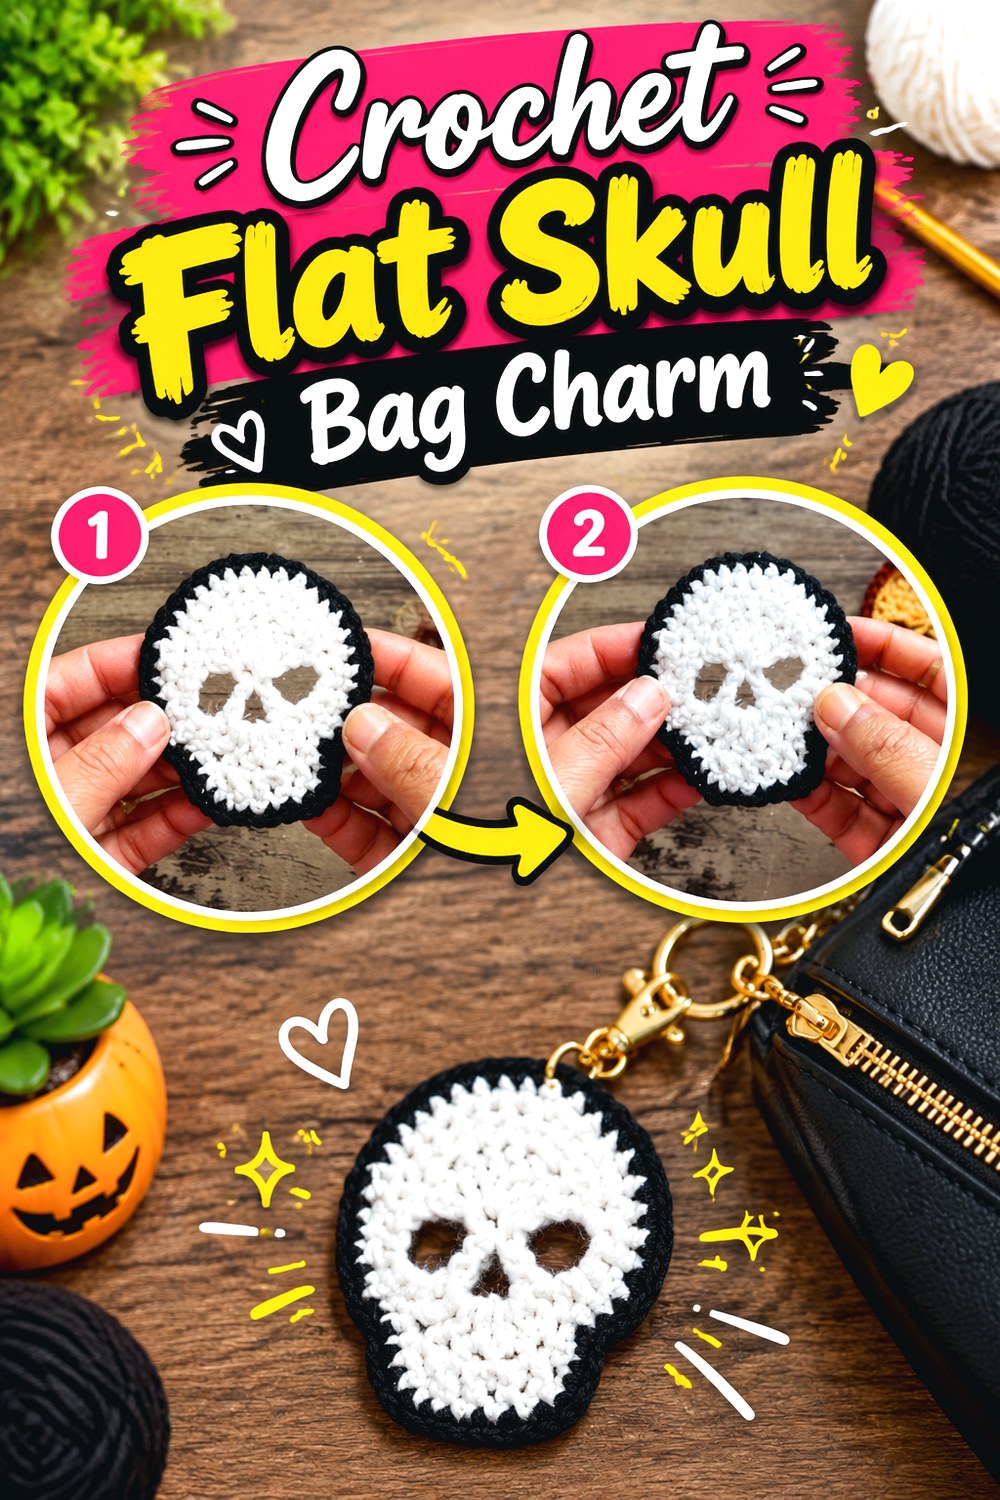
SAVEThe skull option shifts the collection toward a flatter, graphic look. Tukitaki’s tutorial teaches a crochet skull keychain intended for Halloween decorations, bag charms, and gifts, using a compact motif rather than a large stuffed character.
A skull can work particularly well when you want something that lies closer to a backpack or purse and does not project as far as a winged or heavily stuffed design. Contrast is central to the look, so you can make the shape read clearly without adding many dangling components. It also provides a more gothic alternative to the softer ghost and candy motifs.
Use Contrast to Define the Skull
Small skull motifs depend on negative space and facial areas remaining visually separated. If the yarn colors are very similar in value, features can blur together from a distance.
Before finishing every detail, photograph or view the piece from several feet away. If the face is difficult to recognize, stronger contrast may improve readability more effectively than adding more decoration. This is especially relevant when working in unconventional Halloween palettes rather than classic light-and-dark combinations.
Consider a Backing for Frequent Use
A flatter motif may curl or flex more than a stuffed amigurumi, depending on yarn, tension, and construction. If you intend to use it on a bag every day, examine whether the finished fabric holds its shape well enough on its own.
Do not automatically add a backing that could interfere with the original design. Instead, finish the tutorial first, assess the result, and then decide whether light blocking or another non-destructive finishing choice is appropriate for the fiber you used.
Original Tutorial and Creator Credit
Creator: Tukitaki
6. Crochet Frankenstein Monster Bag Charm
 SAVE
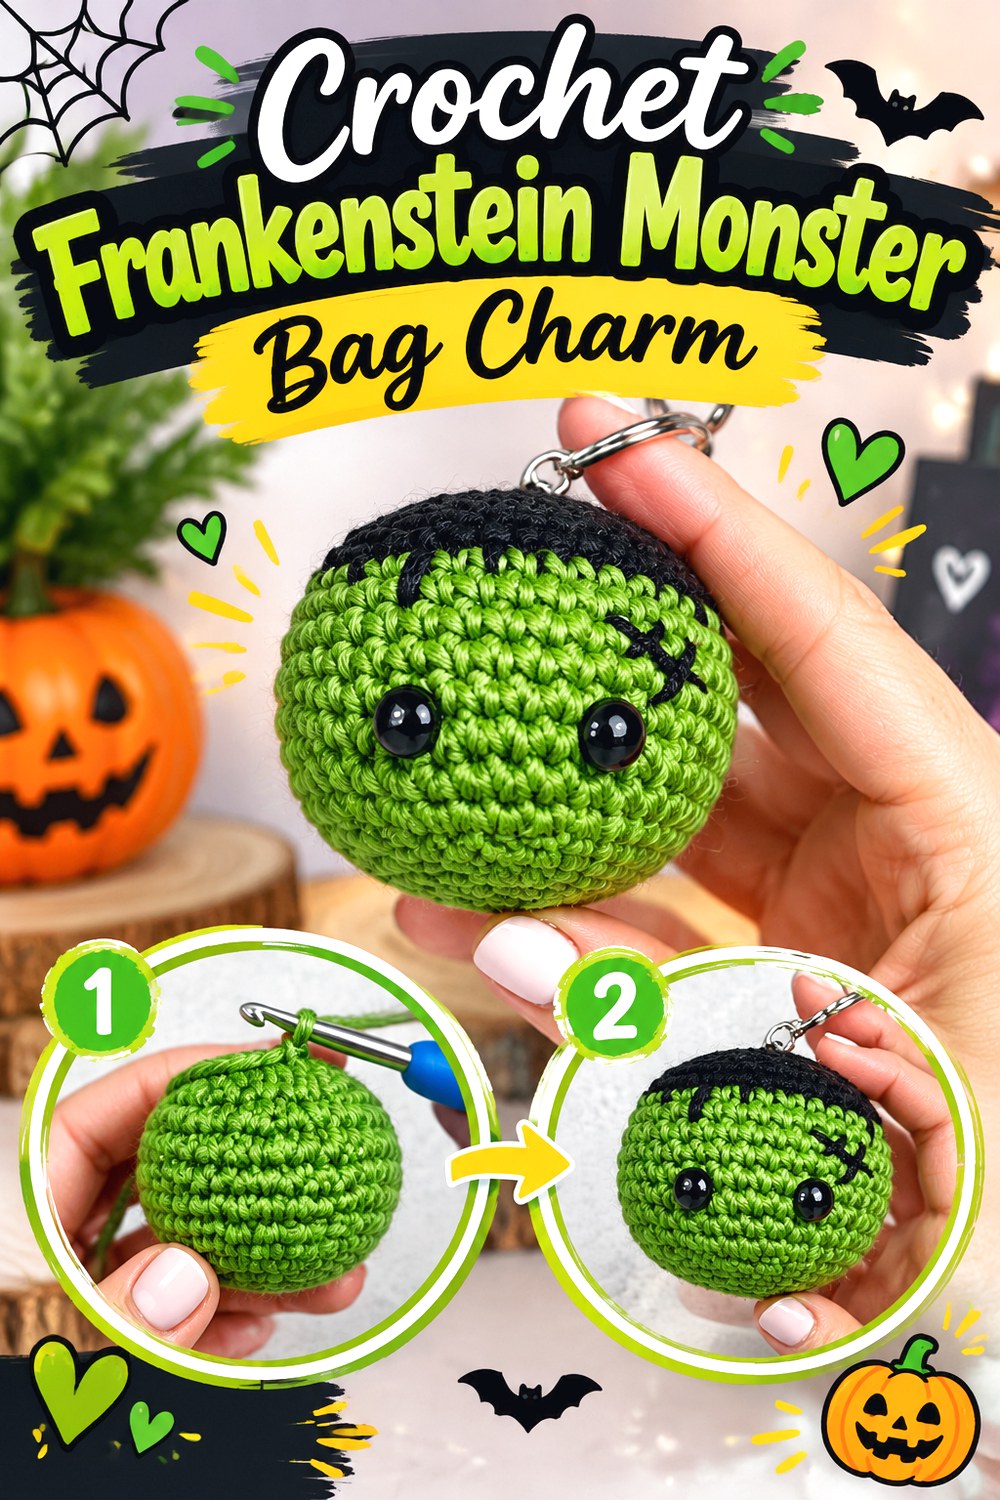
SAVEFrankenstein’s monster gives this list a more character-driven amigurumi option. Yarn Society’s Frankey keychain tutorial includes the stuffed figure, facial details, hair, and keyring integration, producing a recognizable monster that can hang from keys or a backpack.
Compared with the flat skull, this charm gains personality from volume and multiple finishing details. That makes it a strong choice for someone who enjoys assembly and expression rather than relying mainly on silhouette. It is also worth planning those details before finishing because the eyes, hair, mouth, and hanging point all compete for limited space on a miniature head.
Plan the Face Before Closing the Piece
Small placement differences can noticeably change a miniature character’s expression. Use the original tutorial for the intended positioning rather than guessing from a single finished image.
If you substitute thicker yarn, the proportions between the eyes, embroidered features, and head may change. Do a visual check before permanently securing any component. Plastic safety eyes are among the materials used by the tutorial, which specifically notes that they are not recommended for children under three.
Reinforce the Area Carrying the Keyring
Stuffed figures have more mass than flat motifs, so the point where the charm hangs deserves attention. Follow the designer’s keyring placement and make sure the surrounding crochet fabric is not already stretched.
After assembly, gently inspect the connection from several directions rather than relying on appearance from the front. If the charm rotates, the face should still remain visible enough that the monster does not spend most of its time facing the bag.
Keep Hair From Competing With Hardware
The top of Frankenstein’s head contains both character-defining hair and the attachment area. Avoid letting a jump ring or clasp repeatedly pull through decorative strands.
Where possible, preserve a clean structural attachment point and treat the hair as surface detail rather than the load-bearing part of the charm. That distinction can reduce distortion and makes it easier to repair a decorative detail later without dismantling the hardware.
Original Tutorial and Creator Credit
Creator: Yarn Society
7. Crochet Candy Corn Bag Charm
 SAVE
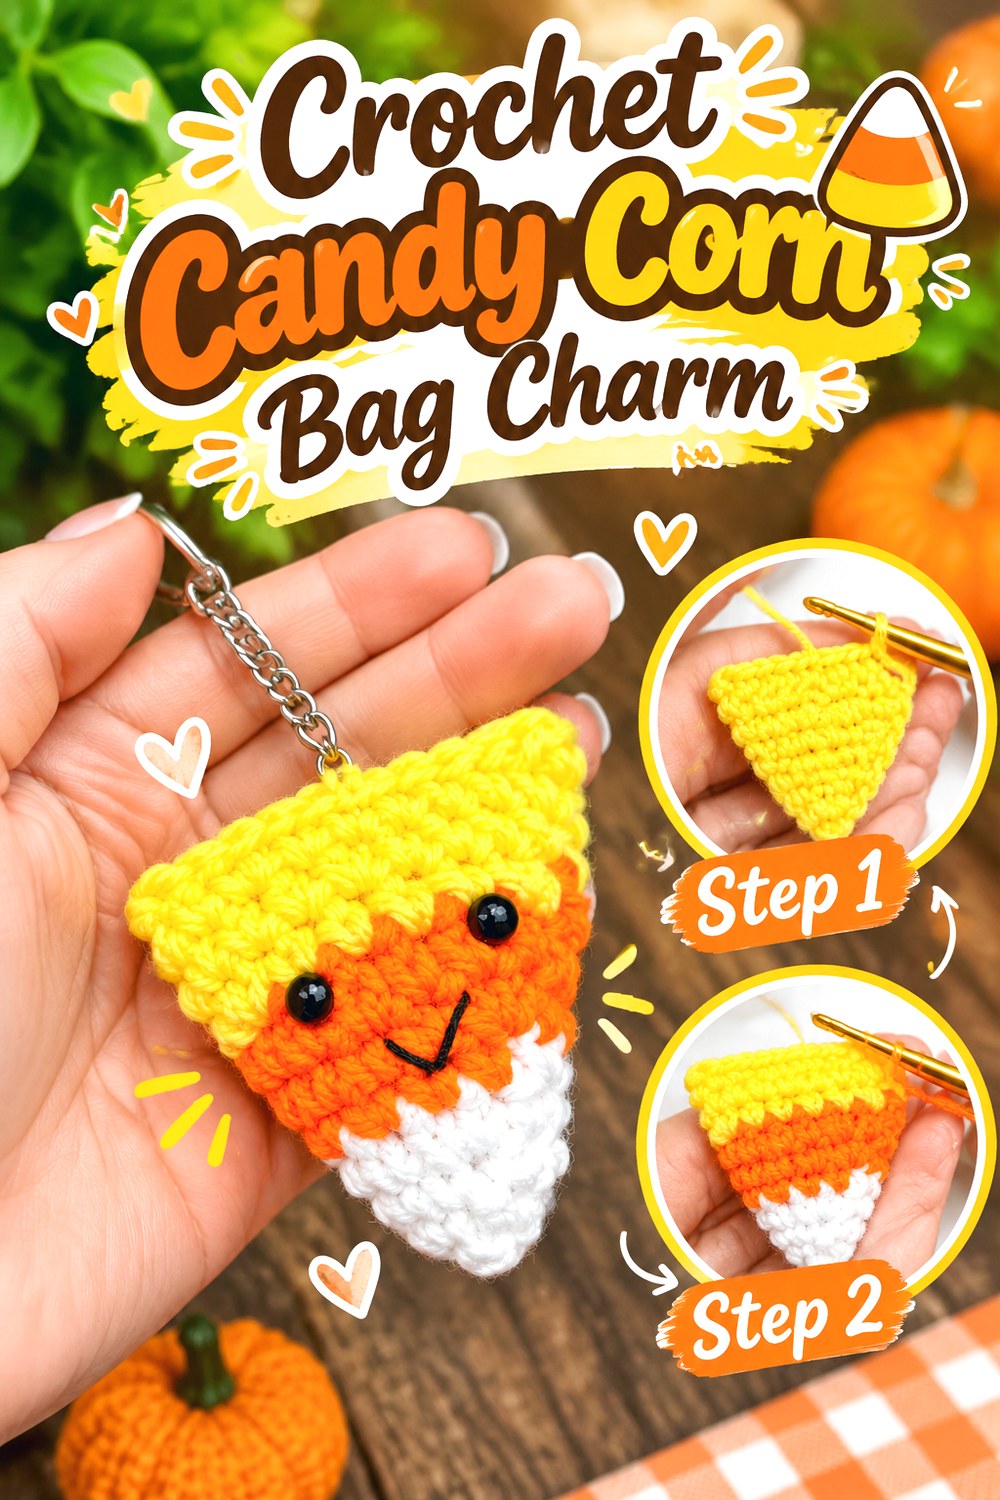
SAVECandy corn brings a simple geometric silhouette and three-color blocking into the collection. OkieGirlBling’n’Things provides an original candy corn keychain pattern with a stuffed triangular form, facial details, and a keychain sewn securely to the top.
Unlike the pumpkin, this charm is recognizable mainly through shape and color order, so it does not need elaborate surface decoration. The tapered upper section also creates an obvious place for hardware. It is a useful choice when you want a compact seasonal accent that feels playful without requiring wings, hats, capes, or several separately assembled parts.
Keep the Three Color Areas Balanced
Candy corn depends on the relationship between its contrasting sections. If you change yarn weights partway through, one section can become noticeably wider or denser than the others.
Use yarns with comparable thickness and behavior unless you deliberately want a textured variation. If substituting colors, preserve enough contrast for the triangular shape to remain recognizable. A muted palette can work, but three nearly identical shades may lose the familiar candy-corn effect.
Make the Top Attachment Worth Checking Twice
The source secures the keychain at the top of the finished candy corn. That is a logical hanging point because it keeps the triangular piece upright.
Before weaving in the final attachment ends, hold the charm by the hardware and check the orientation. If the face turns sideways or the top compresses dramatically, adjust before fully finishing. A compact charm is still exposed to repeated swinging, so tidy, secure finishing matters.
Original Tutorial and Creator Credit
Creator/Site: OkieGirlBling’n’Things
8. Crochet Black Cat Buddy Bag Charm
 SAVE
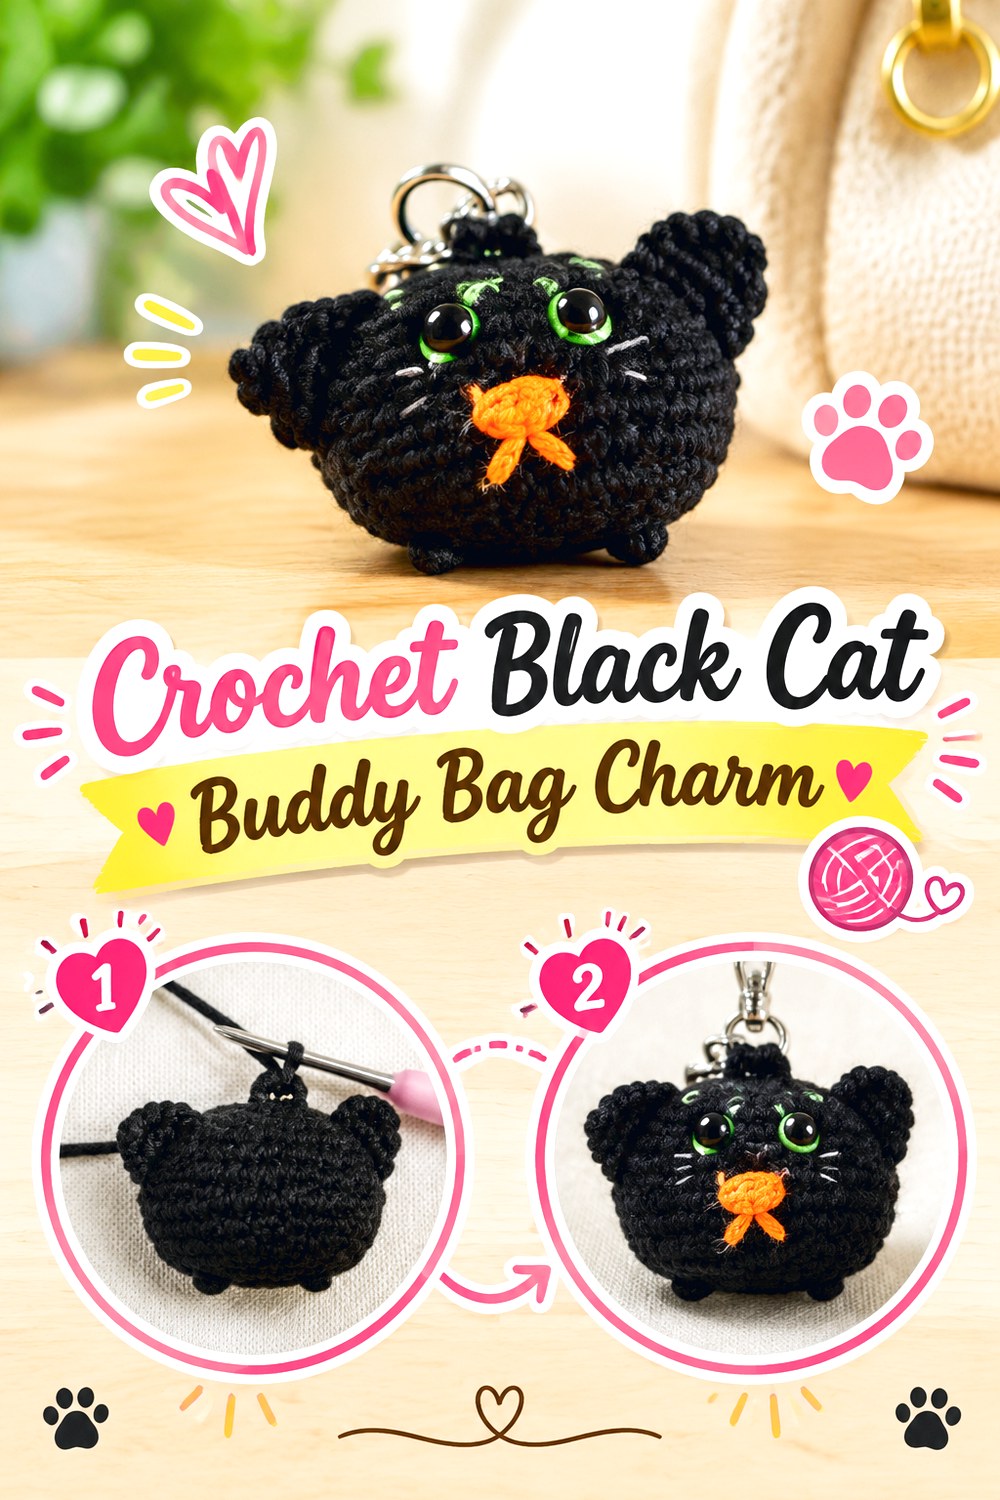
SAVEA black cat gives you a Halloween motif that can remain usable after October. Underground Crafter’s Black Cat Buddy belongs to an original set explicitly designed as either keychains or bag charms, and the source uses a lobster clasp attachment.
The compact stuffed cat head has a different visual rhythm from the full-bodied monster and vampire options. Pointed ears establish the silhouette while the face provides the character, so the piece stays relatively contained instead of spreading outward through wings or long limbs. That makes it appealing for readers who want a dimensional charm without a large number of projections.
Match the Clasp to the Actual Bag
Underground Crafter specifically advises checking that the lobster clasp is large enough for the bag’s zipper hardware or other intended connection. That is an easy detail to overlook if you buy hardware before choosing the bag.
A beautiful charm is frustrating if its clasp cannot open far enough to reach the attachment point. Measure or physically compare the hardware when possible, particularly for thick tote rings, wide zipper pulls, and backpack webbing.
Protect the Ear Shape
The ears carry much of the cat identity, so flattened or uneven ears can change the entire finished look. When the charm is not being used, store it where heavier items will not press the points down for long periods.
If the bag is frequently packed into a tight locker or suitcase, consider whether a flatter motif would survive that use better. For gentler everyday handling, the small pointed silhouette adds more character without the width of bat wings.
Original Tutorial and Creator Credit
Creator/Site: Underground Crafter
9. Crochet Witch Hat Spider Bag Charm
 SAVE
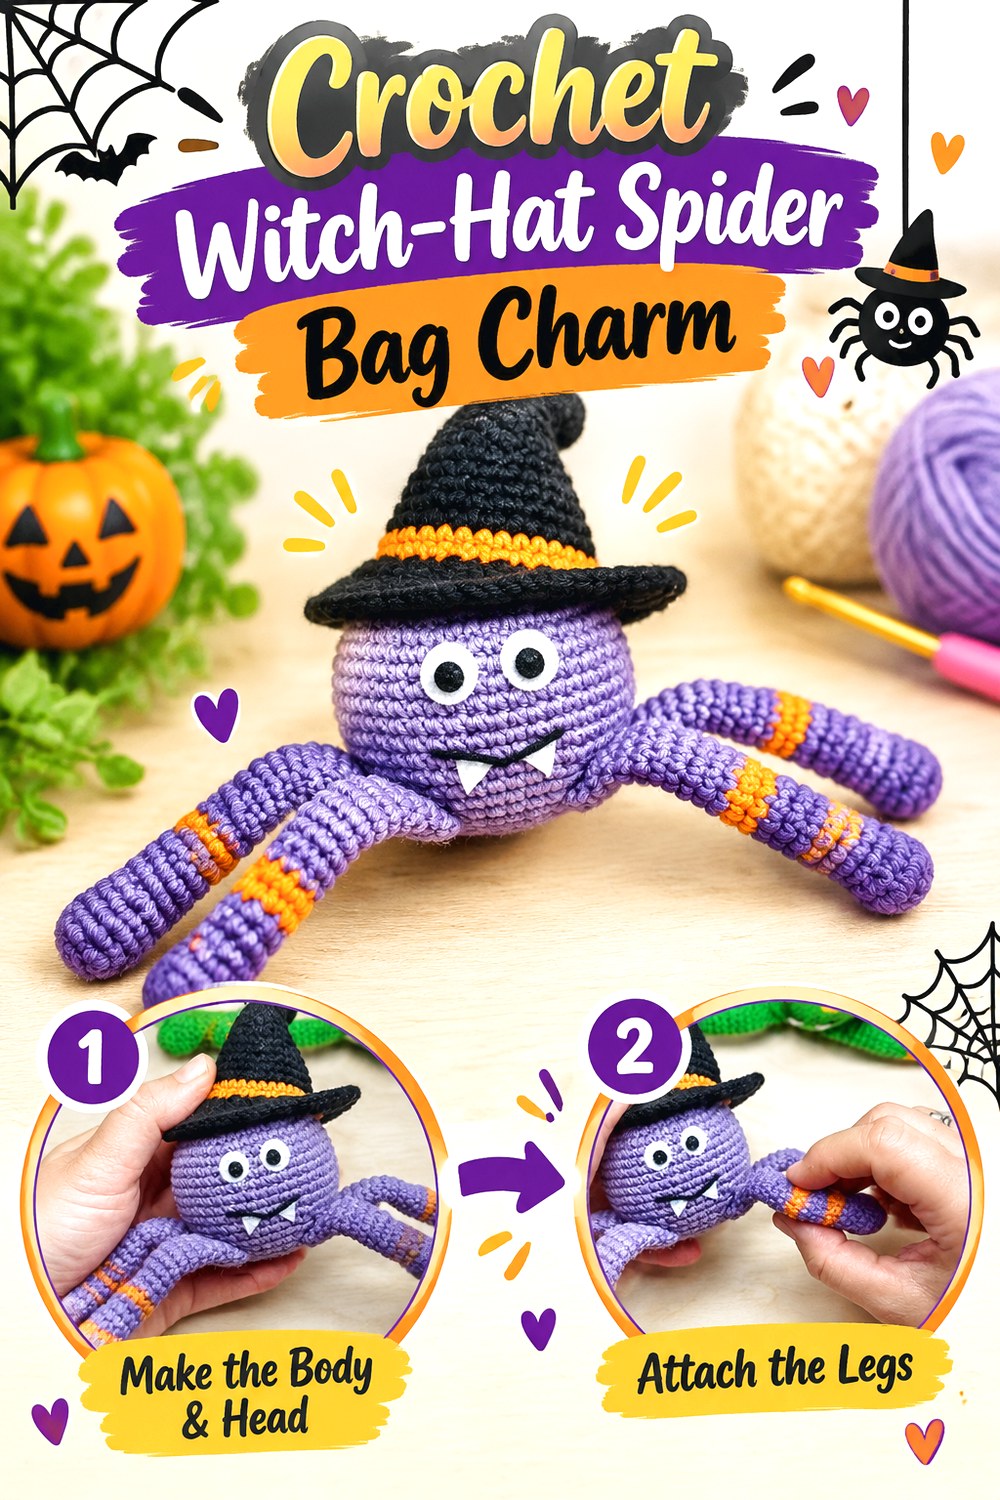
SAVEThe spider brings the most obvious dangling movement to this collection. KnittingKitty’s tutorial creates a miniature Halloween spider with elongated legs and a small hat and explains that the finished spider can be turned into a keychain.
That combination makes it visually different from every rounded charm in the list. The legs create a larger apparent footprint without requiring a large central body, while the miniature hat adds another Halloween cue. This is better suited to someone who wants noticeable movement on a tote or backpack than to someone seeking a very low-profile zipper pull.
Decide Whether Long Legs Suit Your Routine
Thin crocheted legs can swing attractively, but they also create more opportunities to catch on zippers, coat buttons, or crowded bag contents. Think about where the charm will hang before deciding that maximum leg movement is desirable.
A decorative tote used for casual outings may handle the design differently from a school backpack pushed under chairs every day. If frequent snagging is likely, place the spider on an exterior ring away from the main zipper path.
Keep the Mini Hat in Proportion
The source includes a small hat as part of the spider’s Halloween look. If you change yarn weights between the spider and the hat, check their scale before permanently assembling them.
A heavier hat can visually overwhelm a very small spider and may pull the charm off-center. Pin or temporarily position separate pieces first, then look at the complete silhouette before sewing them firmly into place.
Check All Eight Leg Attachments
A spider’s legs are both decorative and essential to recognition. Inspect each attachment individually after finishing rather than assuming that a visually neat seam is equally secure on every side.
If the charm will be handled often, occasional checks during the season are sensible. A loose leg is easier to reinforce before it detaches completely. Avoid adding internal wire for a frequently handled bag charm unless the selected tutorial specifically calls for it and you understand how exposed ends will be contained.
Original Tutorial and Creator Credit
Creator: KnittingKitty
10. Crochet Eyeball Bag Charm
 SAVE
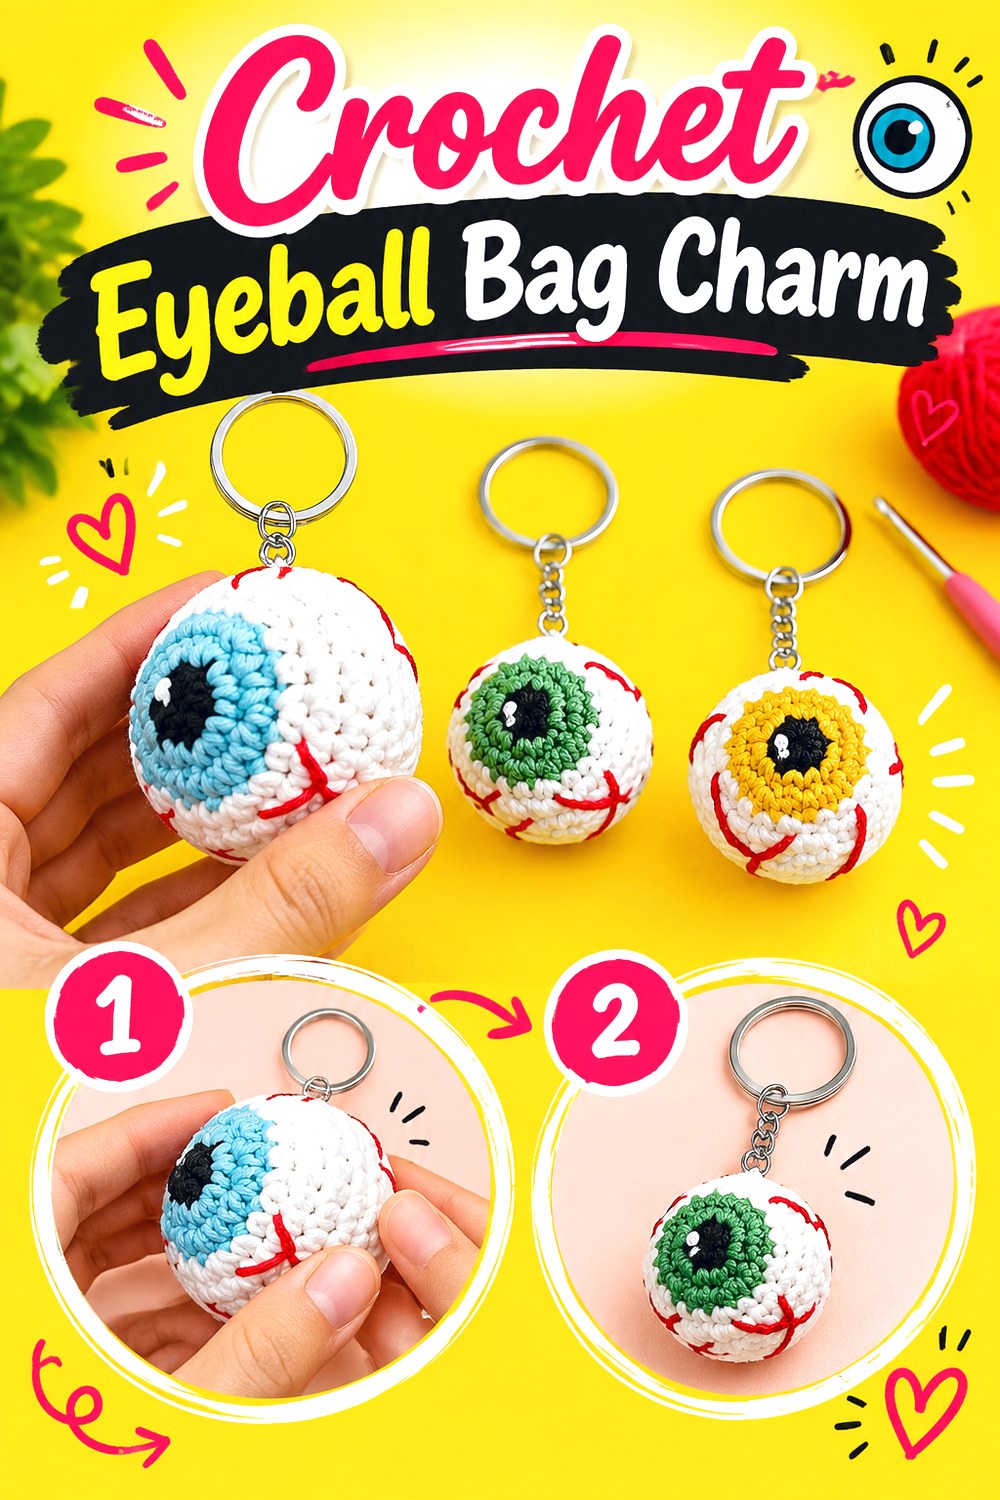
SAVEAn eyeball charm uses color placement rather than a recognizable character silhouette to create its Halloween effect. Lemon Crochet’s tutorial focuses specifically on an eyeball keychain, making it an unusual alternative to the animals, monsters, and witch accessories elsewhere in the list.
The circular eye format also makes customization straightforward. Changing the iris color shifts the mood without altering the basic identity of the finished piece. Bright green, orange, blue, purple, or red can all work within a spooky palette, while a darker iris produces a more subdued result. Because the eye has an obvious front, hanging orientation deserves particular attention.
Center the Pupil Before Finishing
A small amount of visual misalignment becomes obvious in an eye motif. Before completing the outer sections, lay the piece flat or hold it at arm’s length and check whether the pupil and iris look centered.
If you are changing yarn brands, slight thickness differences between colors may influence the apparent proportions. Keeping the yarns reasonably compatible can help the color transitions sit more evenly.
Stop the Eye From Hanging Sideways
Unlike a pumpkin, an eyeball has a definite viewing direction. Test the hardware position before fully closing any jump ring or attachment loop.
If the charm consistently rotates so the eye faces the bag, shifting the connection point or using a swivel component may change how it hangs. Hardware choice will not eliminate all movement, but thinking about orientation early can keep the defining front from being hidden most of the time.
Original Tutorial and Creator Credit
Creator: Lemon Crochet
11. Crochet Cape Vampire Bag Charm
 SAVE
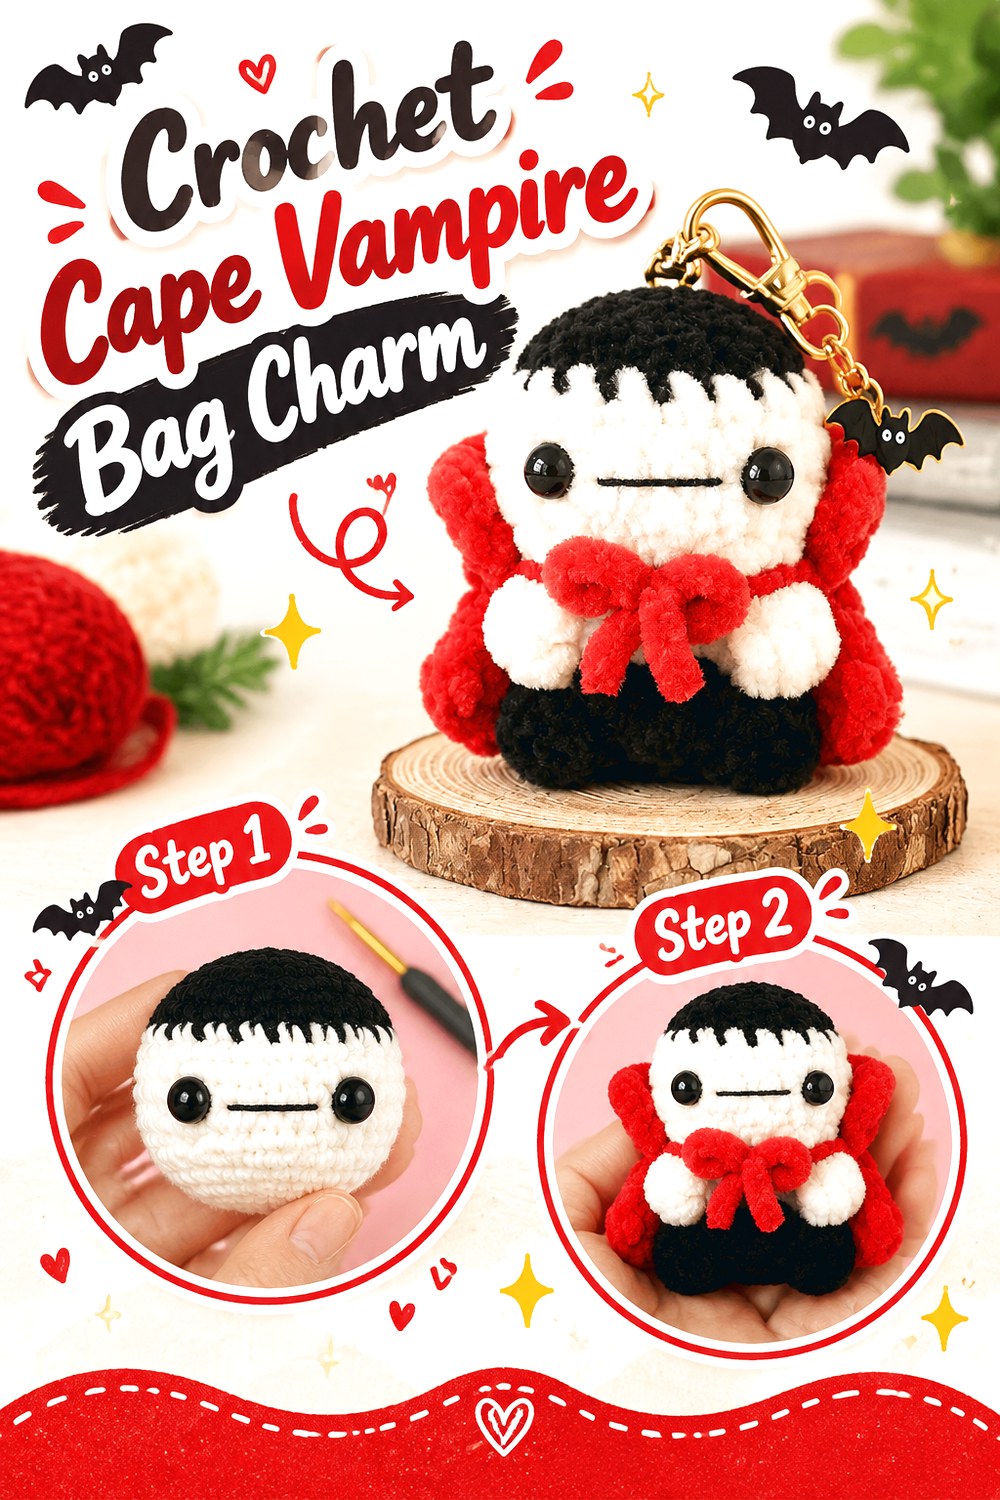
SAVEThe vampire adds clothing and character styling to a compact Halloween amigurumi. Stitch by Fay’s original no-sew vampire pattern includes a contrasting cape and tiny fang details, and the designer specifically lists adding a keychain as one possible use.
This idea stands apart from Frankenstein because the cape changes the outer silhouette and introduces a removable-looking layered element around the body. It works well for readers who want a recognizable Halloween character but prefer a neater, compact form rather than long arms, legs, or wings. The strong dark-and-light contrast also helps the face and costume read at miniature scale.
Keep the Cape Clear of the Clasp
A cape adds dimension behind the figure, which means it can migrate toward the same top area used for hardware. Arrange the keyring so it bears on the structural body rather than pulling mainly against the cape.
After attaching the charm, open and close the clasp several times while observing nearby crochet fabric. If the cape repeatedly gets trapped in moving metal parts, reposition the hardware before regular use.
Make the Fangs Read Without Becoming Fragile
Tiny fangs can define the character, but miniature details can also become the first parts to wear or disappear visually. Follow the source for the intended construction, and resist enlarging delicate additions disproportionately if you substitute yarn.
For a bag that receives rough handling, a securely embroidered feature may be preferable to an extra dangling embellishment. The best choice depends on the source construction and who will use the charm.
Check the Finished Balance With the Cape Attached
The back layer changes the weight distribution of a small figure. Before permanently closing hardware, hold the vampire from the top and check whether the body faces forward or tips.
A slight tilt may not matter on a decorative charm, but a persistent sideways hang can hide the costume details that make the vampire distinct. Adjust attachment placement before deciding the piece is finished.
Original Tutorial and Creator Credit
Creator/Site: Stitch by Fay
12. Crochet Potion Bottle Bag Charm
 SAVE
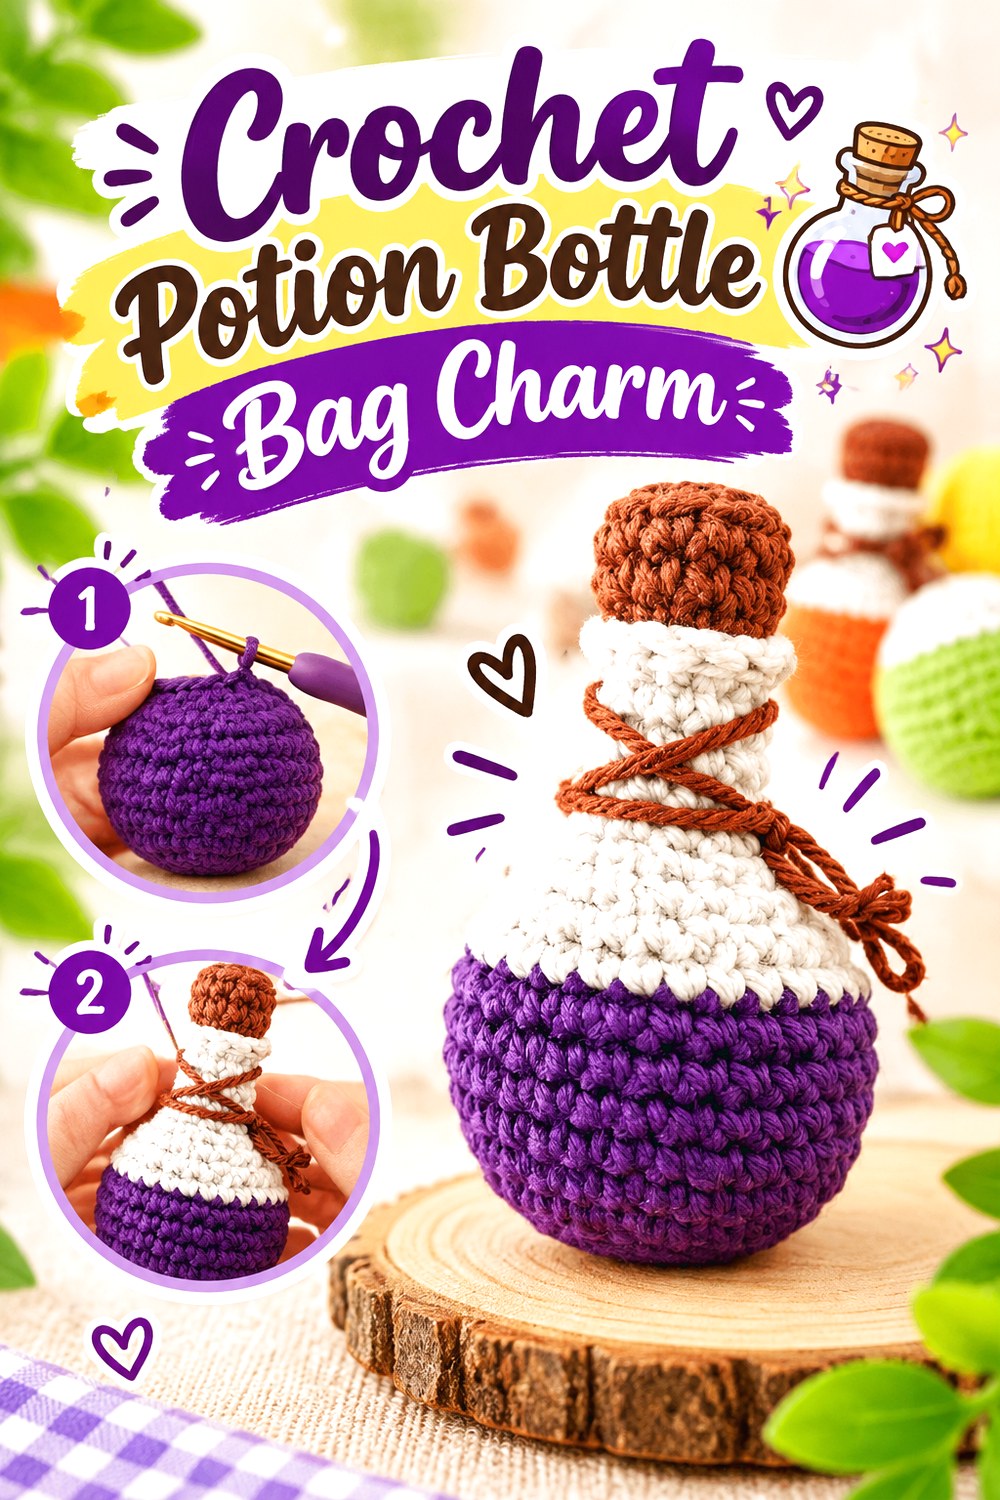
SAVEA potion bottle introduces a witchy object rather than another Halloween creature. Stitch by Fay’s mini potion bottle pattern is described as being the right scale for a keychain and uses the familiar combination of a bottle body, contrasting neck or stopper area, and optional decorative charm details.
Its narrow vertical silhouette makes it a good counterpoint to the wide bat and spider. It also gives you substantial control over color: changing the “potion” portion can create poisonous green, mysterious purple, fiery orange, or another fantasy-inspired look without changing the bottle construction.
Let the Potion Color Do the Decorative Work
A miniature bottle can become visually crowded if you add too many beads, ties, labels, and extra charms at once. Start with the bottle’s main color contrast and decide whether the shape already communicates the idea clearly.
The original designer specifically suggests changing potion colors and adding optional charm details. For a heavily used bag, fewer projections may be easier to maintain than multiple dangling embellishments.
Keep the Narrow Neck From Taking All the Stress
The top of a bottle looks like the obvious place to hang it, but a narrow crocheted neck may concentrate movement in a small area. Follow the designer’s intended finishing and inspect the fabric before adding heavy hardware.
If you are adapting the finished bottle into a bag charm, choose hardware in proportion to the piece. An oversized clasp can visually dominate the bottle and add unnecessary weight at the narrowest part.
Original Tutorial and Creator Credit
Creator/Site: Stitch by Fay
13. Crochet Bubbling Cauldron Bag Charm
 SAVE
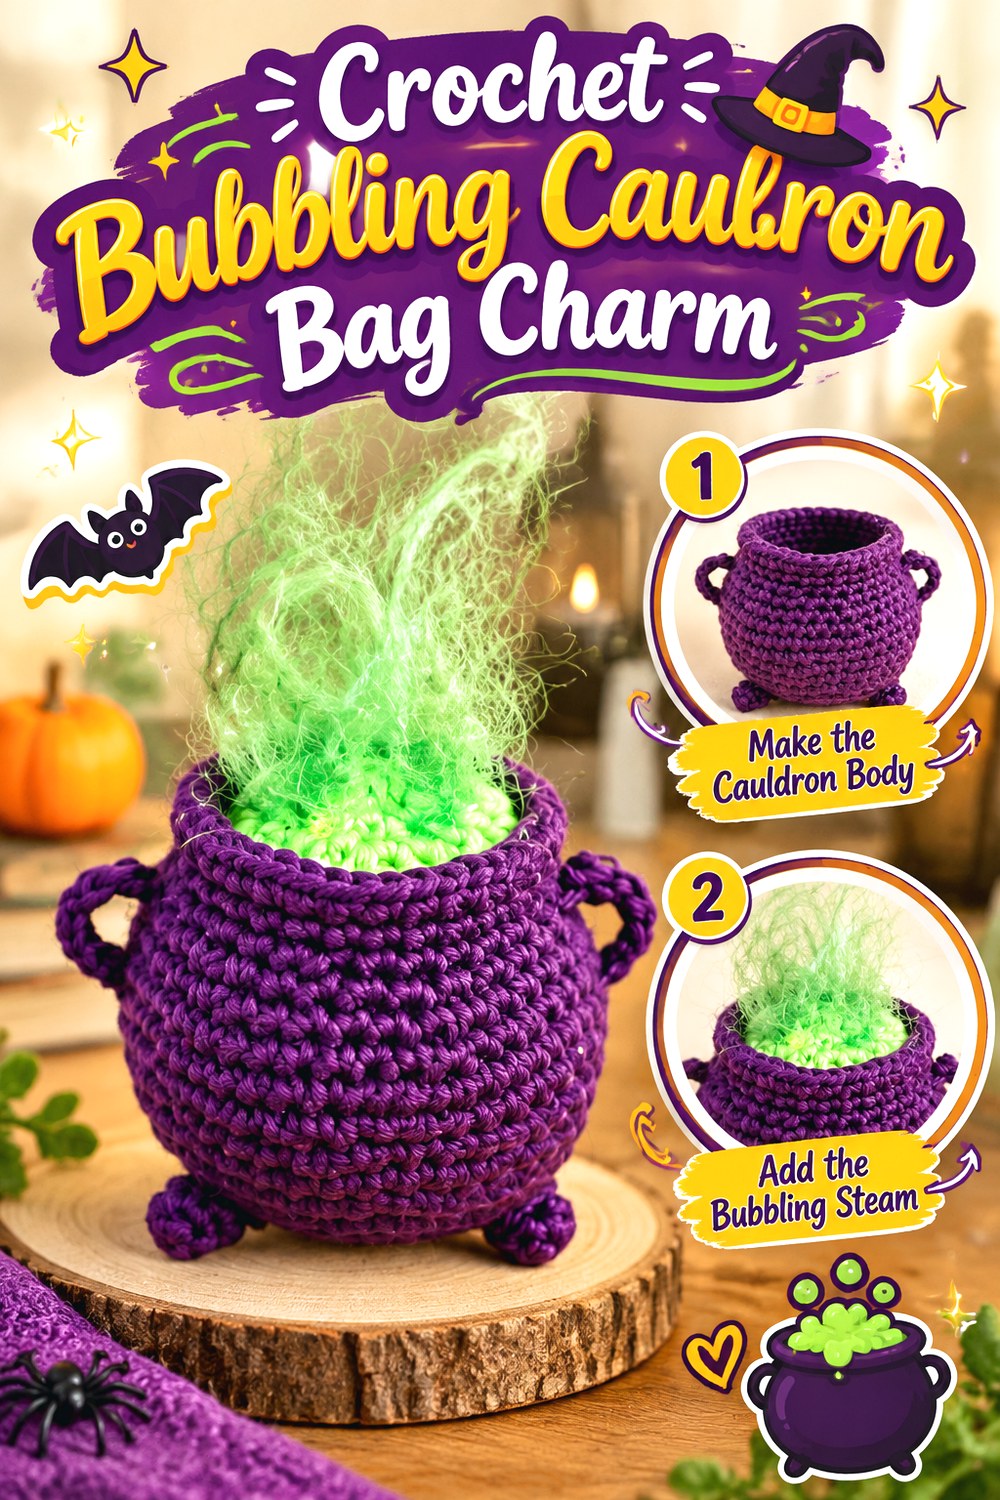
SAVEThe cauldron is the most sculptural witch-themed idea here. Abby Sy of Ollie + Holly designed the original piece as a small Halloween ornament with a rounded cauldron, contrasting potion, legs, handles, and optional wispy steam. The source also includes an optional hanging string, making the design suitable for adaptation into a removable bag accent when the attachment is changed responsibly.
This charm has more visual layers than the potion bottle: the container, brew, handles, and top decoration all contribute to the silhouette. It is best for a bag where a dimensional accent can hang freely rather than being compressed beneath another strap.
Decide Whether Wispy Steam Belongs on a Bag
The original ornament uses wool roving for an optional steam effect. That texture makes sense on hanging decor but deserves reconsideration for an everyday bag.
Roving can be exposed to rubbing, moisture, and repeated contact with clothing. If durability is more important than the full ornament effect, the cauldron can still read clearly through its pot, potion, handles, and legs without adding loose-looking fibers. Treat removing the steam as a functional adaptation, not a change to the source instructions.
Convert the Hanging Point Carefully
The tutorial explains an optional yarn loop for hanging the ornament. A bag charm experiences different movement from stationary seasonal decor, so do not simply assume that any decorative loop is suitable for heavier hardware.
Finish the cauldron according to the original pattern, assess its top structure, and choose a connection that does not cut into or dramatically stretch the fabric. Keep a metal jump ring away from loose roving if you retain the steam.
Keep the Handles Decorative
The side handles help the miniature read as a cauldron, but they are not automatically intended to carry the load of a bag charm. Use the designated top hanging area rather than clipping onto a decorative side component unless the original designer specifically instructs otherwise.
This prevents the cauldron from hanging at an awkward angle and reduces unnecessary stress on the small sewn handles.
Original Tutorial and Creator Credit
Creator/Site: Ollie + Holly, by Abby Sy
14. Crochet Jack o’ Lantern Face Bag Charm
 SAVE
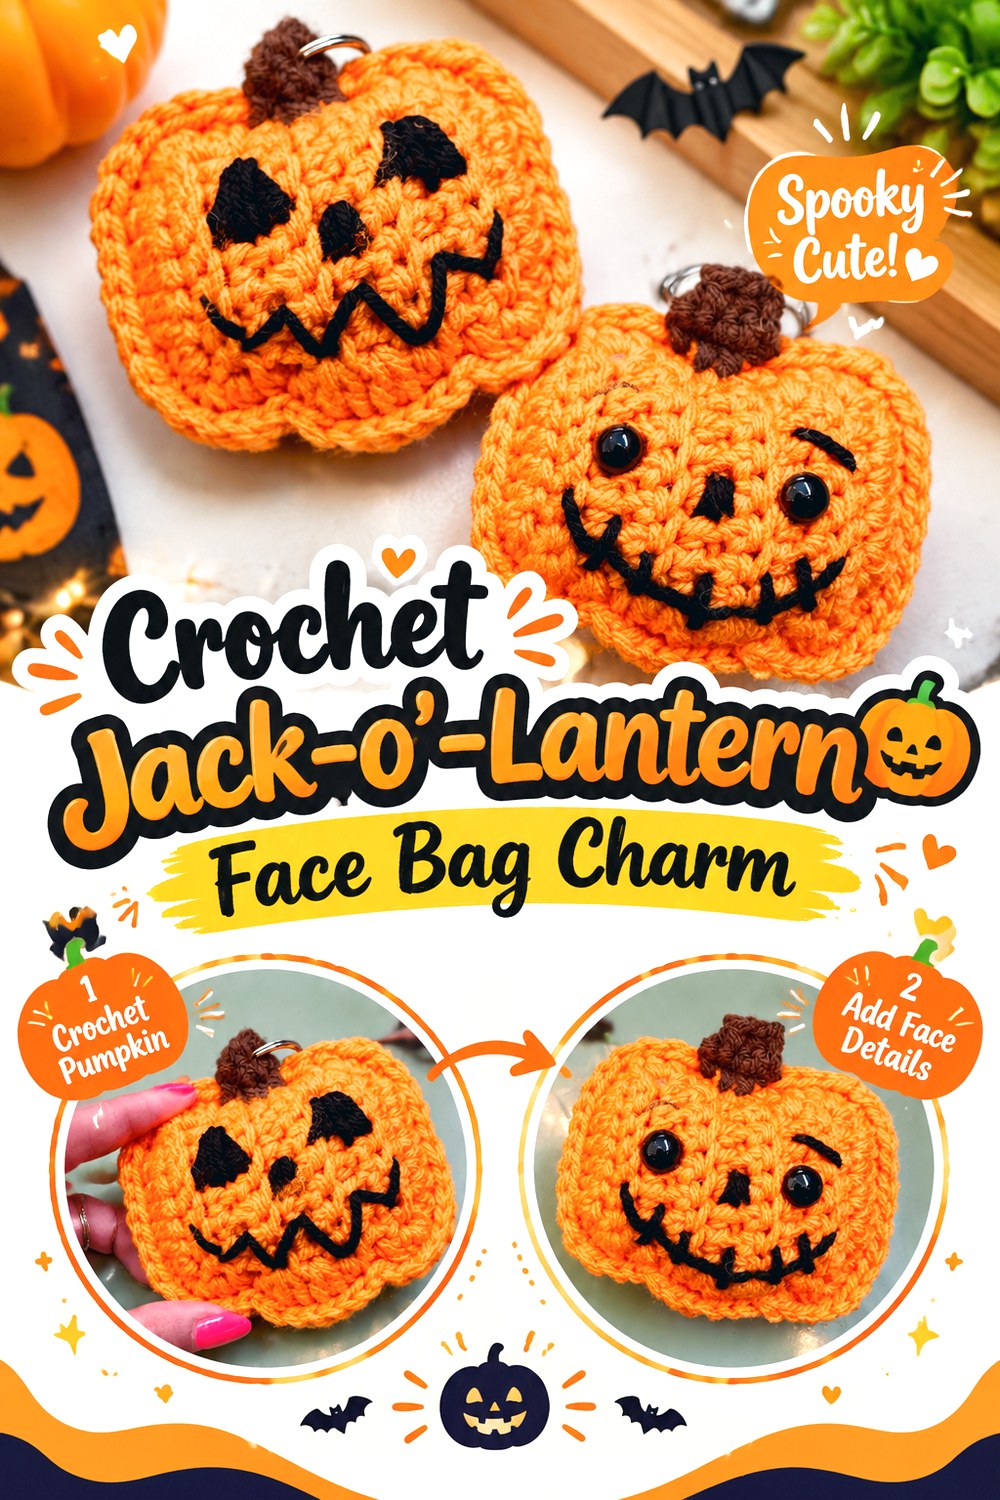
SAVEThis final pumpkin idea differs from the earlier ribbed amigurumi because the face is the focal point. Jennifer Noelle’s original Jack-o’-lantern keychain pattern uses two pumpkin pieces, offers alternative facial treatments, and includes an optional ring and swivel clasp for turning the finished pumpkin into a keychain.
The result is more graphic and front-facing than a plain dimensional pumpkin. That makes it useful when you want a clear Halloween identity rather than a broader fall accessory. The face also gives you more room to change personality through the eyes and mouth while keeping the recognizable pumpkin outline.
Choose the Face Before Joining the Pumpkin
The source offers different eye and mouth treatments, so decide on the expression while you can still access the relevant areas comfortably.
For a bag charm, also consider how raised or detachable details will handle friction. Embroidered features create a flatter surface, while other options may add dimension. Follow the original tutorial for placement, then choose among its alternatives according to how actively the bag will be used.
Keep the Swivel Area Free to Move
Jennifer Noelle includes an optional O-ring and swivel clasp for the keychain version. Swiveling hardware can help a face-forward charm turn rather than twisting the crochet connection repeatedly, but it still needs free space to operate.
Make sure yarn tails, stem pieces, and facial decorations do not become trapped in the moving joint. Test the hanging direction before closing any additional jump rings.
Separate This Look From the Plain Pumpkin
If you make both pumpkin charms from this list, give them different roles rather than treating the jack-o’-lantern as a simple color variation. Keep the ribbed pumpkin focused on rounded texture and autumn styling, while allowing this version’s eyes, nose, and mouth to create a stronger Halloween expression.
That distinction gives you two genuinely different finished accessories: one seasonal and sculptural, the other graphic and character-driven.
Original Tutorial and Creator Credit
Creator/Site: Jennifer Noelle
How to Choose Between These Halloween Bag Charms
The biggest choice is not simply which Halloween character you like most; it is how much dimension and movement suit the bag. The skull and jack-o’-lantern keep most of their visual information toward the front, while the pumpkin, ghost, black cat, Frankenstein, vampire, potion bottle, and cauldron offer more depth. The bat and spider create the widest silhouettes, with wings or legs that need more clearance.
For a frequently used backpack, start with a compact option and minimize loose embellishments. For a decorative tote, the bat, spider, vampire, or bubbling cauldron can make a stronger statement. Witchy styling is best represented by the hat, potion bottle, and cauldron, while the pumpkin and candy corn can transition more easily into general fall accessories.
| Charm style | Main visual feature | Practical point to consider |
|---|---|---|
| Ghost, candy corn, black cat | Compact character form | Good balance between dimension and contained silhouette |
| Skull, jack-o’-lantern | Front-facing graphic detail | Check curling and hanging orientation |
| Pumpkin, Frankenstein, vampire | Stuffed dimensional form | Give the top attachment adequate support |
| Bat, spider | Wide or dangling outline | Allow clearance around wings and legs |
| Witch hat, potion bottle | Narrow vertical silhouette | Keep hardware proportionate to the small top area |
| Cauldron | Multi-part sculptural form | Reconsider delicate steam or other snag-prone additions |
Conclusion
These 14 crochet Halloween bag charm ideas range from compact candy corn, eyeball, and skull motifs to more dimensional bats, monsters, vampires, potion bottles, and witchy cauldrons. If you want a lower-profile accessory, begin with a flatter or contained silhouette. If the charm will hang from a decorative tote with plenty of clearance, wings, capes, legs, and layered details can create more visual impact.
Whichever project you choose, consider the bag hardware, attachment point, yarn scale, detachable embellishments, and potential snag areas before treating a miniature crochet project as an everyday accessory. Use the original tutorials linked throughout the article for the creators’ exact construction, materials, and finishing details.
Frequently Asked Questions
Can any small crochet amigurumi be turned into a Halloween bag charm?
Many small crochet projects can be adapted, but size alone is not enough. Check whether there is a structurally sensible place to attach hardware and whether wings, legs, loose fibers, beads, or other details can tolerate movement. A stationary ornament may use a decorative yarn loop that was never intended for frequent handling. When adapting rather than following a dedicated keychain tutorial, keep the original construction intact and make the hardware decision separately.
What type of hardware works best for crochet bag charms?
The best choice depends on the bag. Lobster and swivel clasps are convenient when you want the charm to be removable, while split rings can create a more fixed connection. Confirm that the clasp opening actually fits the bag’s zipper pull, ring, or strap hardware; Underground Crafter specifically recommends checking this compatibility. Also choose hardware proportionate to the crochet piece so a small charm is not overwhelmed by a heavy clasp.
Can I use thicker yarn to make these Halloween charms?
You can often change yarn, but the finished scale, weight, stiffness, and proportions may change. A design that is compact in the source can become too bulky for a keychain when worked in substantially thicker yarn. Wings may become wider, a potion bottle may lose its narrow proportions, and a stuffed pumpkin may become heavier. Review the original material information first and treat any yarn substitution as a size change unless the designer says otherwise.
Are safety eyes suitable for crochet bag charms?
Safety eyes are common in amigurumi, but “safety” in the product name does not mean every finished project is appropriate for every recipient. Small components can present concerns if they detach, particularly around young children. Yarn Society specifically warns that the plastic safety eyes used in its Frankenstein project are not recommended for children under three. Embroidered features are one alternative when detachable components are undesirable.
How can I stop a crochet bag charm from twisting sideways?
First check whether the hardware is centered over the finished piece’s natural balance point. Face-forward charms such as eyeballs and jack-o’-lanterns make poor orientation especially noticeable. A swivel clasp may allow the piece to rotate more naturally, while moving the attachment point slightly can correct persistent tilting. Test the charm by hanging it from the proposed connection before permanently closing jump rings or weaving away every attachment tail.
Which Halloween charm shapes are least likely to snag?
Contained or relatively flat silhouettes generally have fewer protruding areas than charms with long legs, wings, capes, fibers, or dangling embellishments. A skull, compact candy corn, jack-o’-lantern, or small rounded character may therefore be easier to use on a busy everyday bag than a spider or bubbling cauldron with wispy steam. Actual performance still depends on construction, yarn, hardware, size, and how the bag is handled.
How should crochet Halloween bag charms be cleaned?
There is no universal washing method because yarn fiber, stuffing, metal hardware, beads, safety eyes, embroidery, roving, and other embellishments can all change the appropriate care. Check the yarn label and any care information supplied by the original designer first. For charms with mixed materials or metal hardware, avoid assuming that a method suitable for the crochet fabric is automatically suitable for every attached component.