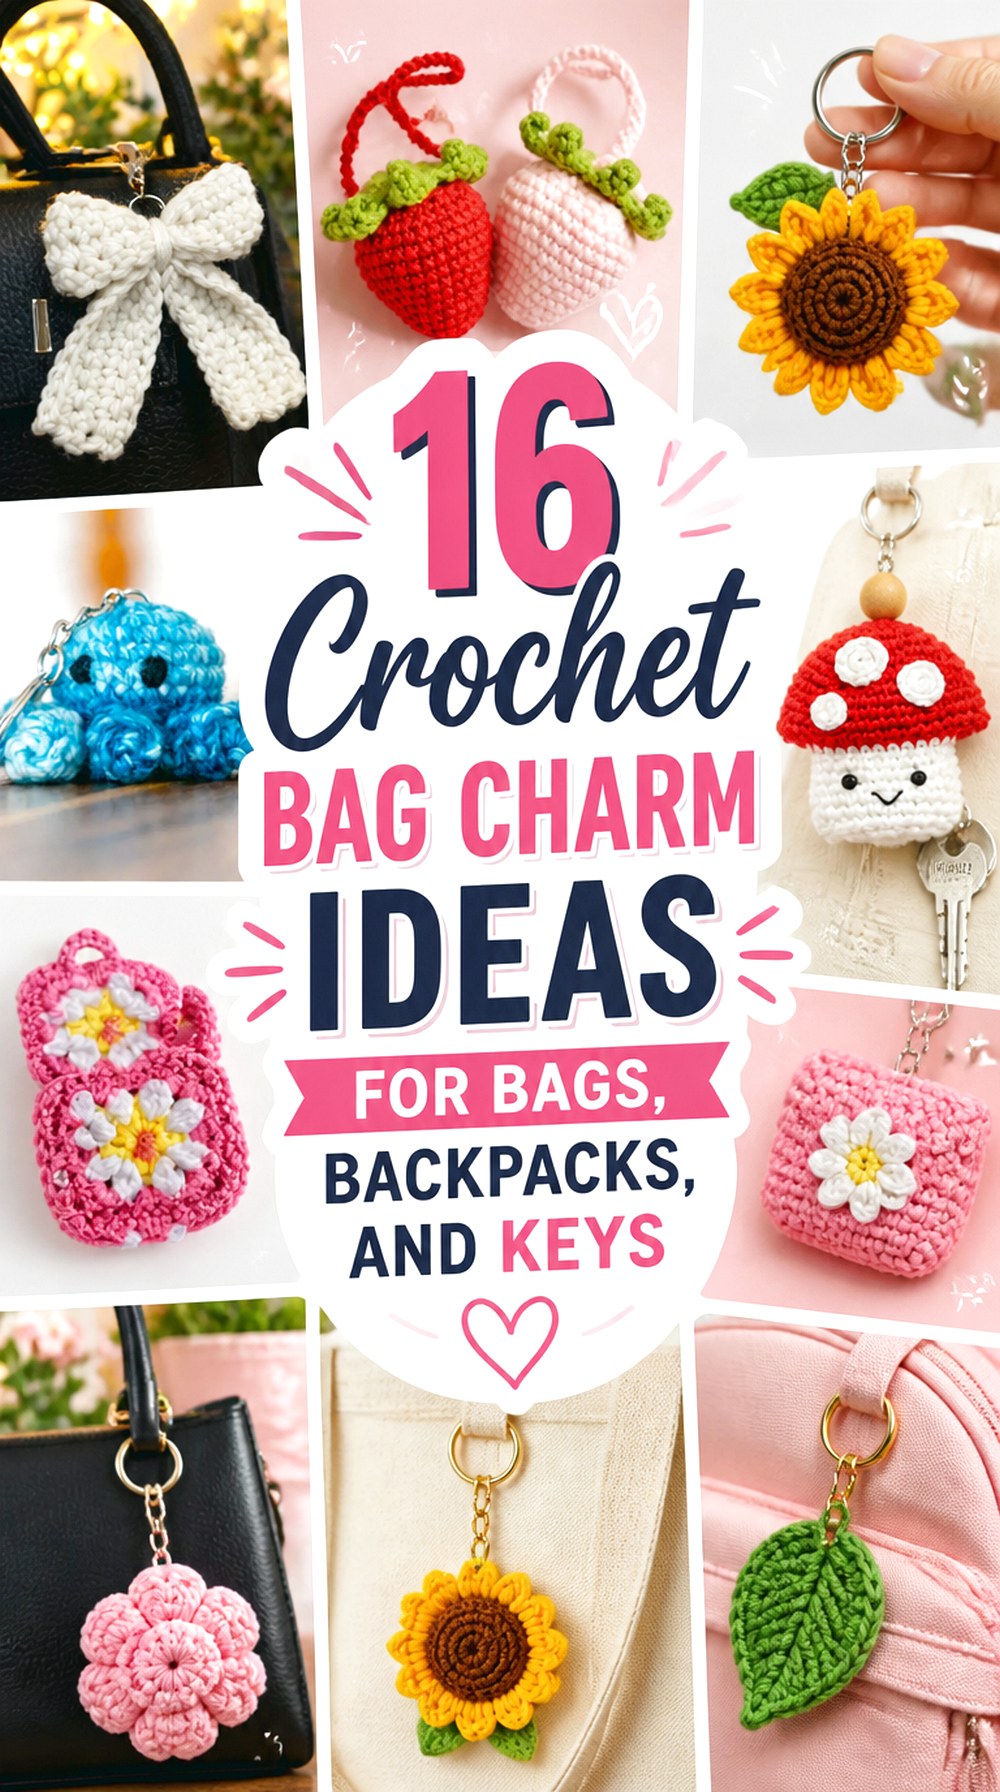
16 Crochet Bag Charm Ideas for Bags, Backpacks, and Keys
Crochet bag charms can be tiny and understated or deliberately playful, and that difference affects much more than appearance. A flat butterfly behaves differently on a zipper than a stuffed whale, while cherries, jellyfish, flowers, and miniature purses introduce movement, texture, or extra components that need thoughtful finishing.
This collection brings together 16 genuinely different charm styles, including fruit, florals, amigurumi animals, geometric shapes, a key cover, and a miniature bag. Along with each idea, you’ll find practical points to consider before choosing yarn, changing scale, adding hardware, or substituting embellishments. The aim is not to reproduce any designer’s pattern here, but to help you compare the finished concepts and decide which construction style makes the most sense for the bag, backpack, keys, or gift you have in mind.
Quick List
- Crochet Strawberry Cluster Bag Charm
- Crochet Layered Daisy Bag Charm
- Crochet Sunflower Disk Bag Charm
- Crochet Mushroom Key-Cover Bag Charm
- Crochet Curly-Tentacle Jellyfish Bag Charm
- Crochet Mini Whale Bag Charm
- Crochet Potted Cactus Bag Charm
- Crochet Double-Cherry Bag Charm
- Crochet Tiny Cat Bag Charm
- Crochet Granny-Square Mini Bag Charm
- Crochet Puffy Star Bag Charm
- Crochet Ribbon Bow Bag Charm
- Crochet Firm Heart Bag Charm
- Crochet Chocolate-Chip Cookie Bag Charm
- Crochet Flat Butterfly Bag Charm
- Crochet Curly-Leg Octopus Bag Charm
Choose the Right Scale, Fiber, and Firmness
A bag charm has to look intentional next to the bag rather than simply being a small version of another crochet project. Flat flowers, butterflies, stars, and hearts can stay visually noticeable without adding much bulk. Stuffed whales, cats, fruit, and sea creatures project farther from the bag, so changing yarn weight can have a much larger effect on the final scale.
Fiber and stitch density also influence how a charm behaves. A firm, closely worked fabric generally keeps small shapes defined, while a softer or more flexible fabric can suit bows and dangling elements that are meant to move. When substituting yarn, compare more than color. Think about thickness, surface texture, weight, and how securely the finished fabric will support the clasp. If a tutorial gives a specific yarn-and-hook combination, check the original source before altering both at once.
Build the Hardware Connection Before You Finish
The most decorative part of a charm should not automatically become its attachment point. Petal tips, thin leaves, narrow stems, tentacles, and other delicate sections can receive more pulling than expected when a bag is carried or set down. Whenever possible, connect the ring or clasp through a firm section of crochet or through the attachment location demonstrated by the designer.
Hardware choice changes how the charm hangs, too. A split ring creates a relatively direct connection, while a short chain or swivel clasp can give a bulky charm more room to move beside a handle or zipper. Before fastening everything permanently, hold the charm from the intended connection point. Check whether it hangs upright, twists awkwardly, or places excessive tension on one stitch. This quick orientation check is especially useful for directional designs such as flowers, cats, butterflies, and mini purses.
Plan Embellishments for Everyday Handling
Small charms often get their personality from leaves, embroidered faces, beads, buttons, safety eyes, or other details, but those additions also introduce possible failure points. Sewn or embroidered details can be practical when you want fewer rigid components, while beads and plastic eyes need secure attachment appropriate to the intended use.
Consider the recipient as well as the design. Small detachable parts may be unsuitable when an item could reach a baby or young child; embroidered facial details can sometimes provide an alternative when the underlying project allows it. Care also becomes less predictable when crochet is combined with stuffing, metal hardware, beads, glue, or mixed fibers. Follow the yarn label and the original creator’s guidance rather than assuming a finished bag charm can be washed or dried the same way as an undecorated crochet swatch.
1. Crochet Strawberry Cluster Bag Charm
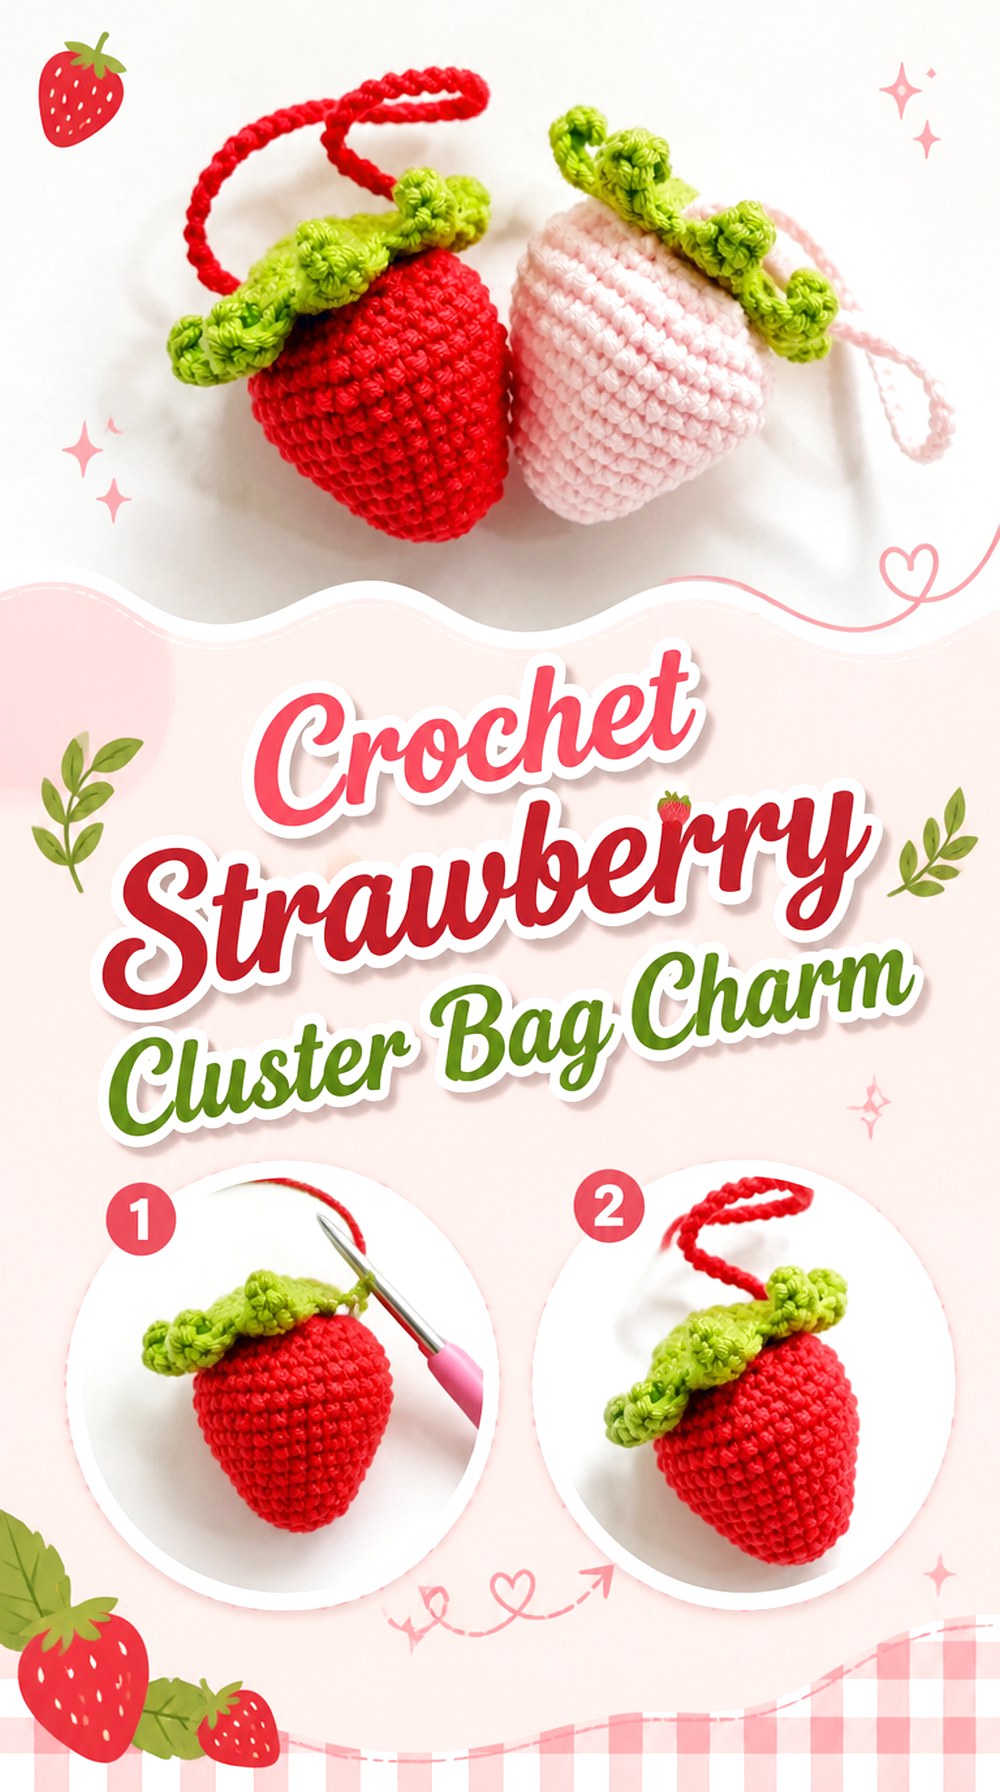
A strawberry is compact enough to work as a noticeable charm without needing a complicated silhouette. The tutorial from Crochet with Mai presents a crocheted strawberry specifically as a bag charm or fruit keychain, giving this idea a rounded fruit body and leafy top rather than a flat fruit appliqué. That dimensional form makes it particularly effective against plain canvas, denim, or solid-color handbags where the shape can be seen clearly.
Before changing its scale, consider how a larger stuffed fruit will affect weight and movement. For a charm that will be handled frequently, the connection between the leafy top, fruit body, and hardware deserves as much attention as the decorative shaping.
Keep the Fruit Shape Clearly Defined
Fruit charms rely heavily on silhouette. If the crochet fabric becomes too loose after a yarn substitution, stuffing can push unevenly between stitches and soften the strawberry’s recognizable taper. A denser fabric generally gives a compact amigurumi fruit cleaner definition. Rather than assuming a different hook will work automatically, make a small tension check and compare the resulting fabric with the density shown in the tutorial.
Treat the Leafy Top as More Than Decoration
The green top provides useful contrast, but it also sits close to the area where many fruit charms are suspended. Avoid making a delicate leaf tip carry the entire load unless the original construction specifically uses it that way. When adapting the hardware, aim for the stronger central structure and check that the strawberry hangs with the fruit pointing downward instead of tilting sideways.
Original Tutorial and Creator Credit
Creator: Crochet with Mai
2. Crochet Layered Daisy Bag Charm
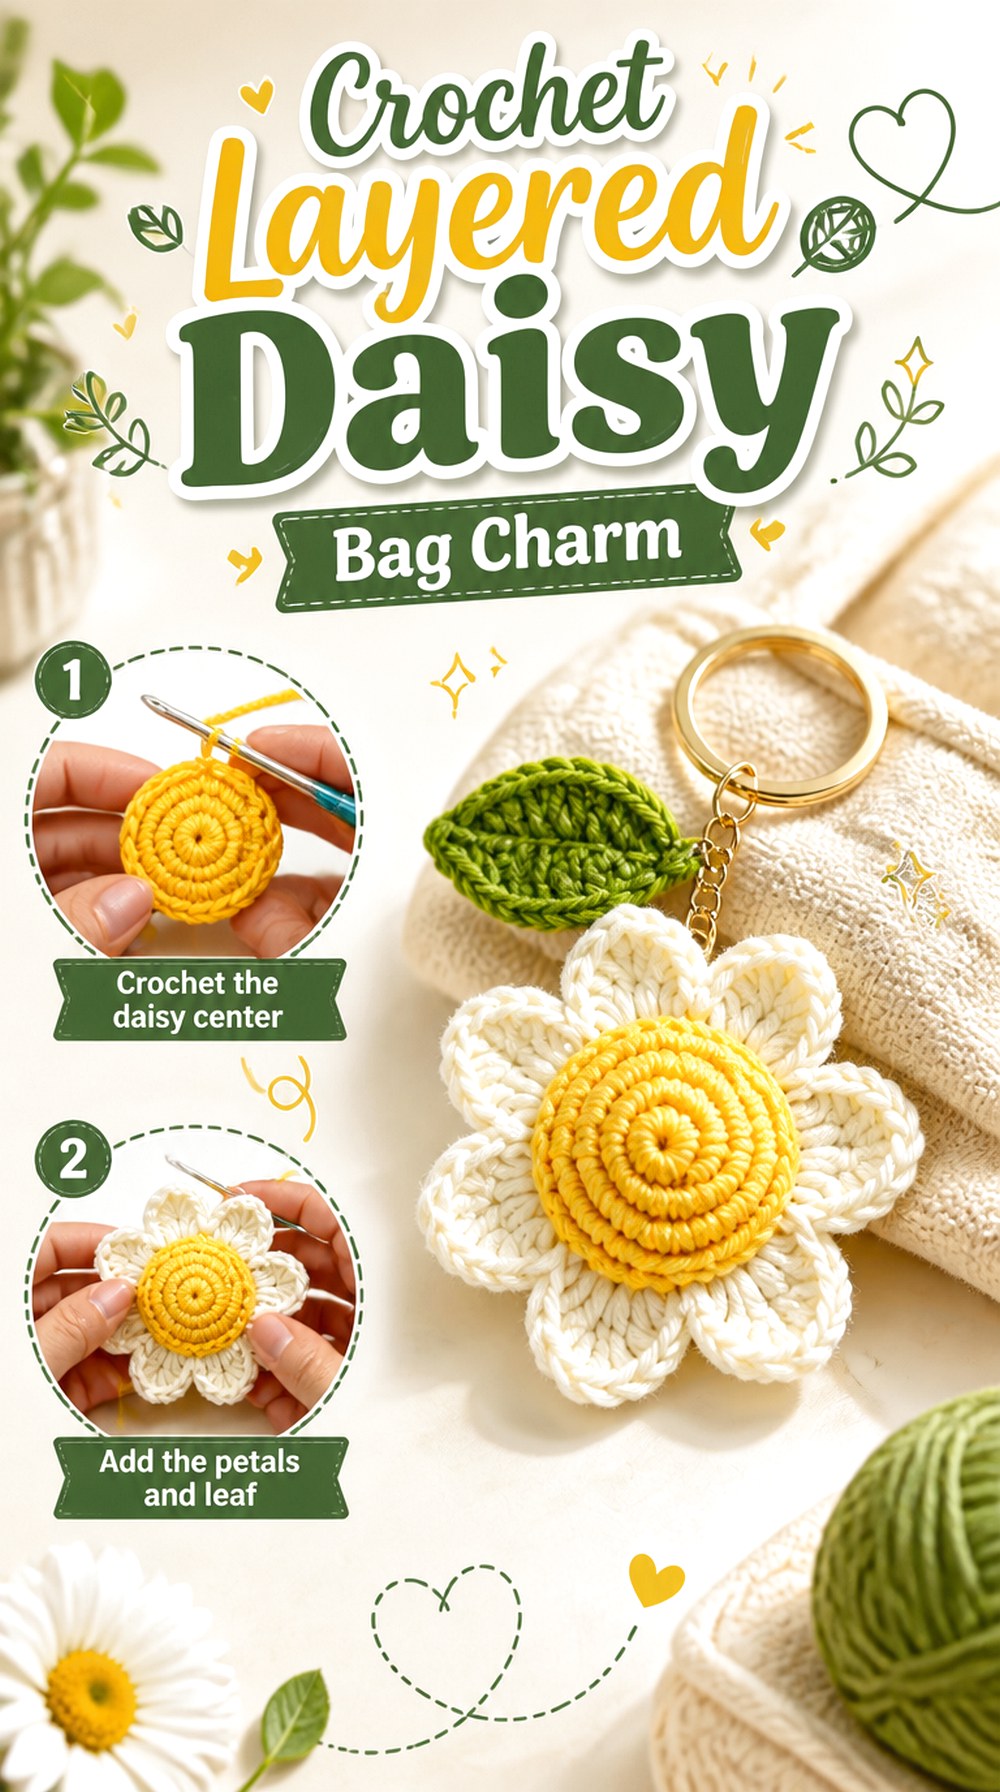
This daisy offers a different kind of presence from a stuffed fruit because its interest comes from layered floral components. The Yarnling’s tutorial covers the flower center, sepal, petals, leaf, and assembly, producing a dimensional flower keychain that can also sit naturally against a bag.
A daisy suits someone who wants a charm with a recognizable front-facing design but does not necessarily want a bulky amigurumi figure. It also gives you several areas for controlled color variation: center, petals, greenery, and hardware can be coordinated without changing the actual construction. Because the petals project from the center, however, finishing matters. A charm that regularly brushes against clothing or other objects benefits from secure petal shaping and tidy attachment points.
Protect the Flower’s Front-Facing Orientation
A daisy is most effective when the flower face remains visible. Before permanently connecting the clasp, suspend the completed flower and see whether the attachment causes it to flip edge-on. A short connector or different ring orientation may help, depending on the construction. Make hardware changes without piercing or stretching a single petal simply to improve the hanging angle.
Balance Petal Definition With Flexibility
Very limp petals can fold together, while extremely stiff fabric may make a small flower look heavy for its scale. If you substitute yarn, consider how the fiber affects both edge definition and movement. Blocking or shaping may help some floral pieces, but follow the creator’s instructions and the yarn’s care recommendations rather than applying heat or moisture automatically.
Original Tutorial and Creator Credit
Creator: The Yarnling
3. Crochet Sunflower Disk Bag Charm
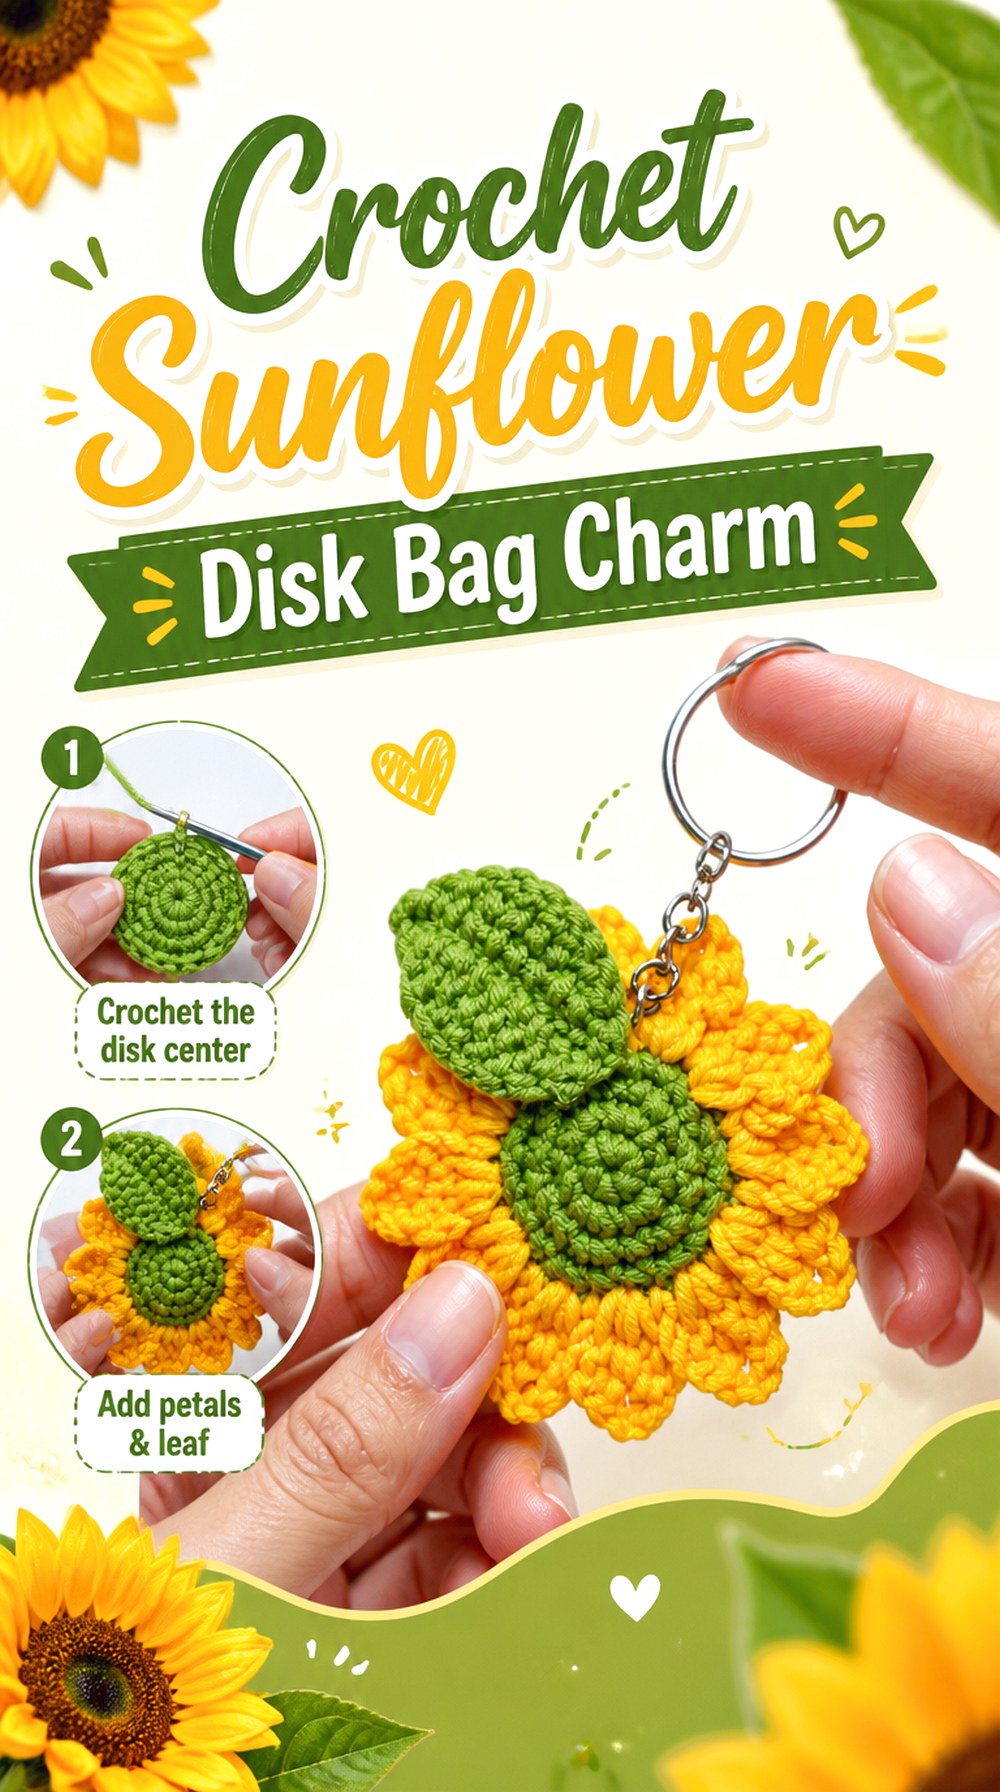
The sunflower idea creates stronger graphic contrast than the daisy because the broad dark center becomes a major part of the finished flower. NHÀ LEN’s tutorial is specifically presented as a sunflower keychain and bag charm, making it a direct match for an accessory rather than a flower motif that has merely been repurposed afterward.
This style works well when you want the charm to read clearly from a little distance. The circular center creates a visual anchor while the petals widen the silhouette without requiring a stuffed body. It is also a useful alternative for anyone who likes floral accessories but wants something bolder and less delicate-looking than a small daisy.
Watch the Petal Spacing
Even petal distribution matters more on a sunflower because the eye naturally follows the edge around the circular center. If some petals bunch while others spread apart, the finished flower can look lopsided even when the center is correct. When making yarn substitutions, keep an eye on whether thicker fibers crowd the available space around that central disk.
Decide Where the Flower Should Sit on the Bag
A broad flower charm can look different on a narrow zipper pull than it does on a tote handle. Check the complete flower width against the intended attachment area before changing its scale. If the bag already has large hardware or decorative stitching, allowing enough visual space around the sunflower can keep the charm from appearing crowded.
Original Tutorial and Creator Credit
Creator: NHÀ LEN
4. Crochet Mushroom Key Cover Bag Charm
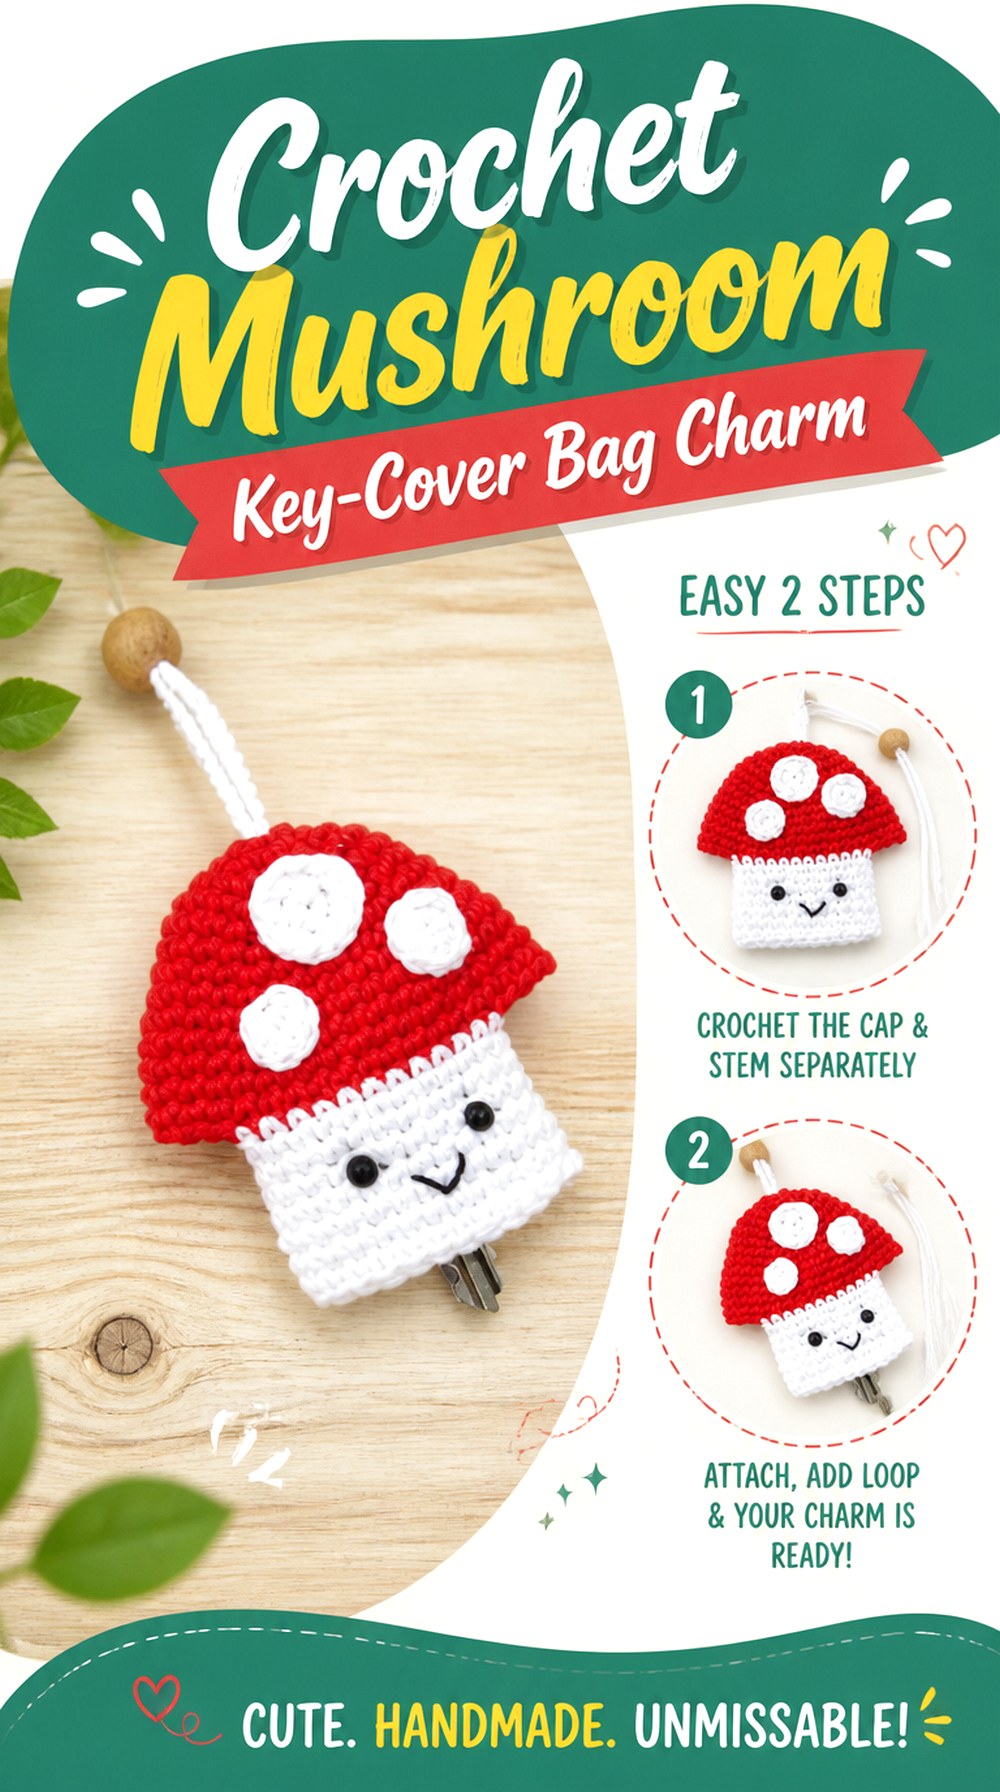
Instead of being purely decorative, this mushroom combines the look of a charm with key-cover functionality. Hopeful Turns shows a mushroom key cover with a distinct upper cap, lower section, decorative spots, and hanging component. This gives the project a noticeably different construction from the solid stuffed shapes elsewhere in the list.
The cap-and-stem silhouette is instantly recognizable, while the key-cover format adds movement because the key can interact with the crocheted piece. That makes it a practical choice when you want something playful but more purposeful than a standard pendant. Because the charm needs to interact with hardware, however, preserving the intended opening and hanging arrangement is more important than simply matching the overall mushroom shape.
Preserve the Moving-Key Function
If you plan to use the piece as an actual key cover, test the key and hanging mechanism before final finishing. A tighter cord, thicker yarn, or altered opening can affect how smoothly the key moves. Decorative adaptations are safer when they do not interfere with the pathway or pull direction shown by the tutorial.
Keep Surface Details Secure
The small spots on a mushroom cap add much of its character, but raised pieces can also catch against other contents inside a bag. Pay attention to how the tutorial attaches them and avoid leaving loose tails or barely anchored edges. For a high-use charm, embroidery or firmly attached motifs may behave differently from bulkier embellishments.
Original Tutorial and Creator Credit
Creator: Hopeful Turns
5. Crochet Curly Tentacle Jellyfish Bag Charm
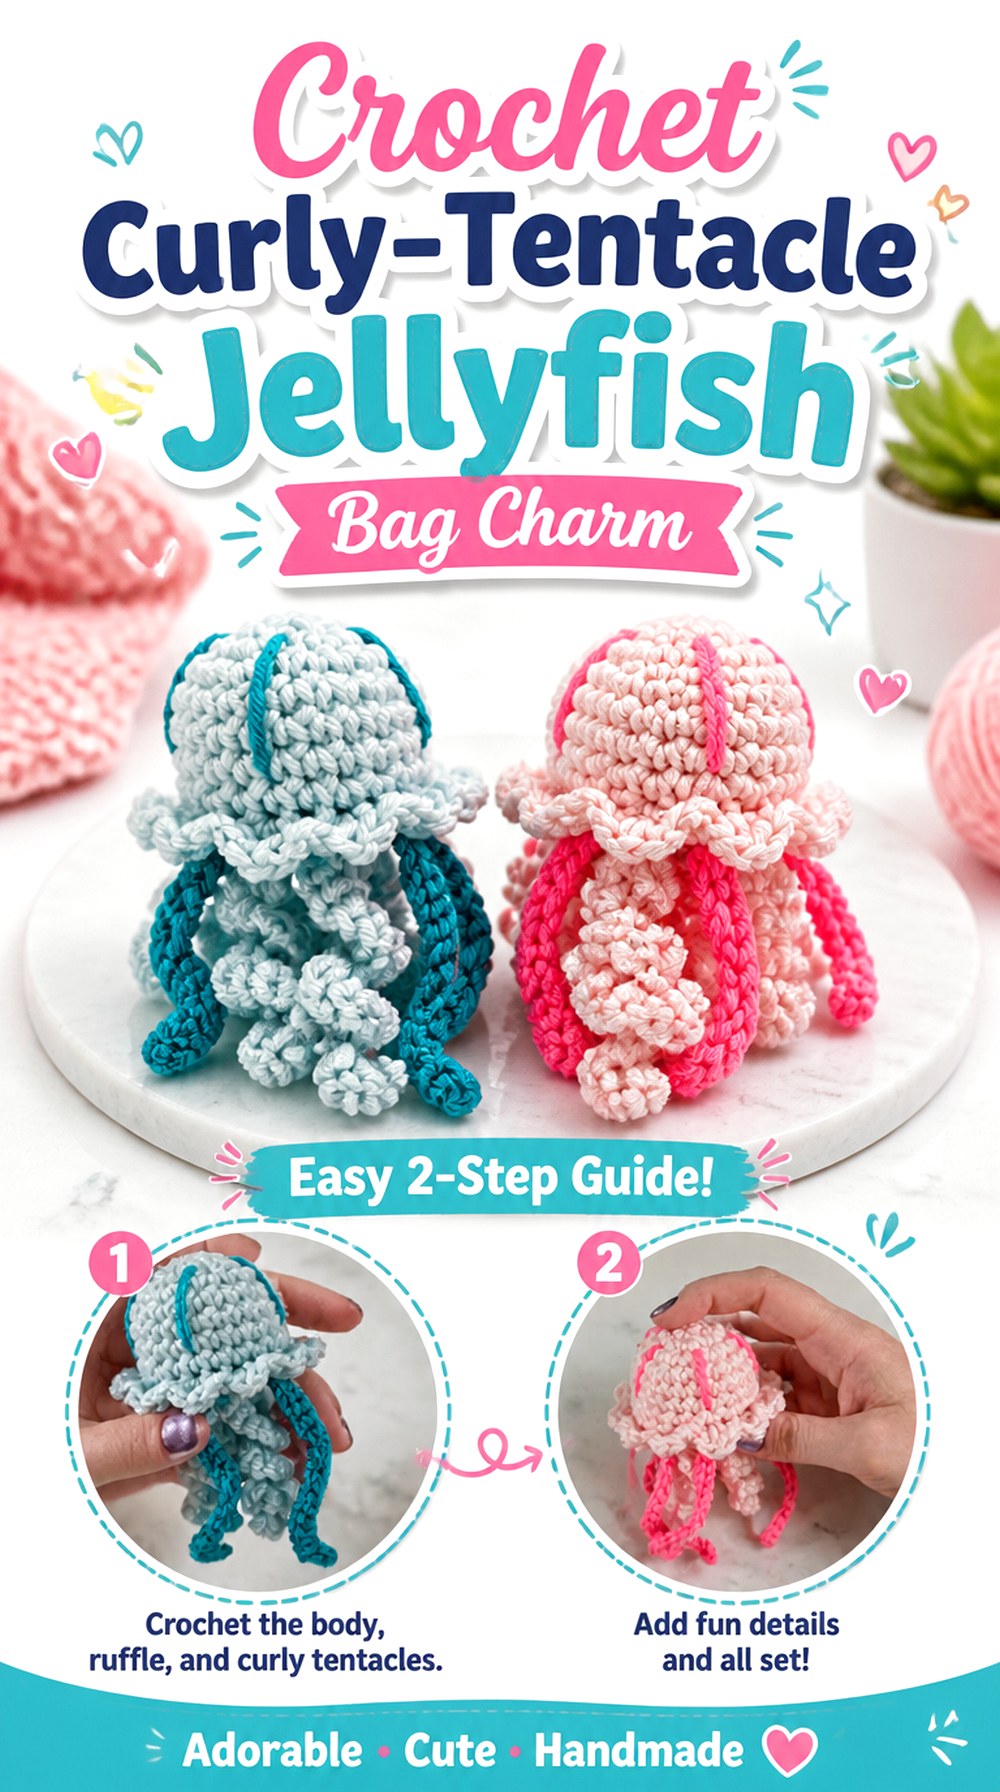
The jellyfish creates vertical movement that most compact charms do not have. Heather Corinne Crochets’ tutorial shows a mini jellyfish intended for use as a keychain or bag charm, with a bell, belly area, and a mixture of skinny and curled tentacles. Those hanging components give the project a lively silhouette even when the main body remains small.
This design works particularly well on backpacks or tote handles where the tentacles have room to dangle freely. It is less suitable for a location where they will constantly be trapped inside a tight zipper area. The face can also change the overall character significantly, so deciding between plastic and embroidered features is worth doing before the body is closed.
Leave Room for the Tentacles to Move
Curled and straight tentacles need space below the main body. Attach the finished charm to the intended bag temporarily and check that the lowest strands do not continually catch in a zipper, buckle, or neighboring charm. If scale is being altered, remember that increasing yarn thickness may change both body size and the visual weight of the hanging strands.
Check the Stuffing Before Closing
A jellyfish bell needs enough form to remain recognizable, but forcing too much filling into a small crochet shell can stretch stitches or distort the lower edge. Use the source for its intended construction and add stuffing gradually. The goal is a defined body that still leaves the tentacle area visually separate rather than a hard overfilled ball.
Choose Facial Details for the Recipient
The tutorial lists safety eyes as optional and also includes embroidery-related supplies. If detachable plastic components are not appropriate for the intended recipient, review the creator’s alternatives and consider embroidered details. This decision should be made early enough that access to the inside of the body is still available if the chosen finishing method requires it.
Original Tutorial and Creator Credit
Creator: Heather Corinne Crochets
6. Crochet Mini Whale Bag Charm
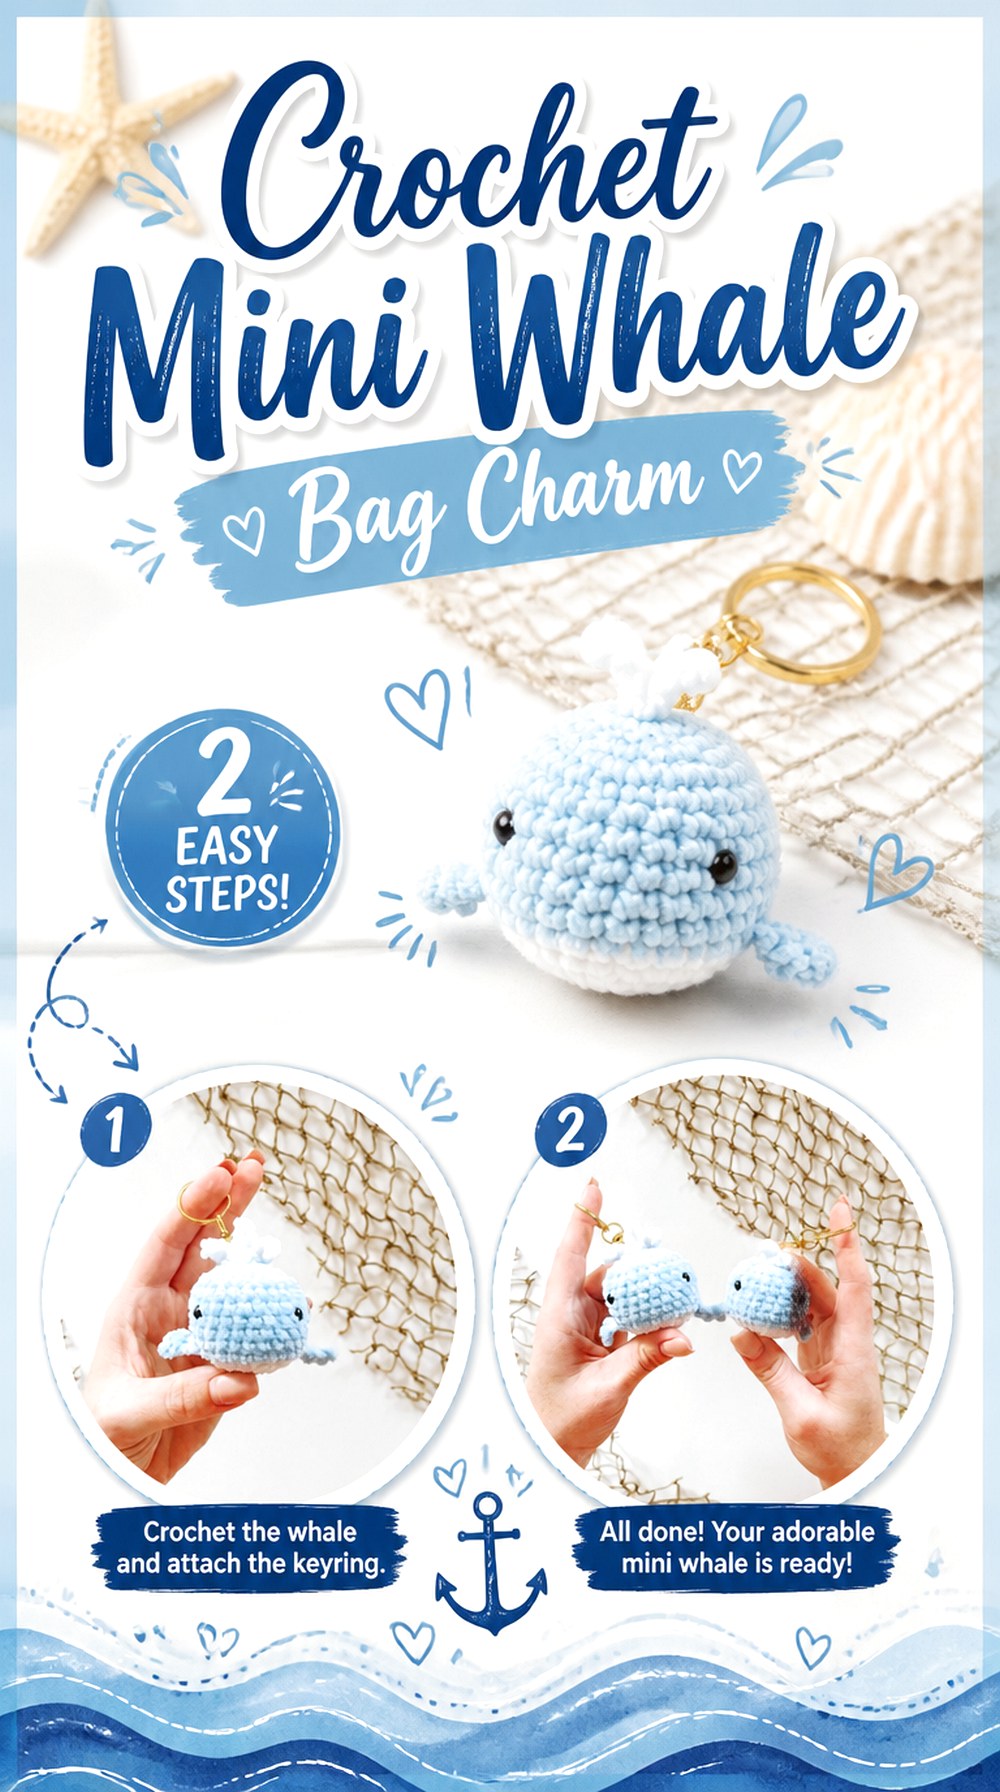
A tiny whale provides a rounded amigurumi option with several small silhouette details rather than long dangling parts. Double Dutch Crochet Co.’s original pattern includes a compact whale body plus side fins, tail fins, and a small water-spout detail, and the designer explicitly presents it for use as a whale keychain or crochet bag charm.
Those details keep the project recognizable even at reduced scale. Compared with the jellyfish, the whale stays visually compact, making it easier to place beside a zipper or short handle. The source also notes that changing yarn weight will change the finished size, which is an important reminder if you want to substitute materials rather than reproduce the designer’s sample proportions.
Protect the Small Fins From Pulling
Side and tail fins create the whale silhouette, but they are not ideal places to carry the charm’s entire weight unless the pattern explicitly directs that use. Keep the main hardware connection at the intended strong point. After assembly, give every protruding feature a visual check for loose ends or uneven joins before attaching the whale to a frequently used bag.
Consider Embroidered Eyes for Some Uses
The original pattern lists safety eyes. For a decorative adult accessory, that may suit the intended finish, but recipient and use still matter. If the charm could be handled by a young child, verify whether an embroidered alternative is more appropriate. Changing the face may also alter expression, so position both eyes before securing them permanently.
Original Tutorial and Creator Credit
Creator/Site: Double Dutch Crochet Co.
7. Crochet Potted Cactus Bag Charm
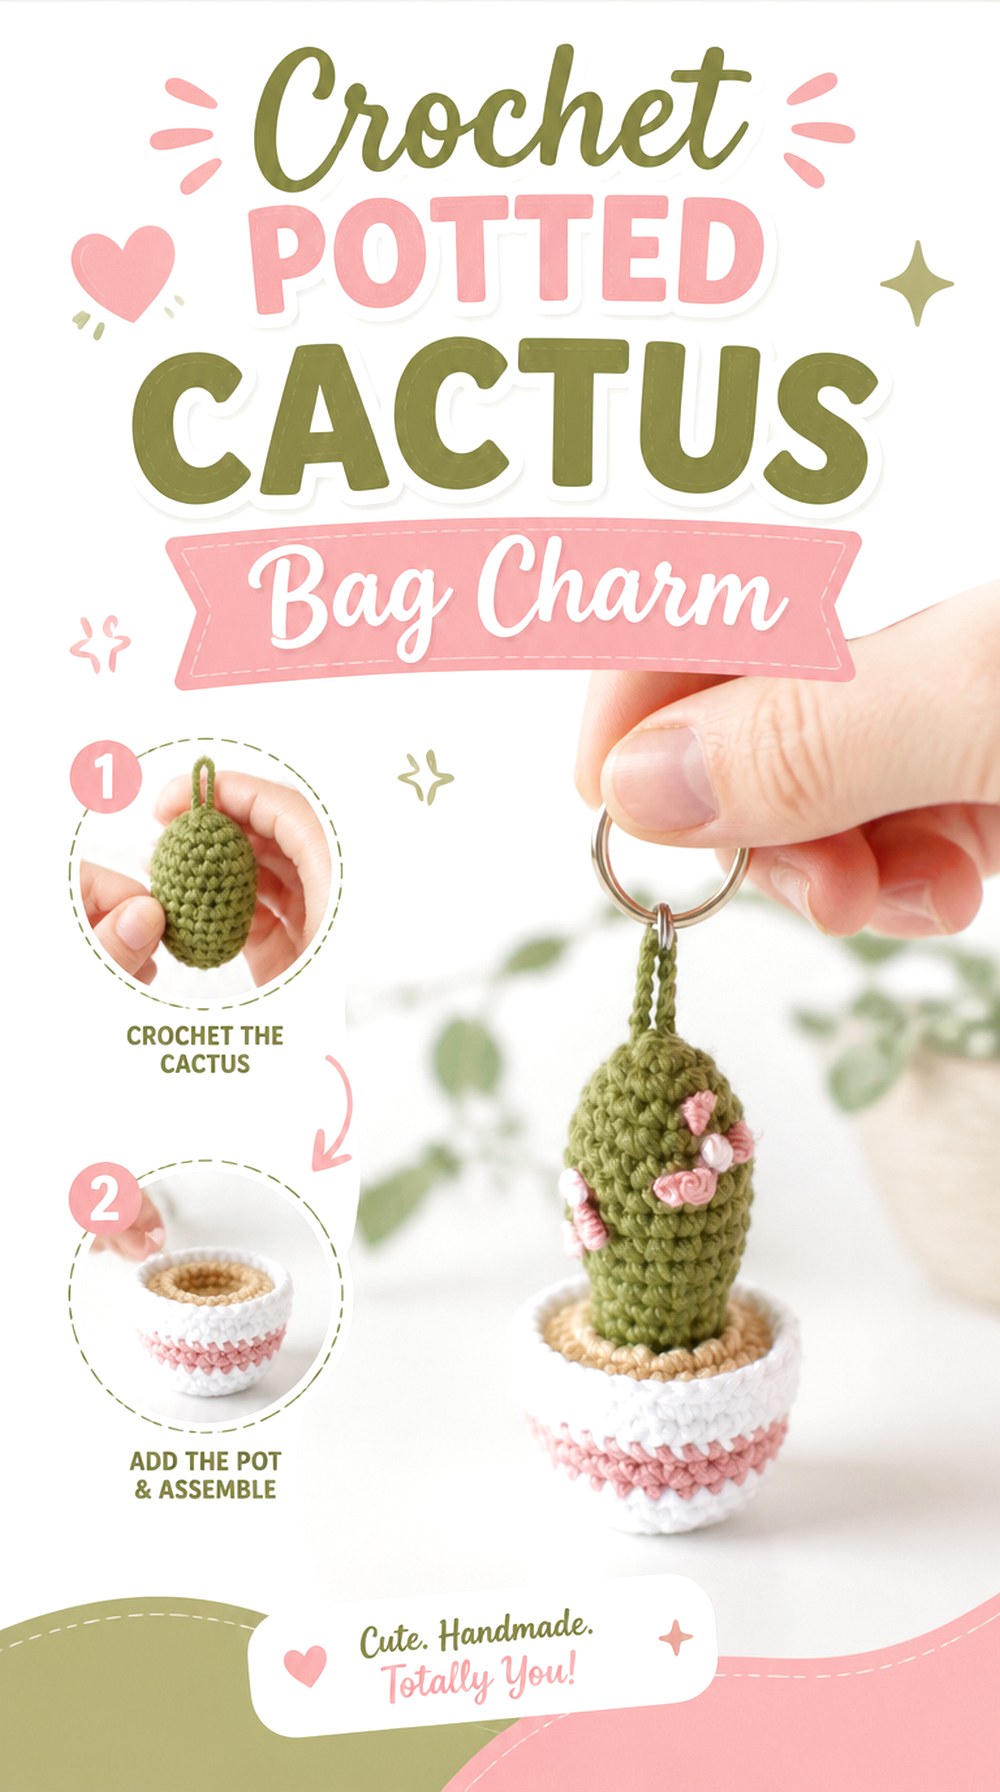
Elisa’s Crochet turns the plant theme into a three-dimensional cactus-in-a-pot charm rather than a flat botanical motif. The original design combines the cactus, soil and pot sections with small embroidered flower details and a crocheted hanging chain leading to a metal split ring.
That layered vertical structure makes this one of the more sculptural ideas in the collection. It has a clear top and bottom, so good balance matters: a crooked attachment point will be more noticeable than it would on a round charm. The embroidered flowers also provide surface interest without requiring large separate petals, helping the little cactus retain a compact profile suitable for a bag.
Keep the Pot Looking Stable
The visual success of this charm depends on the cactus appearing planted rather than tilted. Before closing or permanently hanging the piece, check the relationship between the upper plant section and the pot. Uneven stuffing can exaggerate a lean. Distribute filling carefully and compare the profile from the front and side instead of judging the shape only while holding it in your hand.
Use Embroidery to Add Detail Without Bulk
Elisa Sartori’s design uses French-knot embroidery for the small flower blossoms. That approach is useful when you want surface decoration without attaching several miniature crocheted pieces. If you change thread or yarn thickness, test one knot first—the same technique can look substantially larger on such a small object when a heavier strand is substituted.
Original Tutorial and Creator Credit
Creator/Site: Elisa’s Crochet
8. Crochet Double Cherry Bag Charm
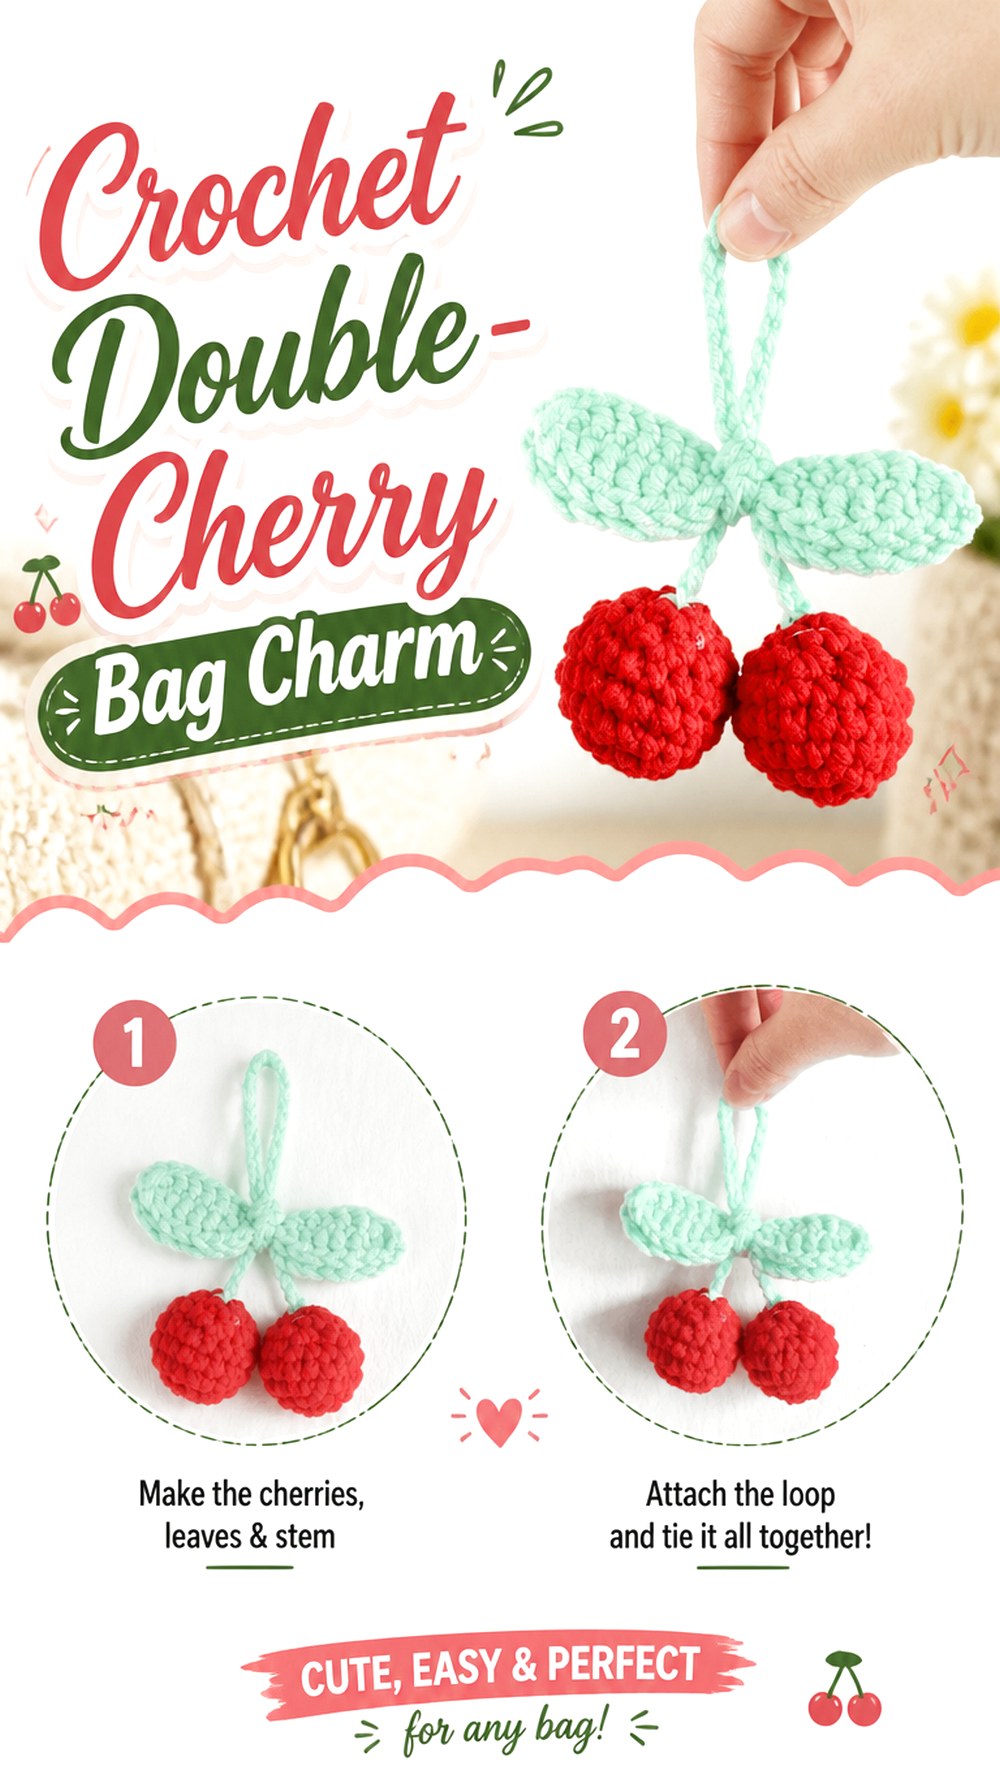
Two cherries create movement in a different way from tentacles or tassels: the matching fruits hang as a coordinated pair from their stalk. The LILI Path tutorial by Jaslyn uses two crocheted cherries together with leaves and a stem arrangement, giving the finished piece the familiar paired-cherry silhouette.
This is a strong choice when a single compact pendant feels too static. Each fruit can move independently while still reading as one accessory. The connecting stem and leaves become visually important rather than incidental, though, so adaptation requires restraint. Making the fruits much heavier without reconsidering the connecting section could change how the whole charm hangs and how much tension the join receives.
Match the Two Fruits Before Assembly
A paired design makes differences in tension much easier to see. Compare the completed cherry bodies before attaching the stem. If one is noticeably larger or firmer, check whether stuffing distribution or tension is responsible. Correcting that difference early usually gives a cleaner finished pair than trying to disguise it by adjusting the hanging lengths later.
Keep the Connector Proportional
The original tutorial allows variation in the stalk length. A longer connector creates more swing and separation, while a shorter one keeps the fruits grouped closely. Decide according to the bag location: an open tote handle can accommodate more movement than a small zipper pull. Avoid lengthening the stalk solely for drama without considering snagging.
Recheck Leaf Attachment After Hanging
Leaves sit near the central junction where the eye naturally focuses. Once everything is assembled, suspend the charm and inspect that area rather than evaluating it flat on a table. Make sure the leaves face outward and that any chosen attachment method is secure enough for the intended everyday handling.
Original Tutorial and Creator Credit
Creator/Site: The LILI Path
9. Crochet Tiny Cat Bag Charm
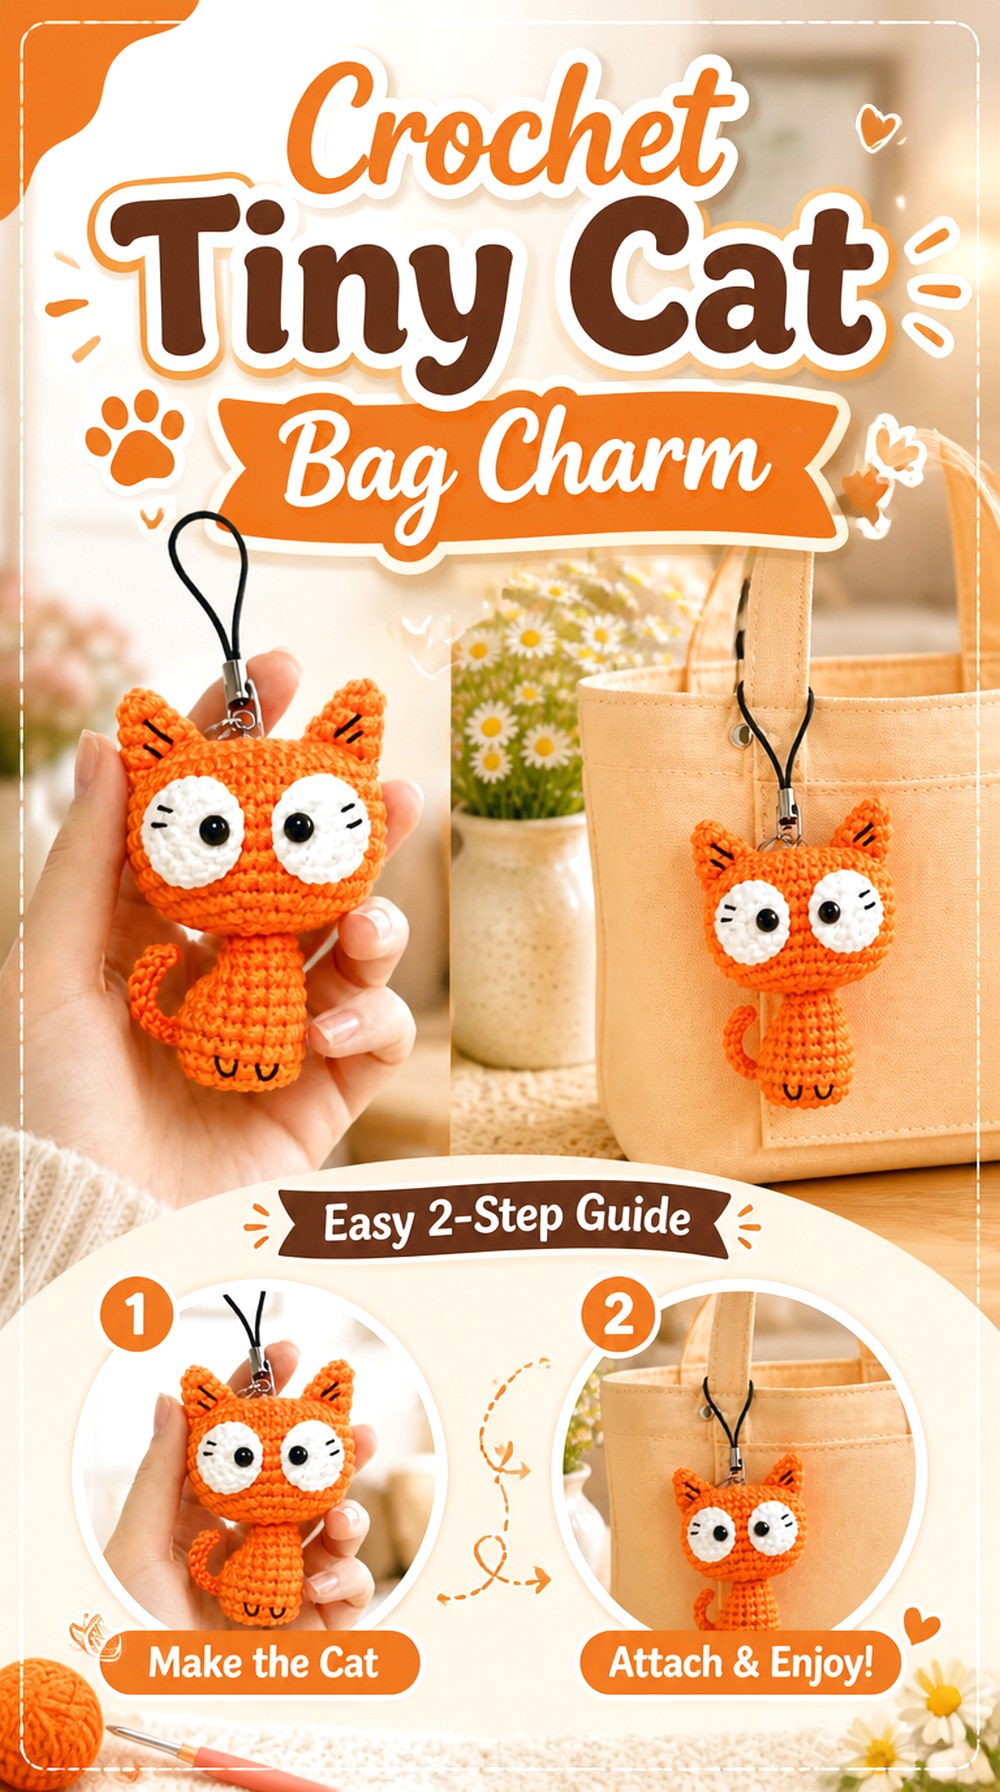
The tiny cat gives you a character charm with a much more directional silhouette than fruit or flowers. Ngochan Crochet’s tutorial includes shaping for the head, ears, body, and tail, along with facial details and keychain hardware. The curled tail and pointed ears help the animal read clearly even when the overall piece remains compact.
Because a cat face attracts attention immediately, symmetry around the eyes and ears has a noticeable effect on the finished expression. This is also a project where color changes can suggest different cat markings without requiring you to redesign the body. Keep those changes planned, though; random patches may make it harder to maintain a visually balanced face.
Place the Face Before Committing
Small changes in eye spacing or embroidery can make a tiny cat look completely different. Position facial components while you can still compare both sides easily. If using safety eyes, follow the tutorial’s construction order because access to the back of the eye may disappear after stuffing and closure. For other recipients, embroidered features may be worth considering.
Check the Tail as a Separate Silhouette
A tail that twists underneath the body can make the cat look bulky rather than clearly feline. After assembly, hold the charm by its hardware and see where the tail naturally falls. If the source construction allows shaping, position it so the outline remains readable without turning the tail itself into a high-stress attachment point.
Original Tutorial and Creator Credit
Creator: Ngochan Crochet
10. Crochet Granny Square Mini Bag Charm
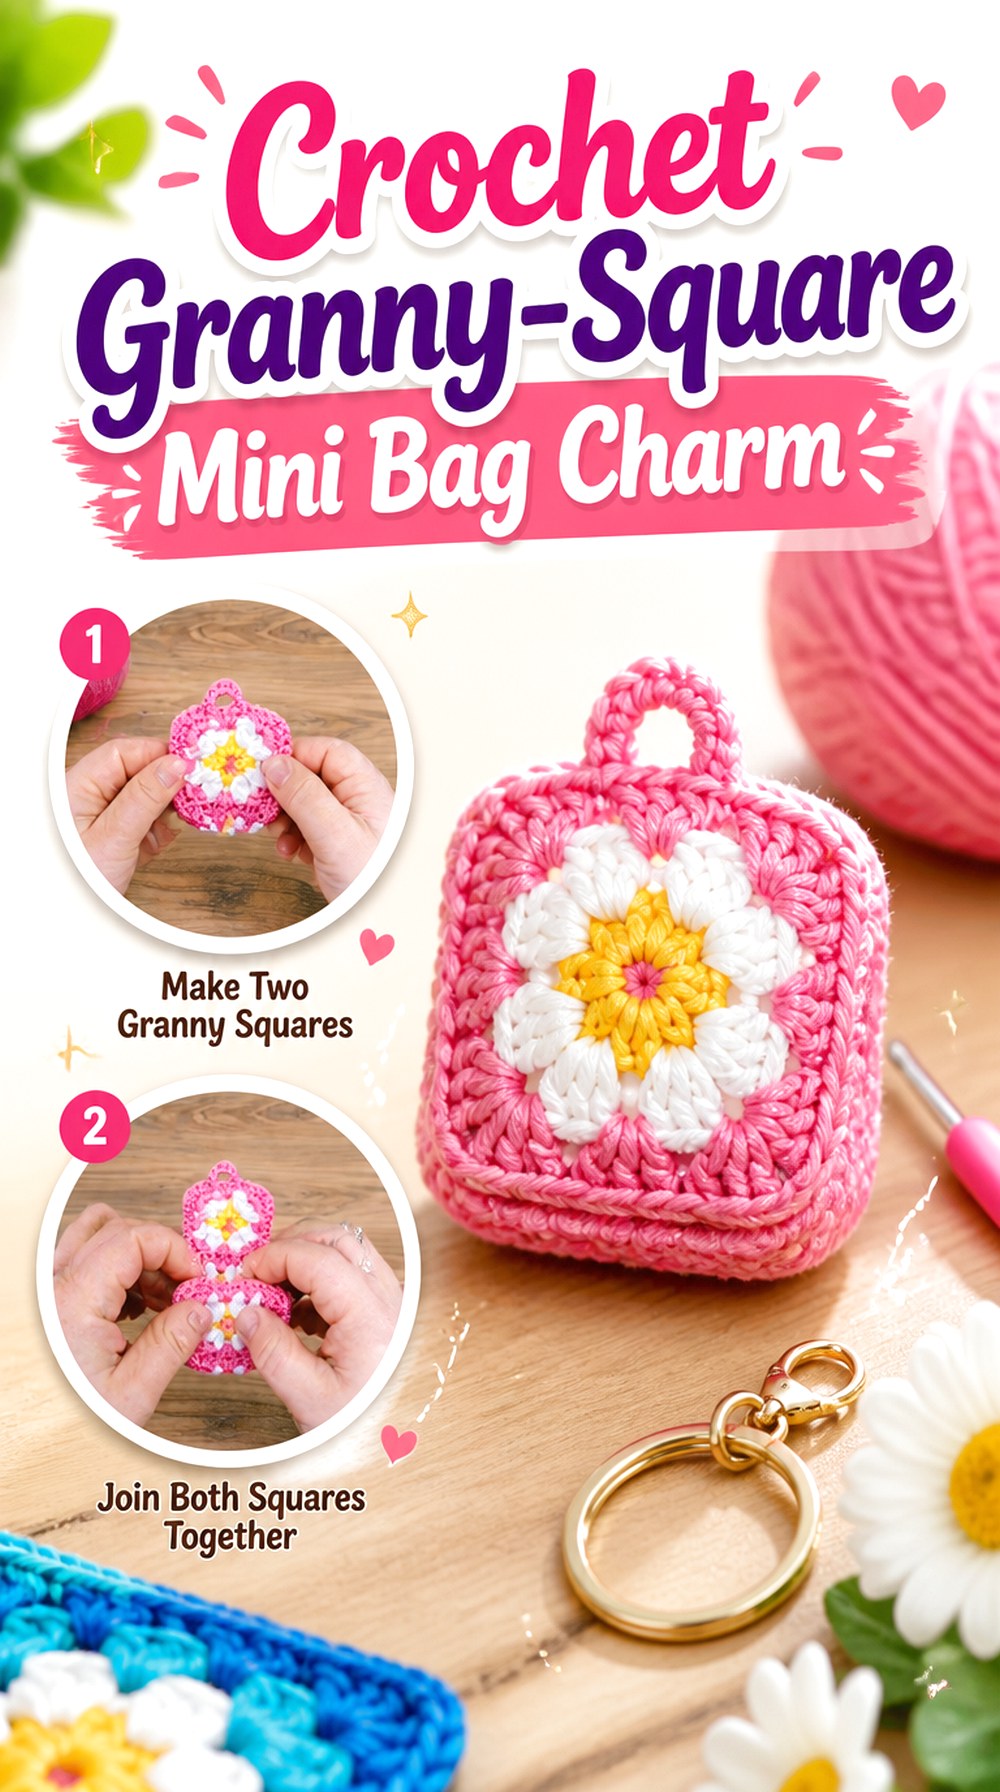
A miniature handbag hanging from a full-size handbag creates an intentionally playful scale contrast. Crochet Decor’s tutorial presents a mini bag keychain made with a granny-square approach and finishes it with keychain hardware and optional decorative elements.
This idea differs from stuffed character charms because the bag construction itself becomes the decorative feature. Color placement can emphasize the granny-square geometry, while the tiny purse silhouette provides a clear top edge and handle. If you adapt it, think about whether you want the miniature bag to remain purely decorative or retain some opening or dimensionality. Adding bulky objects inside a decorative mini bag can distort both the handle and body unless the construction is intended to support them.
Keep Both Sides of the Mini Bag Aligned
Small geometric pieces reveal alignment errors quickly. Before completing assembly, compare corners, edges, and the position of the handle. If color changes are part of the granny-square look, mismatched orientation can be more obvious than a small tension variation, so decide which face will be front before adding the final hardware.
Treat the Tiny Handle Carefully
The miniature handle is a visual feature, not automatically the strongest load-bearing area. Follow the tutorial’s keychain connection rather than assuming the narrow crochet handle should absorb every tug from the full-size bag. If you add a clasp or ring of a different size, make sure it does not force the handle apart or distort the upper edge.
Coordinate, Don’t Necessarily Match
One appealing way to customize this idea is to echo one color from the main bag rather than reproducing the entire palette. A neutral tote with a brighter mini purse can create more visual separation, while a tonal combination can look quieter. Because the design already has strong geometry, even two or three deliberate colors may provide enough variation without extra embellishment.
Original Tutorial and Creator Credit
Creator: Crochet Decor
11. Crochet Puffy Star Bag Charm
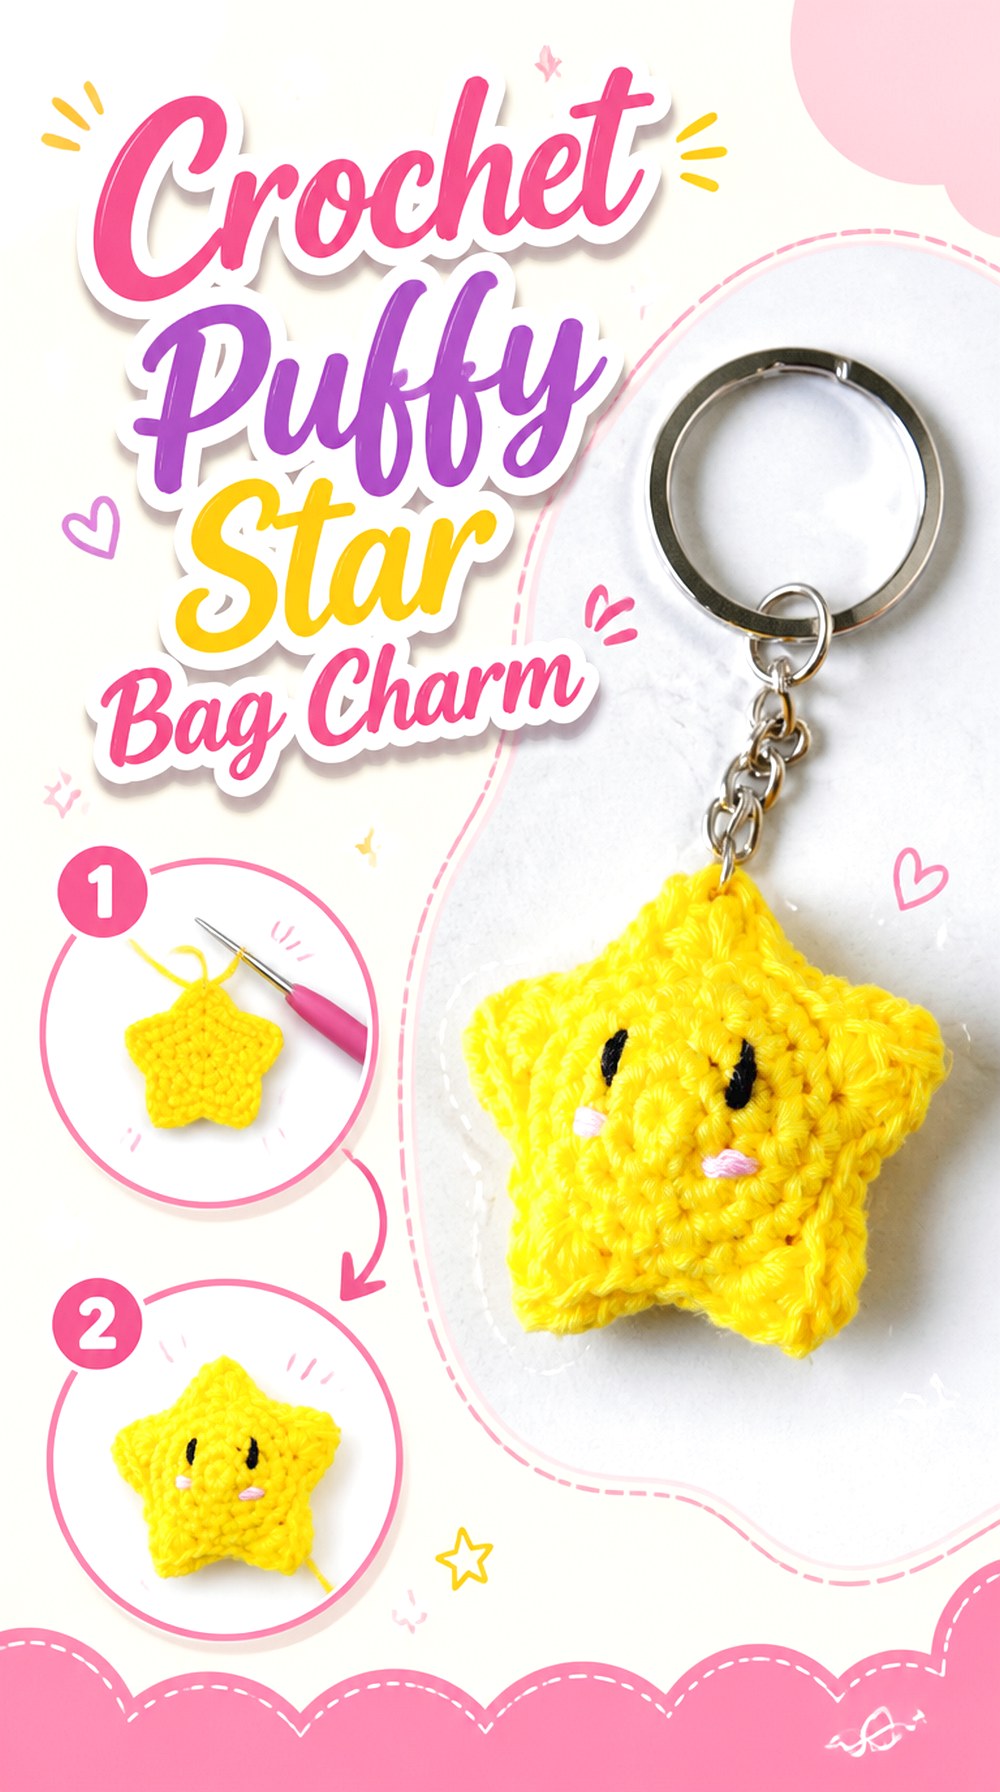
star offers a clean geometric alternative to flowers, animals, and food. Hook N Bloom’s original star keychain pattern can be made with optional filling, allowing the finished motif to gain some dimension while keeping its five-point outline.
This shape works well when you want a recognizable charm that does not depend on facial details or several color changes. It can also coordinate easily with celestial, holiday, or minimalist accessories depending on the palette. The main challenge is visual consistency: five points create repeated geometry, so differences between them are easy to notice. Good tension control and patient shaping matter more here than extra embellishment.
Compare All Five Points
Before adding hardware, place the finished star flat and look at the overall outline. One shorter or narrower point can draw the eye immediately. If the tutorial calls for shaping or optional stuffing, distribute that dimension evenly instead of concentrating it in the center or one side.
Avoid Overloading the Top Point
A star naturally suggests attaching the ring to one point, but hardware weight can influence that point’s shape. Follow the designer’s intended attachment method and avoid forcing an oversized ring through a delicate stitch. If you increase yarn weight, check whether the original hardware proportions still make visual and structural sense.
Original Tutorial and Creator Credit
Creator/Site: Hook N Bloom
12. Crochet Ribbon Bow Bag Charm
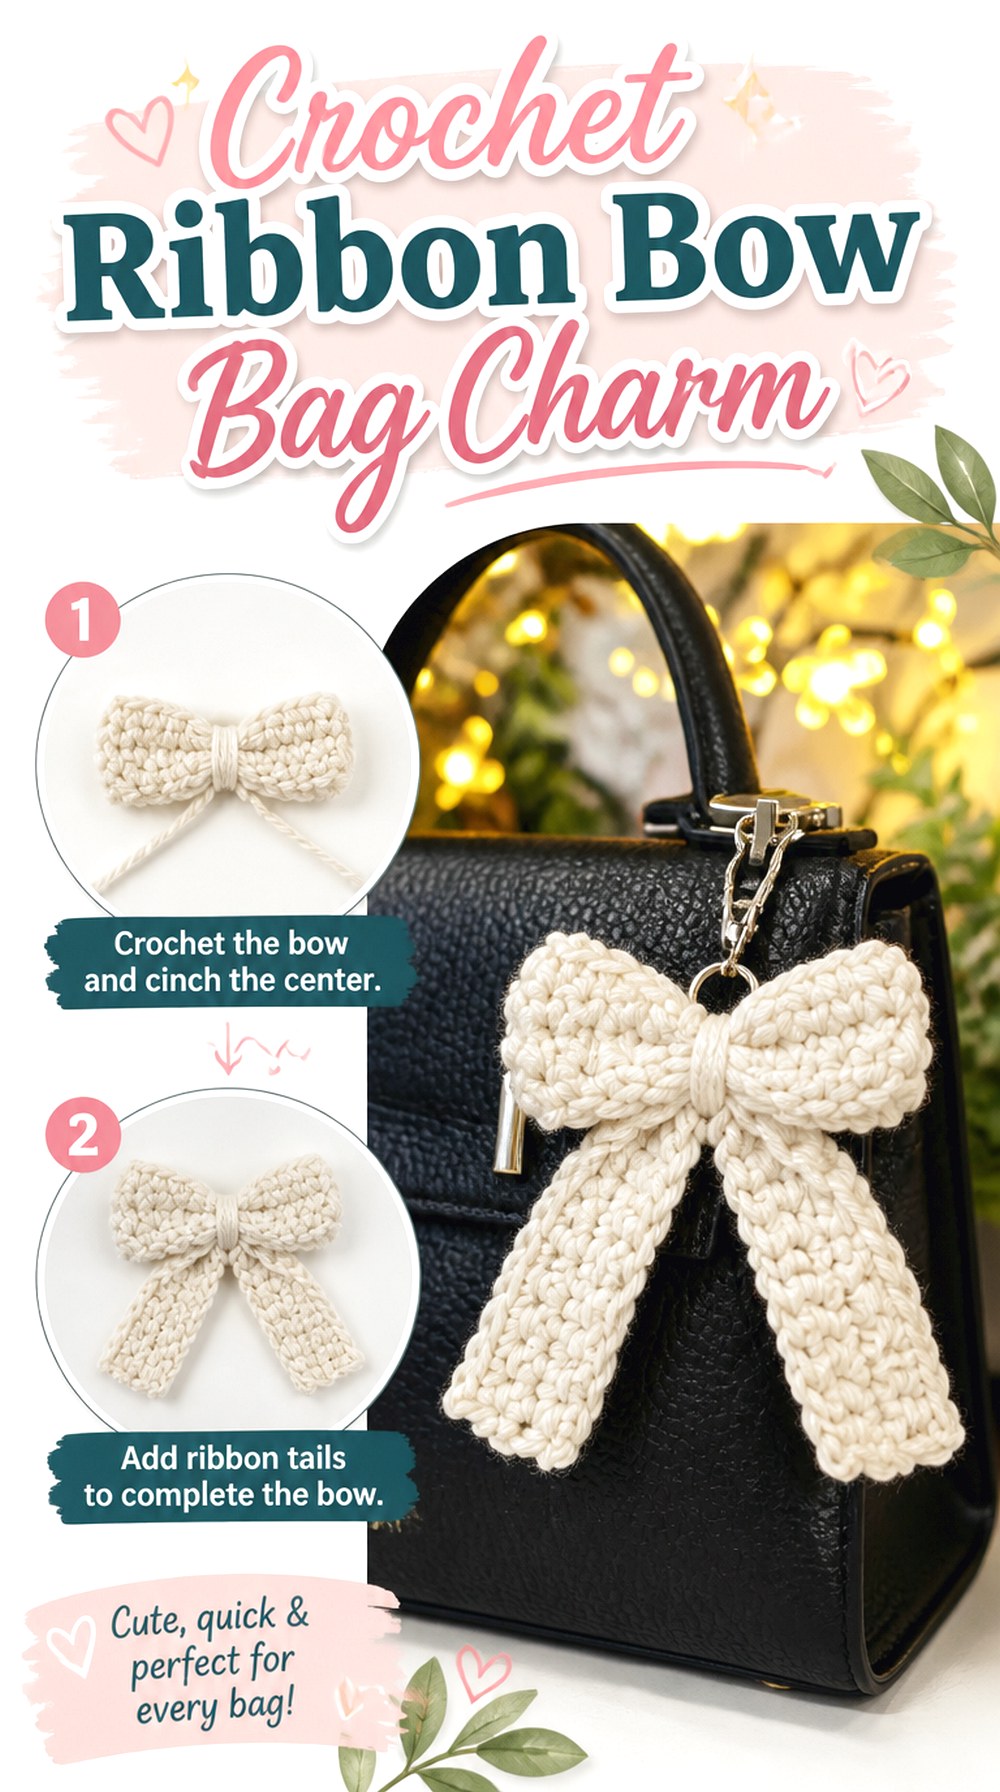
A bow can add a softer accessory look without using amigurumi shaping at all. VivCrochets constructs this keychain bow from crocheted rectangular components that are assembled into the top bow and hanging tails, with the clasp positioned through the wrapped central area.
Because the design is primarily fabric and folds, it sits differently from a stuffed charm and can be a useful choice for a handbag where bulky accessories feel excessive. The source also includes guidance for adjusting the bow’s dimensions, making proportion one of the most meaningful customization decisions. A very wide bow may dominate a small purse, while a narrower version can work neatly beside a zipper.
Let the Center Do Its Structural Job
The wrapped middle is both the visual center and the area associated with the clasp in the original pattern. Keep that section neat and firm because loose wrapping can make the bow lose definition. If you add beads or another embellishment, avoid interfering with the strands that help hold the bow together.
Adjust Width With the Actual Bag in Mind
Instead of choosing a size in isolation, hold a paper or yarn mock-up against the intended bag first. A bow that seems small in your hand can look large beside a compact zipper. Scale changes also affect the tails, so evaluate the whole vertical silhouette rather than adjusting only the upper loops.
Original Tutorial and Creator Credit
Creator/Site: VivCrochets
13. Crochet Firm Heart Bag Charm
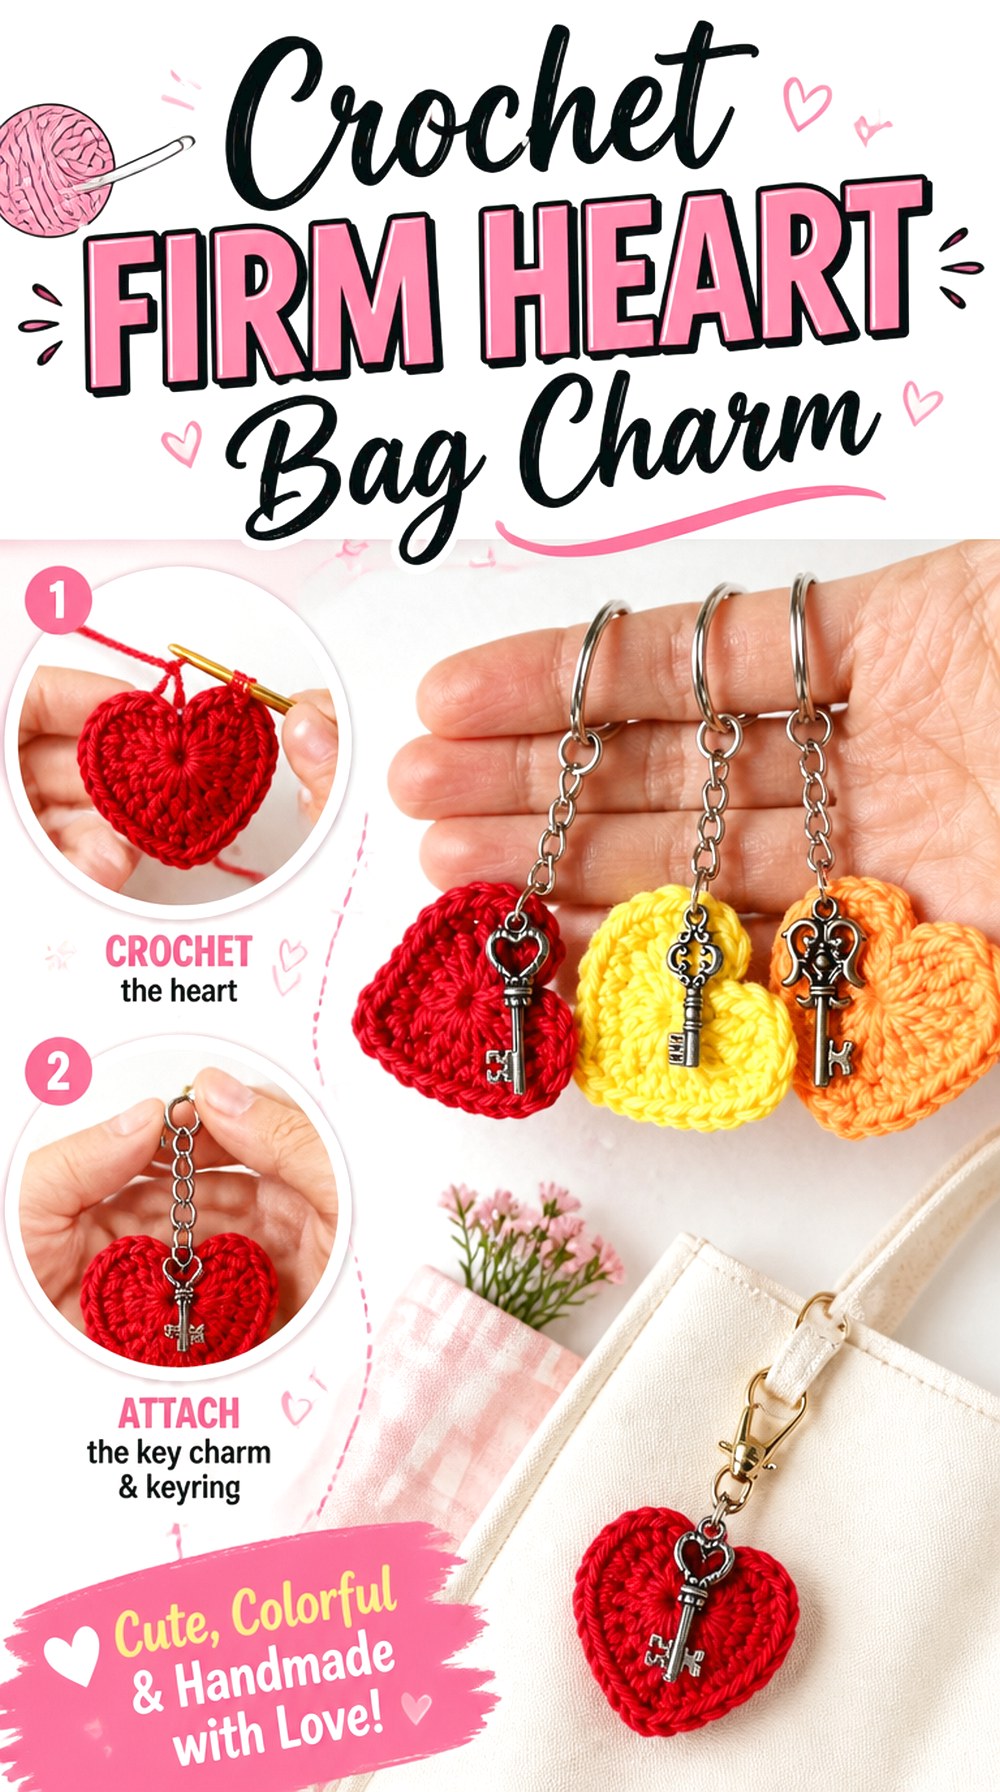
GoldenLucyCrafts’ heart keychain is a compact flat crochet heart designed to stay firm rather than becoming a stuffed plush shape. The original project also demonstrates the use of keychain hardware and a small additional metal charm, showing how crochet and non-yarn components can be combined without overwhelming the heart.
This is one of the least bulky ideas in the collection, which makes it practical for a smaller purse, zipper pouch, or set of keys. The heart’s usefulness also extends beyond Valentine-style colors: changing the palette and accompanying metal accent can shift it toward travel, food, celestial, or other themes without changing the basic silhouette.
Firm Fabric Helps the Heart Read Clearly
The designer specifically recommends a tight result so the heart remains firm rather than floppy. If you substitute a softer yarn or larger hook, evaluate the motif before adding hardware. A flat heart that curls or collapses may need a different material choice rather than simply more decorative finishing.
Match the Metal Accent to the Scale
An added charm can personalize the piece, but it should remain secondary to the crocheted heart. Oversized or heavy hardware can pull the motif sideways and make the crochet seem like an attachment rather than the focal point. Suspend all components together before closing the final jump ring and check their relative movement.
Original Tutorial and Creator Credit
Creator/Site: GoldenLucyCrafts
14. Crochet Chocolate Chip Cookie Bag Charm
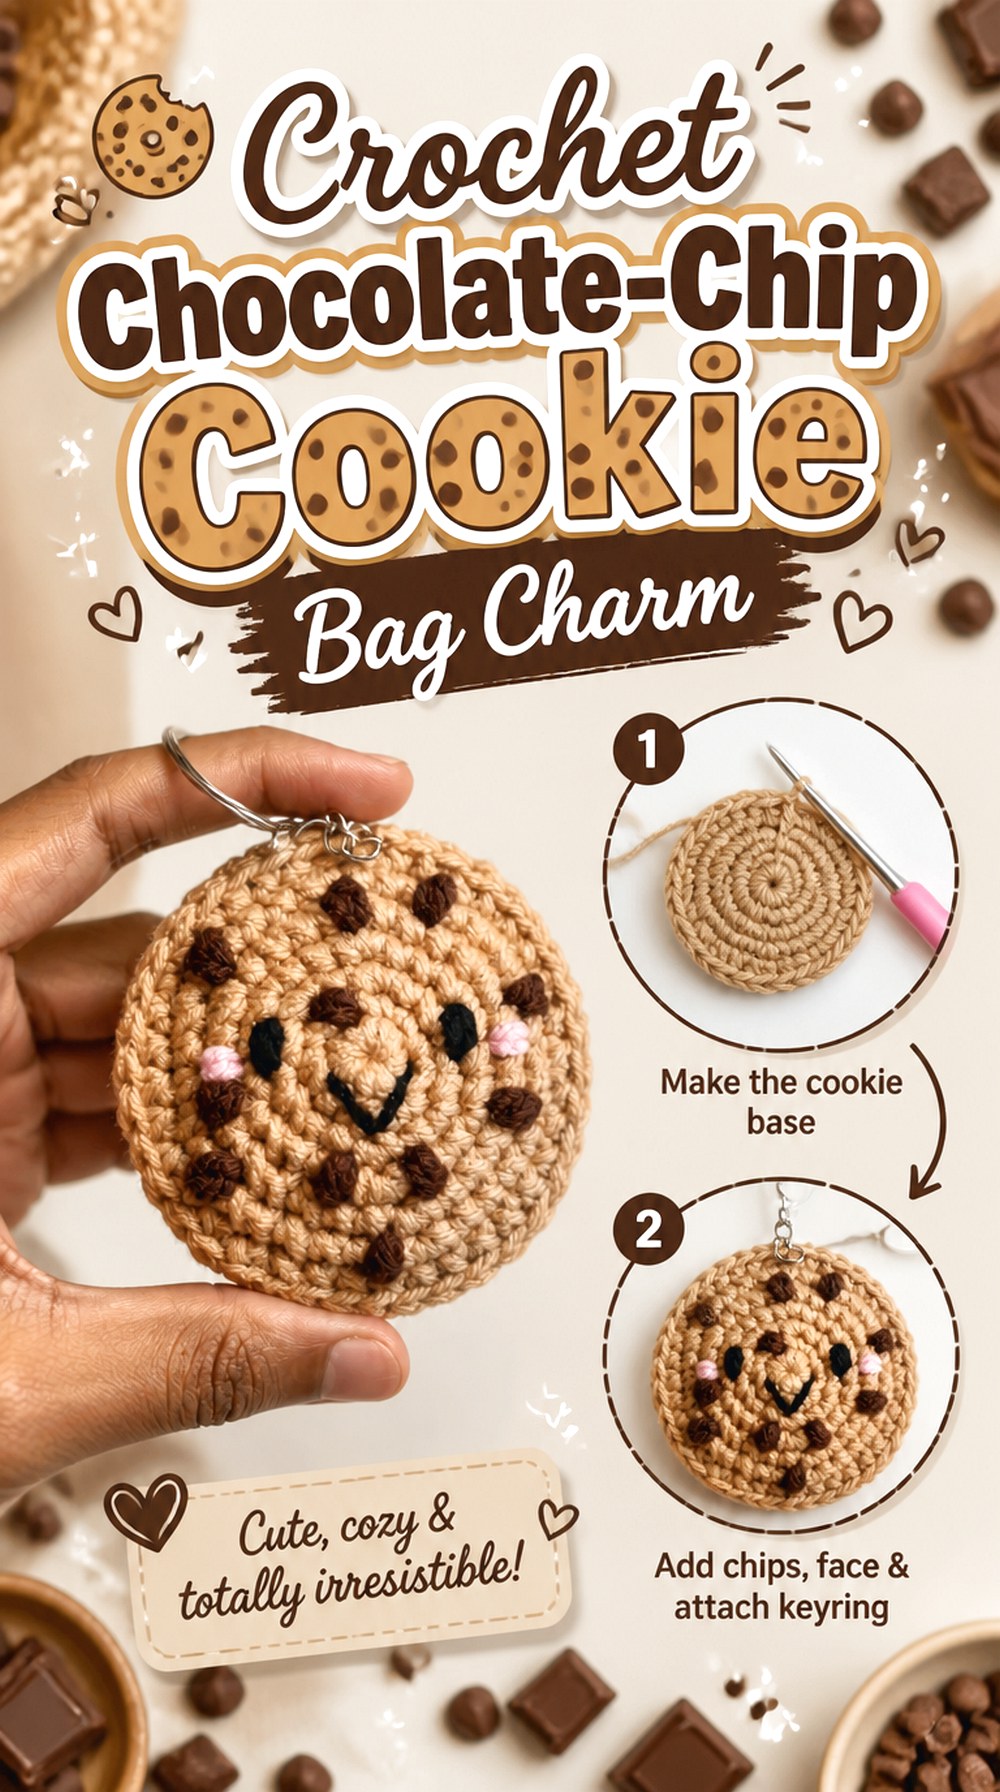
A cookie charm brings food-inspired humor without relying on a fruit silhouette. Divine Crochets’ tutorial creates a small cookie keychain with surface “chocolate chip” details and a face, then joins the sides before adding the keychain hardware.
The circular form gives you a forgiving overall shape, but surface placement becomes the main design decision. Chips scattered too evenly can look mechanical, while facial details need enough clear space to remain readable. This project can work particularly well on backpacks, lunch bags, or casual totes where a whimsical accessory feels intentional. It also offers plenty of color variation without changing the recognizable cookie concept.
Plan Surface Details Before the Face
Small motifs compete for limited visual space. Decide where facial features will sit before distributing decorative “chips” across the front. This allows you to keep the expression readable and prevents embellishments from crowding the eyes or mouth. Use the source for the intended arrangement rather than trying to reconstruct it from a finished photo.
Keep the Joined Edge Consistent
When a charm is made from two sides, a wavy or uneven joining edge can make a simple circle look distorted. Compare the two layers before permanently joining them and avoid stretching one to fit the other. If your yarn substitution changes the dimensions, correcting the mismatch early is better than forcing the final seam.
Original Tutorial and Creator Credit
Creator: Divine Crochets
15. Crochet Flat Butterfly Bag Charm
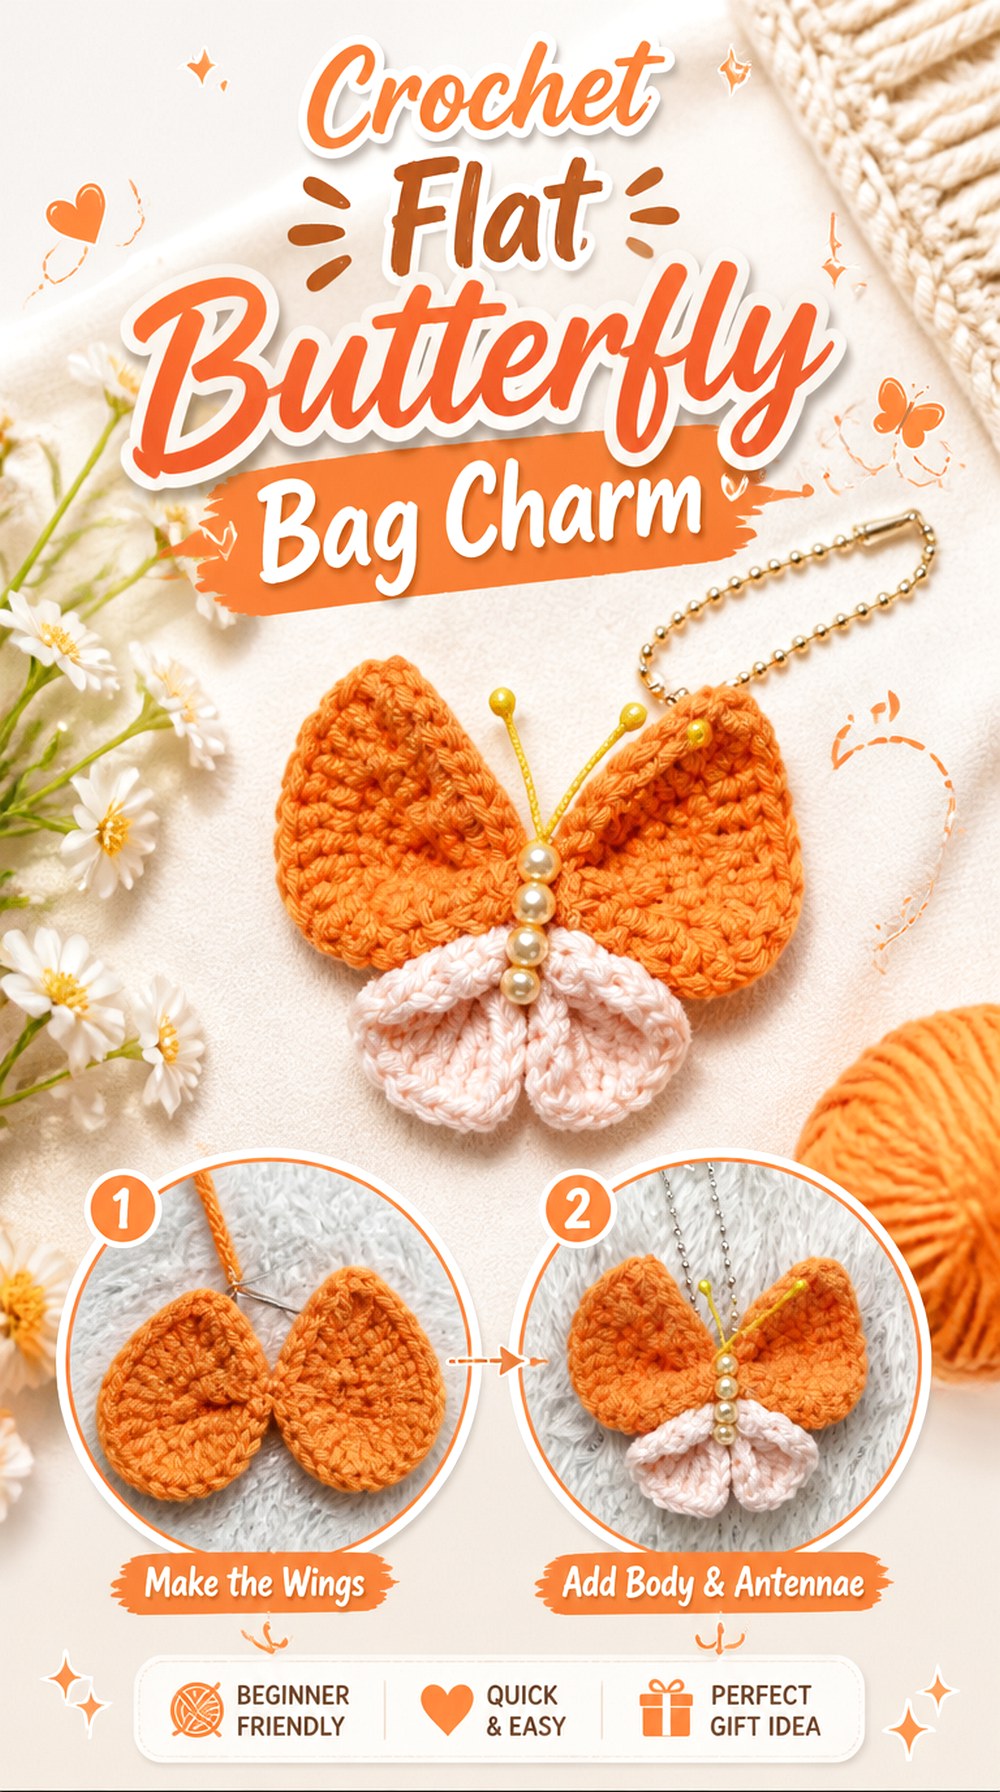
A butterfly creates width without the weight of a stuffed figure. Ghazi craft’s tutorial presents a crochet butterfly specifically for a keychain or bag charm and uses a relatively flat winged silhouette. This makes it a useful option for decorating a zipper, small purse, or backpack without adding a dangling stuffed body.
The wings also open more opportunities for intentional color placement than a single-color geometric motif. Two contrasting shades can emphasize symmetry, while a tonal palette can make the accessory quieter. Because the design depends heavily on matching left and right sides, though, tension differences can become more noticeable than they would in an irregular organic shape.
Check Wing Symmetry From a Distance
After finishing, set the butterfly down and view it from farther away rather than focusing only on individual stitches. Compare the upper and lower wing proportions and check whether the body line appears centered. Small inconsistencies that are difficult to notice close up can become obvious once the full silhouette is viewed as one shape.
Keep the Wings Away From Abrasive Hardware
Wide wings can rub against zippers, buckles, or rough-edged metal rings if the charm is installed in a crowded location. Before choosing the attachment point on the bag, let the butterfly hang naturally and watch where its edges fall. A little clearance can help the wing shape remain cleaner during regular use.
Original Tutorial and Creator Credit
Creator: ghazi craft
16. Crochet Curly Leg Octopus Bag Charm
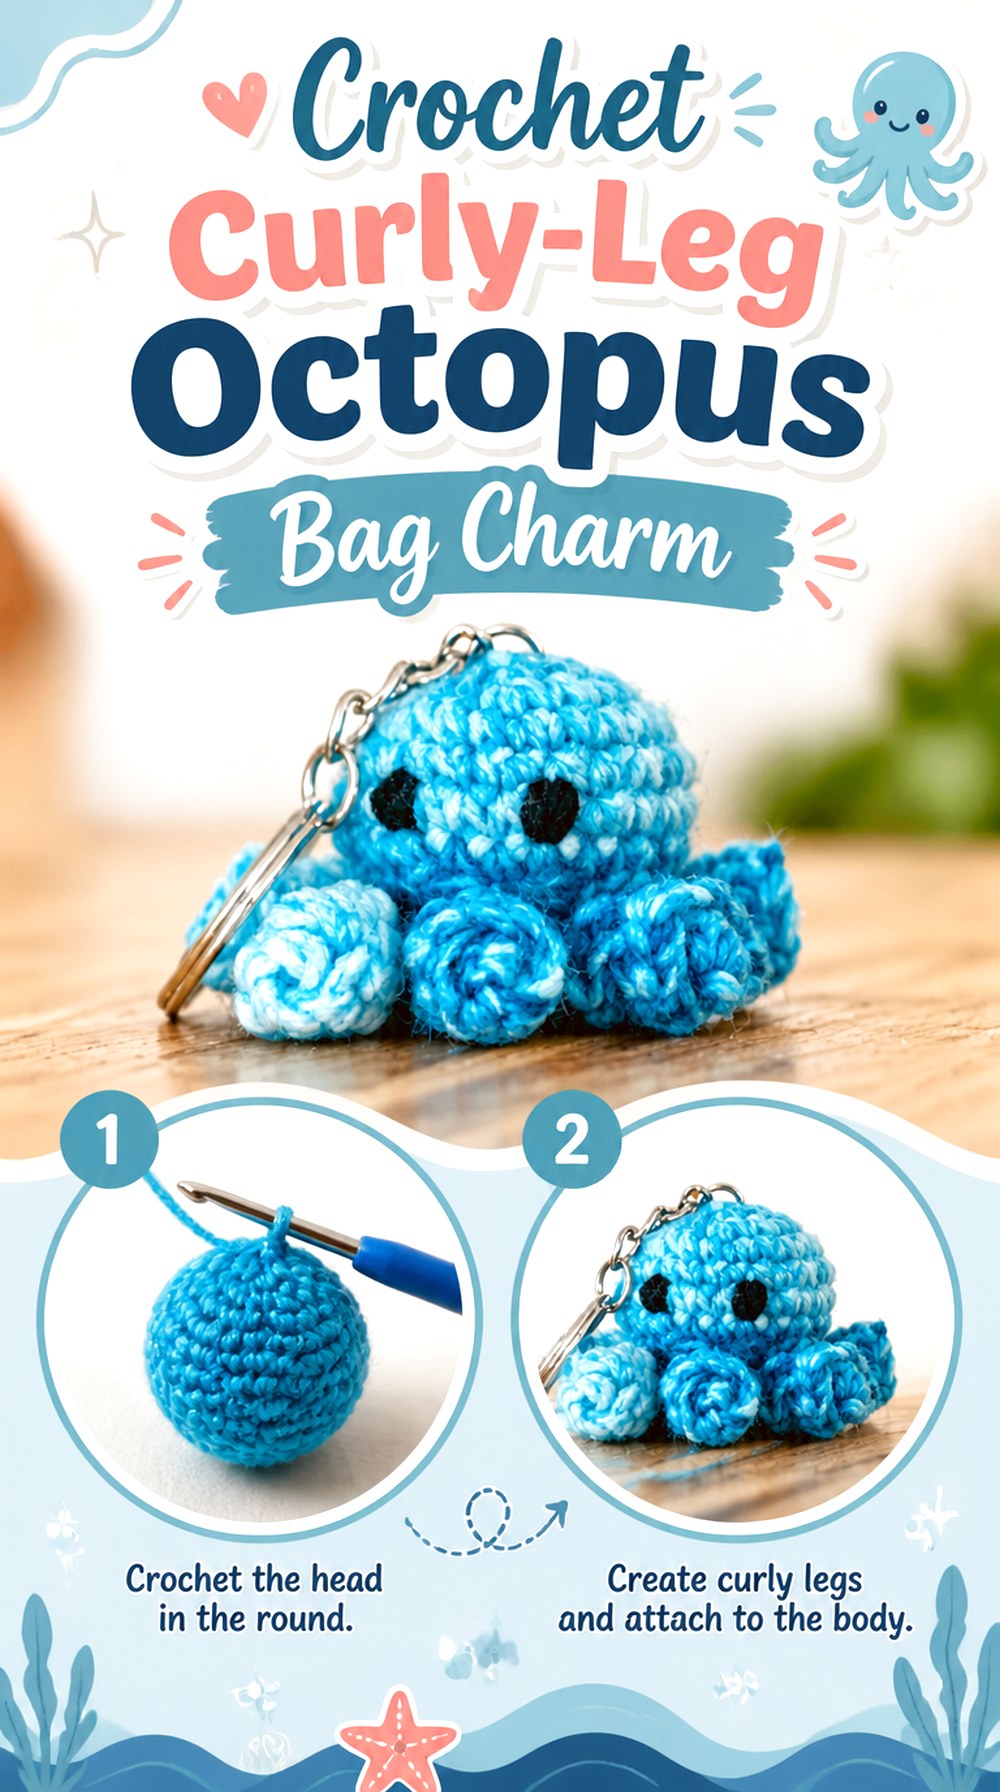
The octopus from Yarn & Crochet finishes the collection with a compact round body surrounded by multiple curled tentacles. The original tutorial is published directly on the designer’s site and shows the piece as a dedicated octopus keychain for decorating keys or a bag. Its construction also uses embroidered eyes rather than relying on separate plastic facial components.
Compared with the jellyfish, this charm keeps its movement clustered around the bottom of the body rather than extending in long mixed-length strands. That gives it a fuller, more radial outline. It suits a handle or backpack loop where the legs can remain visible instead of being compressed behind other accessories.
Separate the Tentacles Visually
Curly legs can overlap and form one dense mass if the yarn is very bulky or the tension differs substantially from the original. After finishing, arrange the tentacles gently and evaluate whether the individual curls remain distinguishable. When substituting materials, remember that a thicker yarn changes not only overall size but also how much visual space each curl occupies.
Keep the Top Connection Centered
A round-bodied octopus can rotate easily. Place the metal attachment so the body hangs vertically and the legs distribute underneath rather than pulling strongly to one side. The original tutorial attaches the metal hook at the top of the head, giving a useful reference for the intended orientation.
Embroidery Keeps the Face Low-Profile
The Yarn & Crochet design specifies embroidered eyes. That keeps the facial surface relatively smooth and avoids adding rigid eye pieces. When changing yarn color, choose an embroidery shade with enough contrast to remain visible without needing an oversized facial feature.
Original Tutorial and Creator Credit
Creator/Site: Yarn & Crochet
Choosing Between Flat, Stuffed, and Dangling Charms
The easiest way to narrow down these 16 ideas is to think about how much dimension and movement you want. Flat or low-profile choices such as the butterfly, sunflower, heart, and bow are convenient when the charm will sit near a zipper or against a smaller purse. Stuffed options such as the strawberry, whale, cat, cactus, cookie, and octopus create stronger three-dimensional presence but need more clearance around the bag.
For movement, the paired cherries and jellyfish stand out because their hanging components become part of the design. The mini bag and mushroom key cover add another dimension: their construction is closely connected to the accessory concept itself. Whichever direction you choose, compare the charm’s complete size, attachment point, and projected movement with the exact place you plan to hang it.
Conclusion
The most useful crochet bag charm idea is the one whose construction matches both your preferred look and the way the bag will actually be used. Choose a butterfly, heart, star, or flower when you want a flatter profile; a whale, cactus, cat, or cookie for compact dimension; or cherries and sea creatures when extra movement is part of the appeal. The miniature bag and mushroom key cover are especially interesting when you want the construction itself to become the conversation point.
Before making substitutions, consider how yarn thickness, stuffing, embellishments, and hardware might alter size or durability. For exact stitch placement, construction order, materials, and assembly, follow the original tutorials credited with each project.
Frequently Asked Questions
What type of yarn works well for crochet bag charms?
There is no single yarn that is right for every charm. A smooth yarn can make small shapes and embroidery easier to read, while plush or textured yarn changes both scale and surface definition. The safest approach is to begin with the yarn type specified by the original designer. If substituting, compare yarn thickness, fiber behavior, and the hook pairing rather than choosing solely by color.
How can I stop a crochet bag charm from stretching around the keyring?
Avoid placing all of the load through one loose edge stitch or delicate decorative component. Use the attachment point demonstrated by the designer whenever possible and check that the surrounding crochet fabric is firm. Hardware size matters as well: a ring that is too thick for the available opening can spread stitches apart. Inspect frequently used charms periodically, particularly around the point where yarn and metal meet.
Can I make these charms larger or smaller with different yarn?
Often, changing yarn thickness and hook size changes the finished scale, but it can also change proportions, stiffness, weight, and how small features behave. Double Dutch Crochet Co., for example, specifically notes that different yarn weights will change the finished size of its whale. Before resizing another designer’s project, check the original tutorial for any project-specific advice instead of assuming every component will scale cleanly.
Are safety eyes suitable for every crochet bag charm?
No. Safety eyes and other small detachable components require consideration of the intended recipient and use. A decorative charm carried by an adult presents different considerations from an accessory that could be handled by a baby or young child. When small rigid parts are inappropriate, look for a source-supported embroidered alternative or choose a project such as the Yarn & Crochet octopus, which already uses embroidered eyes.
How should crochet bag charms be cleaned?
Cleaning depends on the yarn fiber and every additional material in the finished piece. Metal rings, stuffing, beads, buttons, glued components, embroidery, and mixed fibers can all affect suitable care. Follow the yarn label and any care guidance supplied by the original creator. When no specific washing method is provided, avoid assuming that a decorated charm can be machine washed simply because the yarn itself is washable.
Which crochet bag charms are better for small purses?
Low-profile shapes usually create less bulk around a compact bag. The heart, butterfly, star, bow, sunflower, or daisy can therefore be useful starting points. A small stuffed charm may still work, but compare its complete depth—not only its height—with the available space. Also check whether the charm will interfere with zipper movement, clasps, handles, or access to the bag opening before deciding where to attach it.