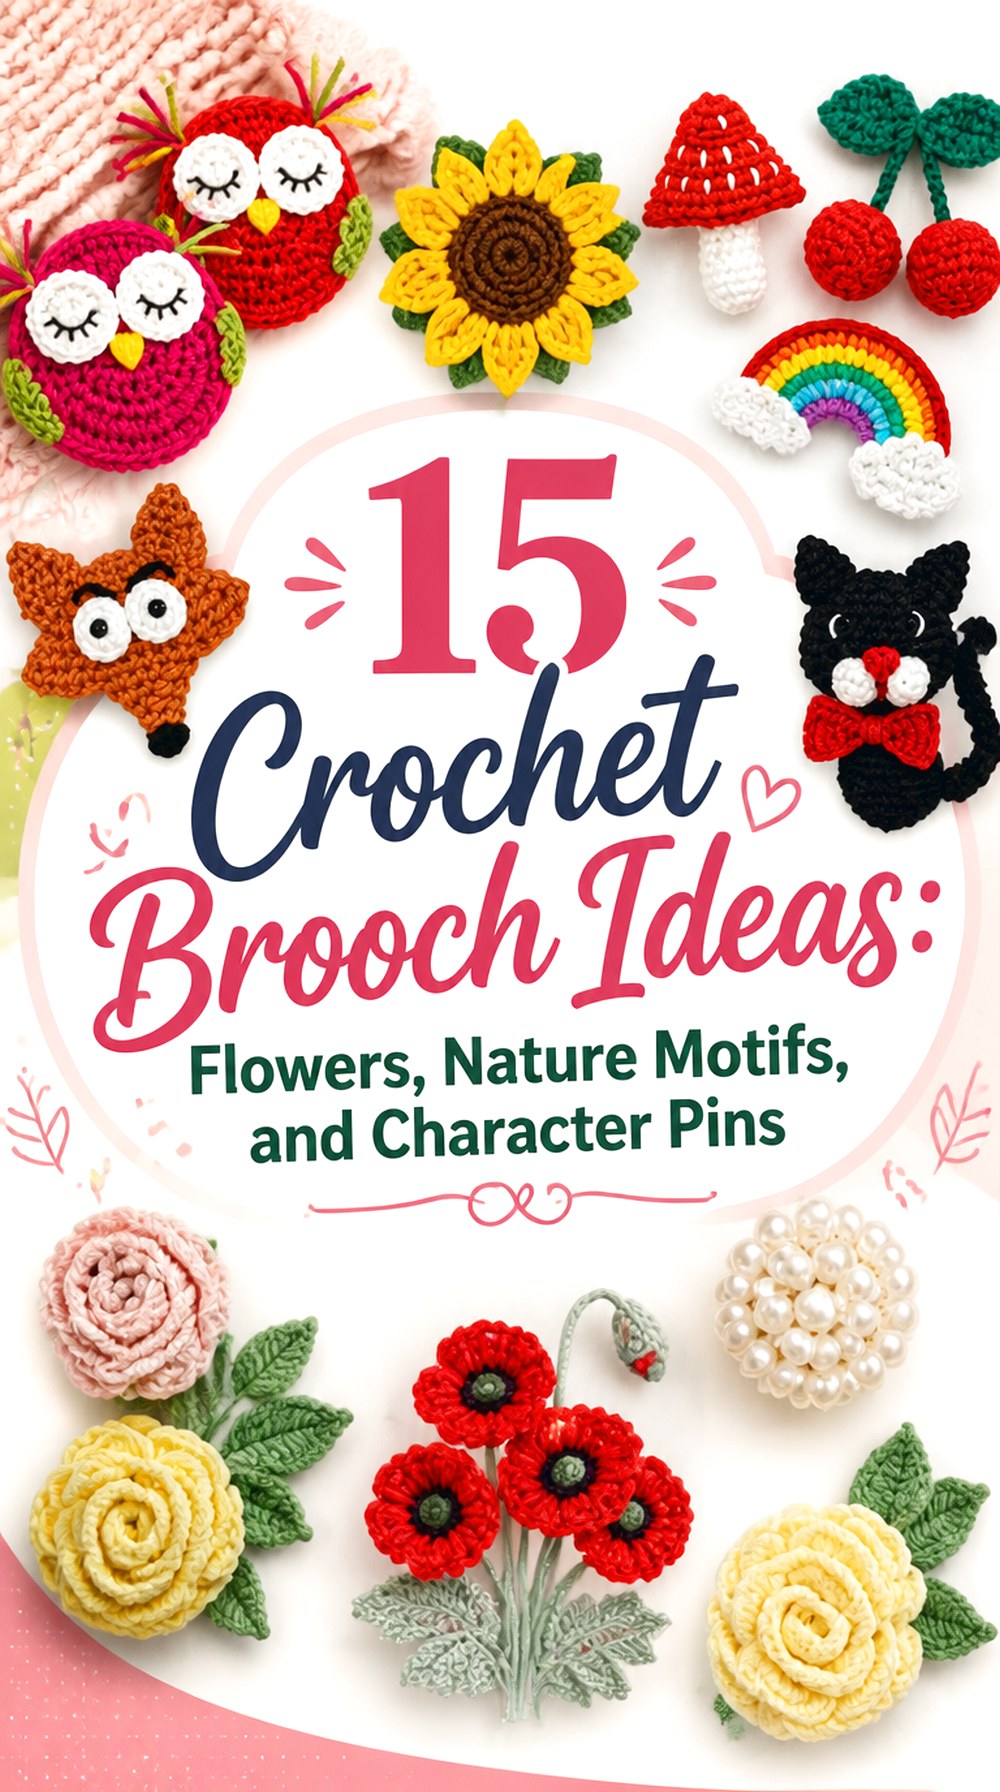
15 Crochet Brooch Ideas Flowers, Nature Motifs, and Character Pins
Crochet brooches can be much more varied than a row of similar flower appliqués. Some designs stay almost flat against a cardigan or tote, while others build volume with layered petals, stuffing, shaped leaves, tiny character features, or clustered components. That difference matters when you are deciding where the finished piece will be worn and how much structure its backing needs.
The 15 crochet brooch ideas below range from roses, poppies, daisies, and peonies to a ginkgo leaf, acorns, fruit, insects, woodland animals, and dimensional character designs. Each project is paired with an original tutorial rather than a second-hand roundup. Along the way, you will also find practical guidance on scale, backing placement, embellishments, yarn substitution, and keeping a small crochet accessory balanced when it is actually pinned to fabric.
Quick List
- Crochet Rose Cluster Brooch
- Crochet Poppy Flower Brooch
- Crochet Sunflower Brooch
- Crochet Daisy Brooch
- Crochet Ruffled Peony Brooch
- Crochet Ginkgo Leaf Brooch
- Crochet Acorn and Oak Leaf Brooch
- Crochet Butterfly Character Brooch
- Crochet Textured Sheep Brooch
- Crochet 3D Cat Brooch
- Crochet Strawberry Brooch
- Crochet Owl Brooch
- Crochet Mushroom Brooch
- Crochet Personalized Heart Brooch
- Crochet Fox Brooch
Choose the Brooch Shape Before Choosing the Yarn
A brooch has to look convincing while lying on a table and while hanging vertically from fabric. Flat leaves, daisies, and compact motifs generally put less leverage on the pin than large layered flowers or stuffed characters. A heavier yarn can enlarge a motif quickly, but increased scale and weight may also make the top of the brooch lean away from a lightweight garment.
For substitutions, think about the result you want rather than treating yarn weight as interchangeable. Smooth yarn can make tiny shaping and color changes easier to read, while fuzzy fibers may soften small details. A very loose fabric can also make a miniature piece feel less controlled.
When adapting a source tutorial, check the creator’s chosen materials first. Changing yarn, hook, stuffing, wire, or backing can affect size and structure even when the underlying crochet remains the same.
Plan the Pin Back Around Balance, Not Just the Center
The geometric center of a crochet motif is not always the best place for its pin. A tall flower, fox, mushroom, leaf, or hanging acorn arrangement may have more visual and physical weight above or below that point.
Before permanently attaching the hardware, temporarily position the brooch against a similar fabric and hold it upright. If the upper portion tips forward, the backing may need to sit higher or span a firmer part of the motif. Layered flowers may benefit from a concealed structural backing, while small flat motifs can often stay much simpler.
Also consider the garment. A dense coat or project bag can support more weight than a delicate blouse. Whatever attachment method the original tutorial uses, make sure the hardware is secure, opens freely, and does not leave an exposed sharp component when the brooch is handled.
Think About Embellishments, Care, and Small Parts
Brooches frequently combine crochet with beads, felt, stuffing, embroidery, glue, wire, or metal hardware. Those extras can make a small design much more expressive, but they also change how the accessory should be handled and cleaned.
If beads or other small detachable components are involved, consider the intended wearer and environment. Decorative brooches with small parts are not automatically suitable as children’s accessories. Wire ends and pin hardware also need to remain properly concealed or secured.
Care should follow the yarn label and the original creator’s guidance where available. A brooch containing mixed materials may not respond to washing the same way as an ordinary crocheted swatch. For heavily shaped flowers and leaves, crushing during storage can be just as relevant as washing, so store dimensional pieces where petals, ears, wings, and leaves are not compressed.
1. Crochet Rose Cluster Brooch

Instead of using one oversized bloom, this crochet rose brooch brings several roses together with leafy and trailing details to create a miniature wearable arrangement. The source design demonstrates how different yarn and hook choices can alter the scale of the roses, giving the idea more flexibility than a fixed-size floral pin.
This approach suits someone who wants the visual impact of a corsage without relying on one huge flower. The main design decision is composition: every rose, leaf, and accent contributes to the outside silhouette, so the arrangement needs to feel intentional before the pieces are secured permanently.
Arrange the Flowers Before Joining Them
Treat the individual crochet pieces like components of a small bouquet. Lay them out in several configurations and photograph the options before committing to one. A cluster usually looks more deliberate when the blooms do not all sit at exactly the same height or point in identical directions.
Also look at the negative space between components. Packing every gap with another leaf can make a small brooch surprisingly dense.
Keep the Backing Smaller Than the Floral Silhouette
A cluster can need more support than a single flat flower because several pieces project beyond its central attachment area. The backing should stabilize the joined flowers without becoming visible between petals and leaves.
Check the brooch upright rather than evaluating the rear only while it is flat. If the top folds forward, reinforce the structural center rather than stiffening every decorative edge.
Let Yarn Changes Alter Scale Carefully
Changing yarn and hook size is a useful way to vary rose size, and the source specifically demonstrates roses made at different scales.
Remember that a larger rose does not just become wider; it can also become heavier and deeper. If you enlarge multiple components, reassess the pin position and the type of fabric you expect the finished brooch to be worn on.
Original Tutorial and Creator Credit
Creator/Site: Little Treasures — Maya Kuzman
2. Crochet Poppy Flower Brooch

A poppy brooch gives the list a more botanical, sculptural direction. TinyLimeCraft’s tutorial focuses specifically on an elegant poppy brooch and separates the flower into detailed elements including petals, flower-center components, and leaves.
Because the recognizable shape depends on more than color, this is a good choice when you want a flower that reads distinctly rather than as a generic round bloom. It also invites more careful finishing than a simple one-piece motif. Think about how the petals spread, where the leaf sits, and whether the brooch remains balanced once mounted vertically.
Preserve the Petal Shape
Poppy petals gain much of their character from their outline and placement. Before adding the backing, view the flower from the front at normal wearing distance rather than concentrating only on individual stitches.
If the outer edges have become compressed during assembly, gentle reshaping may improve the silhouette. Any blocking or stiffening method should remain compatible with the materials actually used.
Keep the Center Visually Anchored
A detailed flower center can become the strongest focal point in a small brooch. Make sure surrounding petals still frame it rather than becoming crowded underneath it.
When changing colors, consider contrast as well as realism. A center that is too close in value to the petals can disappear visually, while very strong contrast may make the center dominate the whole accessory.
Check Added Structure Carefully
This tutorial uses fine materials and includes wire among its listed supplies. If you follow that construction, check all structural components carefully during finishing.
Wire should not create an exposed sharp area, and additional stiffness can change how the brooch sits against fabric. Follow the creator’s tutorial for the actual construction rather than improvising from the finished appearance alone.
Original Tutorial and Creator Credit
Creator: TinyLimeCraft
3. Crochet Sunflower Brooch
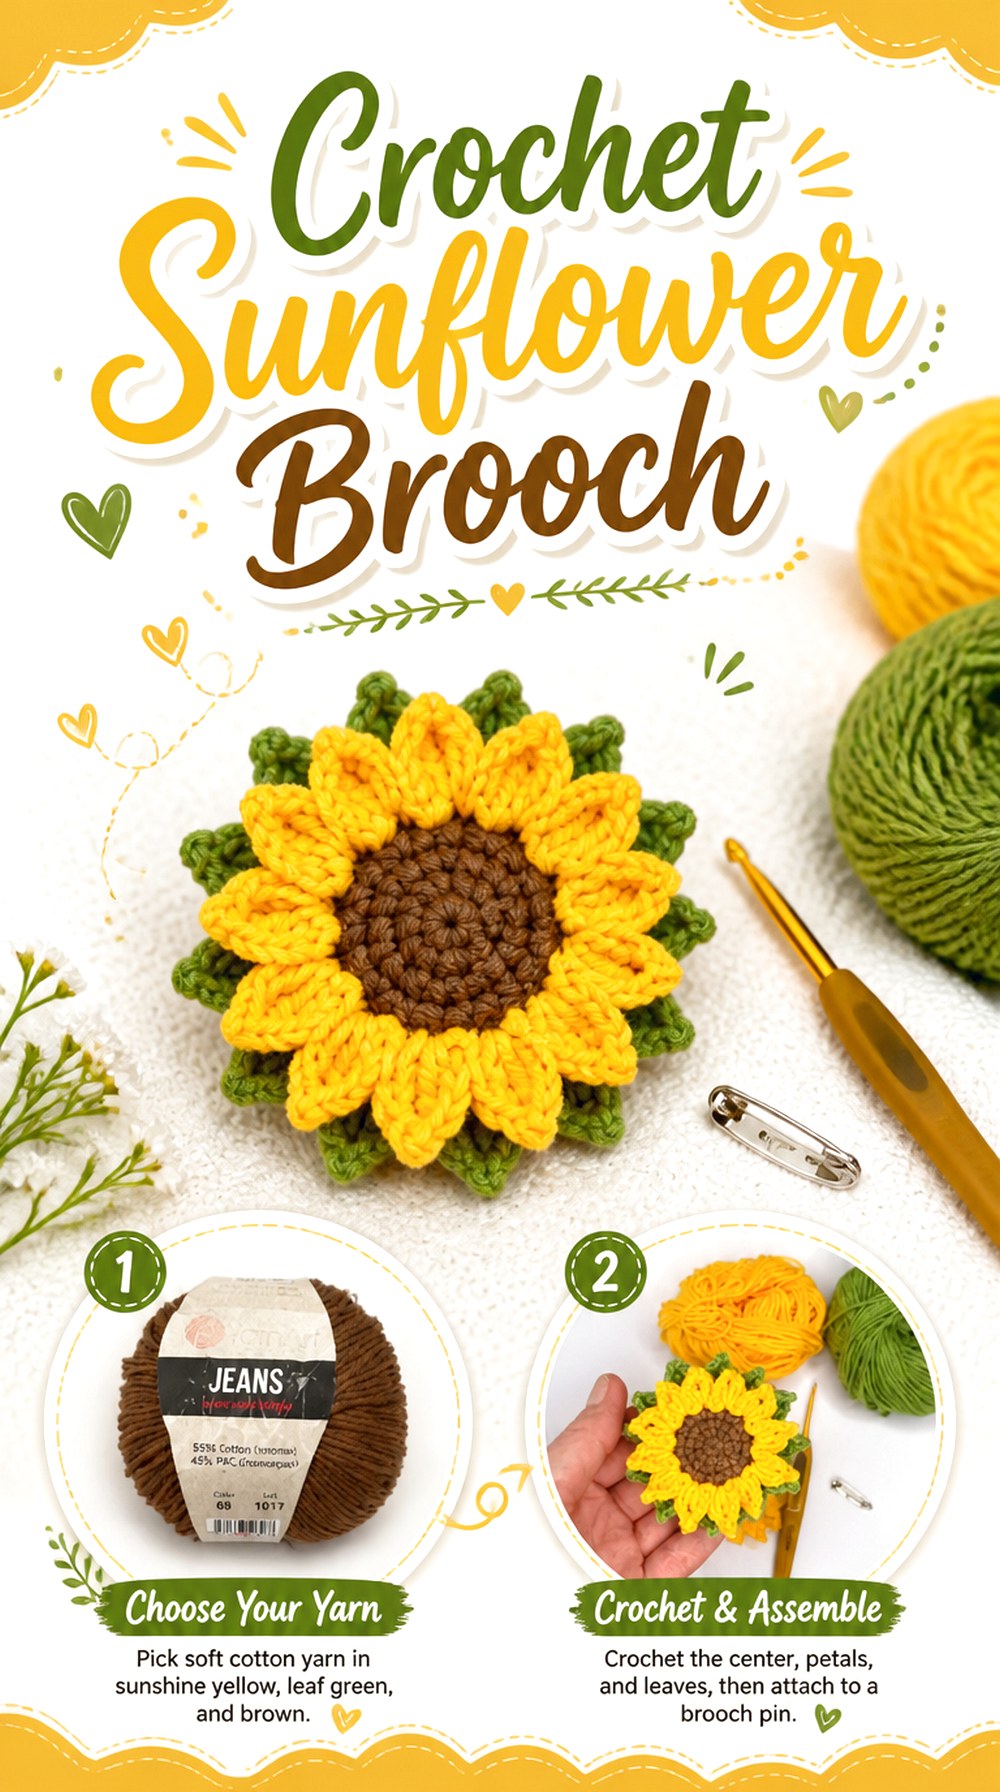
A sunflower offers a bold radial shape with an immediately recognizable contrast between its center and surrounding petals. Olga Lukoshkina’s tutorial is specifically for a sunflower brooch and shows a flower accompanied by green leaf elements rather than presenting the sunflower only as a generic appliqué.
Compared with the clustered rose and detailed poppy, this idea has a clearer circular emphasis. That makes it useful when you want a brooch that reads strongly from a distance. The challenge is keeping the repeated petals evenly distributed enough that the circle still appears balanced once the pin is worn.
Watch the Petal Rhythm
Repeated petals make small inconsistencies more noticeable. Periodically place the flower flat and look at its overall circumference instead of judging one petal at a time.
If one area appears crowded, identify whether the issue comes from stitch placement, tension, or finishing before forcing the petals apart. The original tutorial should remain the reference for the actual petal construction.
Balance the Leaves With the Flower Head
Leaves change a sunflower brooch from a simple disc into a directional arrangement. Decide how you want the finished piece to sit before fixing their final angle.
A leaf extending strongly to one side can shift the visual center even when it adds very little weight. Testing the brooch on a garment helps reveal whether the composition looks intentionally asymmetrical or simply off-center.
Choose Contrast for Readability
Sunflowers depend heavily on the relationship between the center and petals. You do not have to reproduce natural colors, but maintaining enough contrast can help preserve the flower’s radial structure.
If using a variegated or highly textured yarn, check whether it obscures the separation between those major sections. Tiny accessories often benefit from clear shapes more than complicated color effects.
Original Tutorial and Creator Credit
Creator: Olga Lukoshkina
4. Crochet Daisy Brooch

The daisy is one of the flatter floral choices in this roundup, giving it a different wearing profile from ruffled roses, poppies, and peonies. Oana Ursy’s video is explicitly presented as a crochet daisy brooch tutorial, making it a direct source rather than an adaptation from an unrelated flower motif.
A graphic daisy works particularly well when you prefer a clean floral shape that does not project far from a garment. Repetition still matters—the petals form the visual border—yet the finished piece can feel lighter and less corsage-like than heavily layered blooms.
Judge the Flower From a Distance
A daisy’s readability comes from the whole ring of petals surrounding its center. After finishing the main flower, hold it farther away and rotate it slowly.
Small differences that are barely visible while crocheting may change the outline when the brooch is viewed as a complete shape. This is particularly noticeable when using strong center-to-petal color contrast.
Avoid Overbuilding the Back
One advantage of a comparatively flat motif is that it does not necessarily need the bulk associated with dimensional floral arrangements. Keep any added backing proportionate to the flower.
A large or rigid base can make a light daisy feel unnecessarily heavy. At the same time, the attachment area still needs enough stability that repeated pinning does not pull directly on loose decorative stitches.
Use Scale to Change the Styling
A smaller daisy can behave like a subtle lapel pin, while a larger one becomes more of a graphic statement. If you change the tutorial’s yarn or hook, check how the new scale looks on the intended garment before making several.
Matching sets can work, but a single clearly shaped flower may have more visual impact than several crowded motifs.
Original Tutorial and Creator Credit
Creator: Oana Ursy
5. Crochet Ruffled Peony Brooch
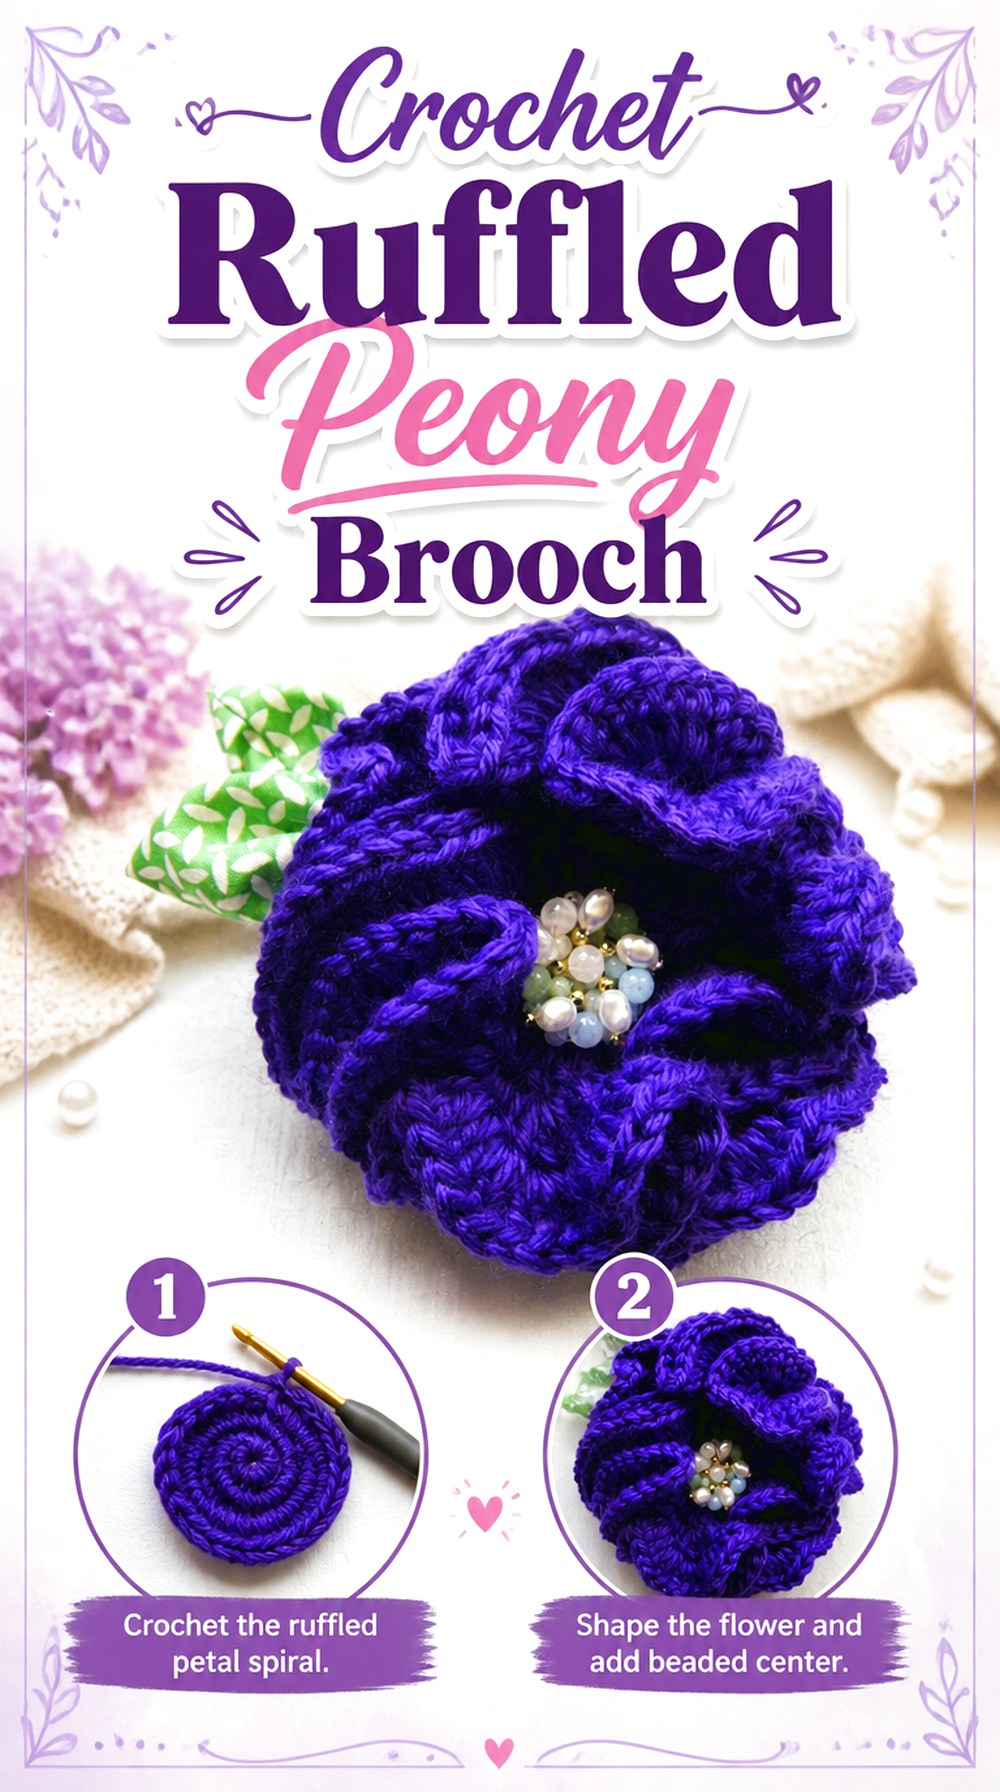
For maximum petal volume among the floral options, consider a ruffled peony. The original sew ritzy~titzy tutorial was created specifically for a crocheted peony brooch and builds a flower with a dense, highly textured petal surface.
This type of bloom makes sense when the brooch itself is meant to be a focal accessory. Its depth is also the reason to think carefully about backing and storage. A plush ruffled flower can look impressive from the front while putting more leverage on a small pin than a flat leaf or daisy.
Shape the Ruffles Before Mounting
Do the final visual assessment before the brooch hardware is permanently fixed. Spread and arrange the ruffled areas enough to see the intended flower silhouette without flattening them into a perfect disc.
The goal is not mathematical symmetry. A natural-looking flower can have variation, but the mass should still look distributed rather than bunched heavily on one side.
Match the Brooch to the Fabric
A dimensional peony may sit comfortably on a coat, sturdy cardigan, bag, or other substantial textile, while very lightweight fabric may droop under the same piece.
Test the brooch on comparable fabric first. This does not change the crochet pattern; it simply helps you decide whether the finished accessory suits the place you intended to wear it.
Store It Without Crushing the Petals
Depth makes storage more important here than with flat pins. Avoid pressing the finished brooch underneath heavier accessories where the ruffles can remain compressed.
If reshaping becomes necessary, follow the care requirements of the actual yarn. Do not assume a fiber can be steamed, washed, or heat-shaped simply because another crochet flower tolerated that treatment.
Original Tutorial and Creator Credit
Creator/Site: sew ritzy~titzy
6. Crochet Ginkgo Leaf Brooch

Not every brooch needs a flower or character. Adishka Crafts’ tutorial demonstrates a crochet ginkgo leaf specifically as a brooch pin, creating a botanical accessory with a fan-like leaf form and a much flatter profile than the large floral designs above.
This idea works well for readers who prefer a cleaner nature motif or want an accessory that can be styled in a more minimal way. Because the leaf’s outline does most of the visual work, edge quality and final shaping matter more than adding numerous embellishments.
Protect the Fan-Shaped Outline
The ginkgo form is recognizable because of its spreading leaf silhouette. Check the outer edge after finishing and before attaching hardware.
If the piece needs shaping, use only methods appropriate for the selected thread or yarn. Excessive stiffening can make a naturally textile accessory feel brittle, while too little structure may allow the broad leaf edge to fold when worn.
Position the Pin for the Wearing Angle
A directional leaf does not have to sit perfectly upright. Try slightly angled positions before fixing the pin back.
Changing the angle can affect how wide the leaf appears on a lapel or bag. Once you find the orientation you prefer, mark the back so that the hardware is attached consistently with that intended direction.
Fine Thread Changes the Character
The source tutorial uses crochet cotton thread, producing a comparatively delicate jewelry-style approach.
A thicker substitute would change both scale and visual weight. That may still produce an attractive leaf, but treat it as an adaptation and reassess whether the broader piece needs different support instead of assuming the original backing arrangement will behave identically.
Original Tutorial and Creator Credit
Creator: Adishka Crafts
7. Crochet Acorn and Oak Leaf Brooch
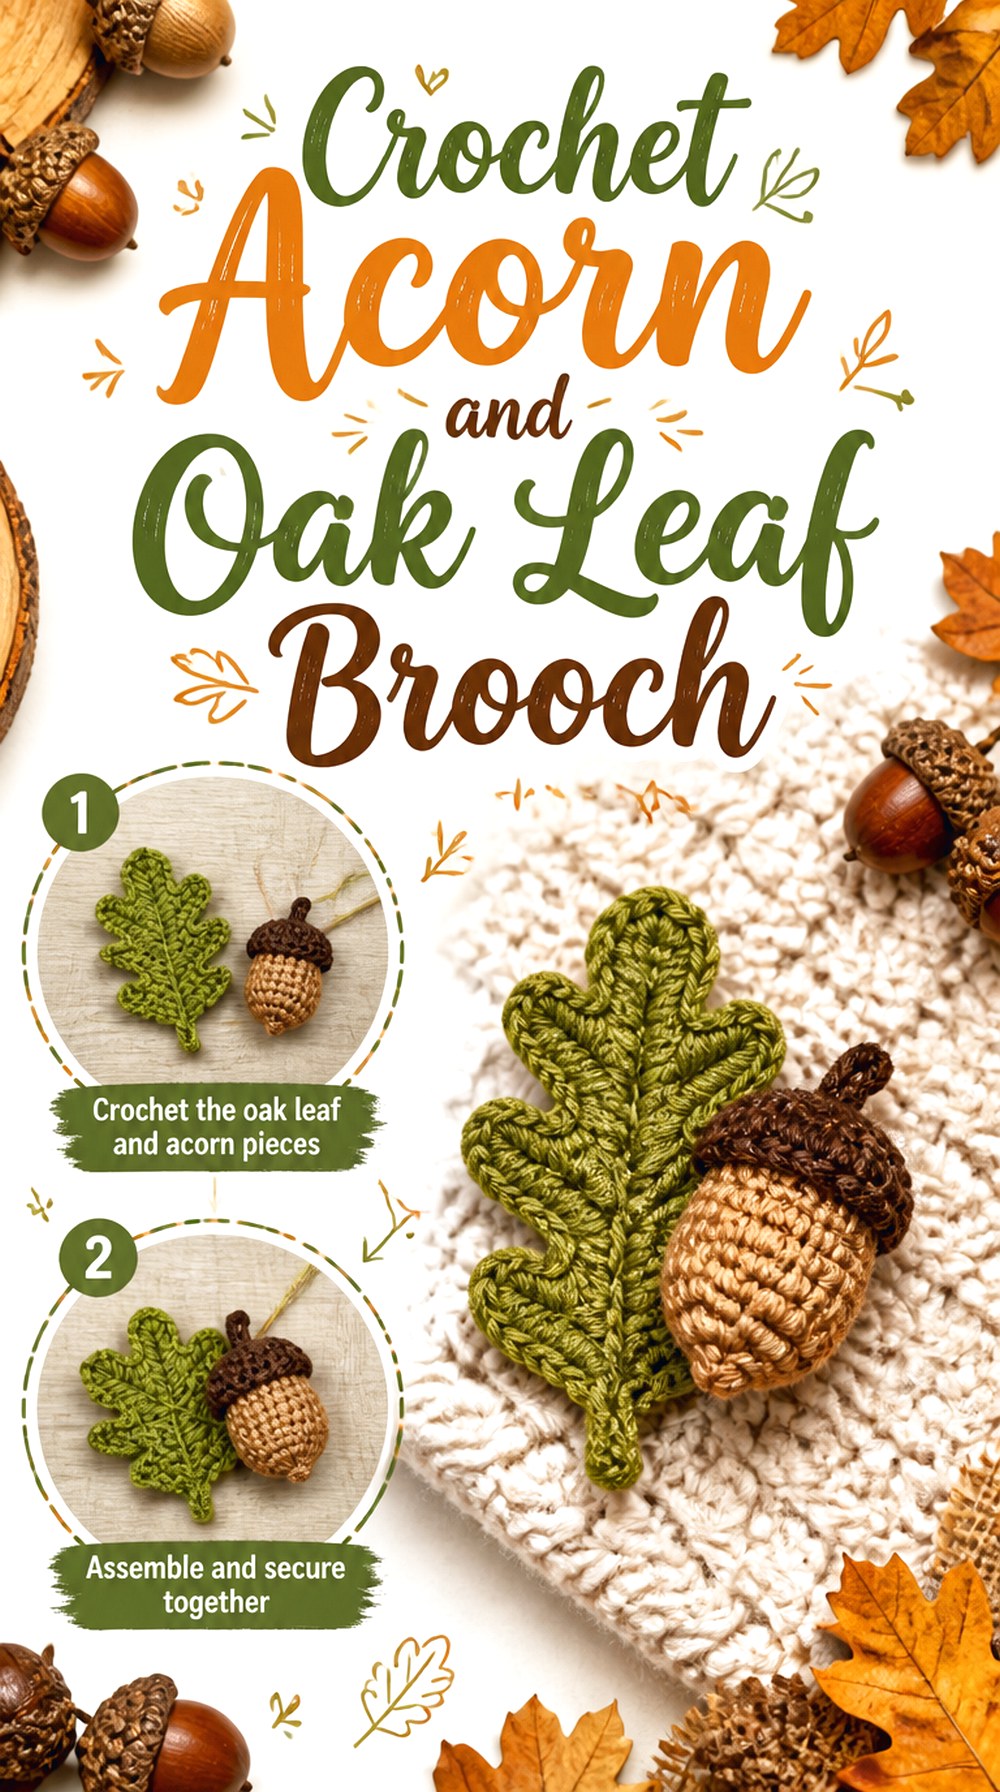
This woodland arrangement combines rounded acorns with an oak leaf, creating one of the most structurally interesting brooches in the list. TheCrochetCircle’s original tutorial covers the brooch itself and discusses the assembly of its crocheted and supporting components.
The contrast is what gives this idea character: compact dimensional acorns sit beside a flatter, more detailed leaf. That makes it a natural choice for autumn styling, but the botanical form can also work in neutral or unconventional colors without relying entirely on a seasonal palette.
Assembly Is the Main Decision Point
This project demonstrates why a small crochet piece is not always a simple finishing job. The source combines crocheted components with additional assembly materials, including wire and a pin.
Read the original construction guidance fully before substituting those elements. The structural pieces affect how the acorns hang and how the leaf supports the final brooch.
Check Every Wire End
Whenever wire is incorporated into wearable crochet, finishing deserves particular attention. No cut end should be left where it can work through yarn or scratch the wearer.
After assembly, flex the brooch gently and examine both sides. If you change the wire type or thickness from the source, do not assume it will behave the same way.
Let the Acorns Hang Without Pulling the Leaf Out of Shape
The leaf acts as an important visual base. Hold the finished arrangement upright before securing all final positions and check whether the dimensional components cause unwanted twisting.
If the piece turns to one side, the solution may involve balance or attachment placement rather than making the leaf progressively stiffer.
Original Tutorial and Creator Credit
Creator/Site: TheCrochetCircle.com
8. Crochet Butterfly Character Brooch
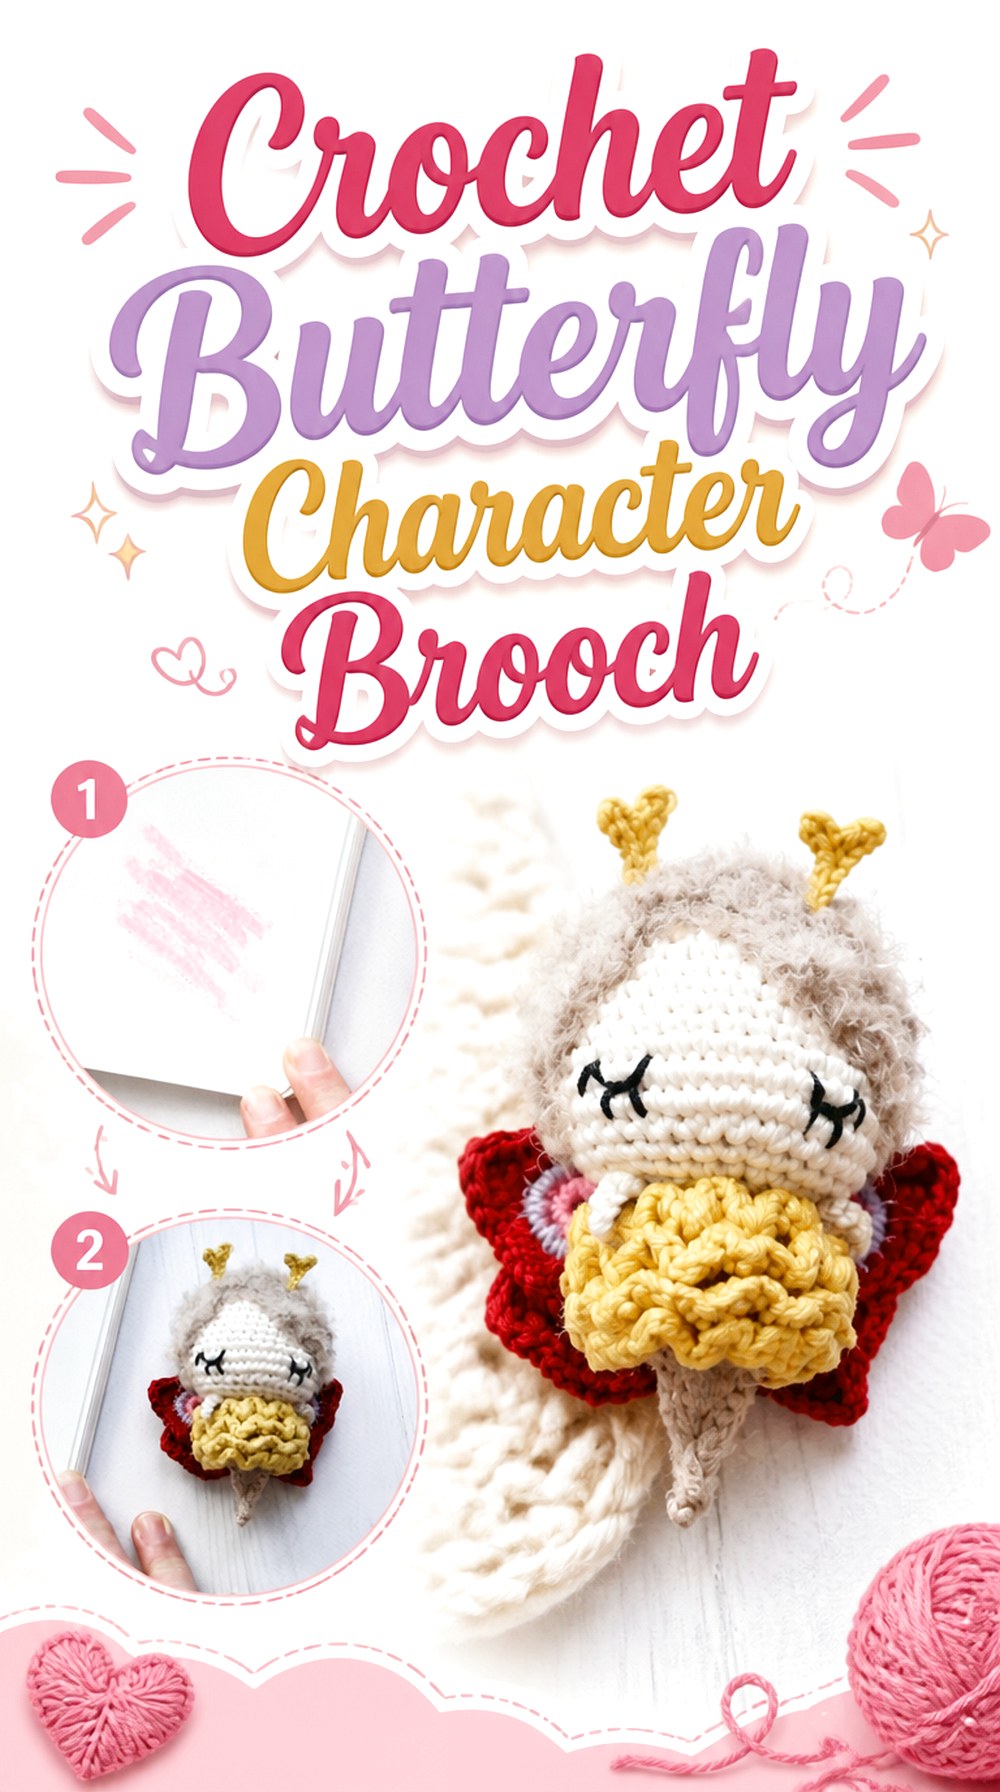
This butterfly moves beyond a simple flat wing motif. CrochetConfetti’s tutorial presents a small character-style butterfly brooch with a body, wings, antennae, facial finishing, and other dimensional details.
That makes it notably different from the botanical pins. Instead of asking whether a flower’s petals are evenly distributed, you are balancing a miniature figure: the face needs to remain readable, the wings need to frame the body, and the whole character must hang in the intended orientation when attached to a bag or garment.
Wings Need Visual Balance
Before permanently fixing the backing, compare the left and right sides from directly in front. Slight differences are natural in handmade work, but one wing should not visually overpower the other unless asymmetry is intentional.
Also check that finishing stitches joining the wings to the body are secure without pulling the body out of shape.
Protect Fine Character Details
Antennae, hair-like texture, embroidered details, and small limbs can be more vulnerable to snagging than a plain flat motif. Think about where the brooch will actually be worn.
A project bag may experience more friction than a lapel. Storage beside hook-and-loop fasteners, exposed zippers, or other snag-prone objects can also be rough on miniature details.
Review Small-Part Suitability
The source materials include several finishing components beyond yarn and stuffing. Treat the resulting brooch as a decorative accessory rather than automatically assuming it is appropriate for every age or use.
Secure all attachments carefully and consider the recipient before using beads, pins, or other small components.
Original Tutorial and Creator Credit
Creator: CrochetConfetti
9. Crochet Textured Sheep Brooch
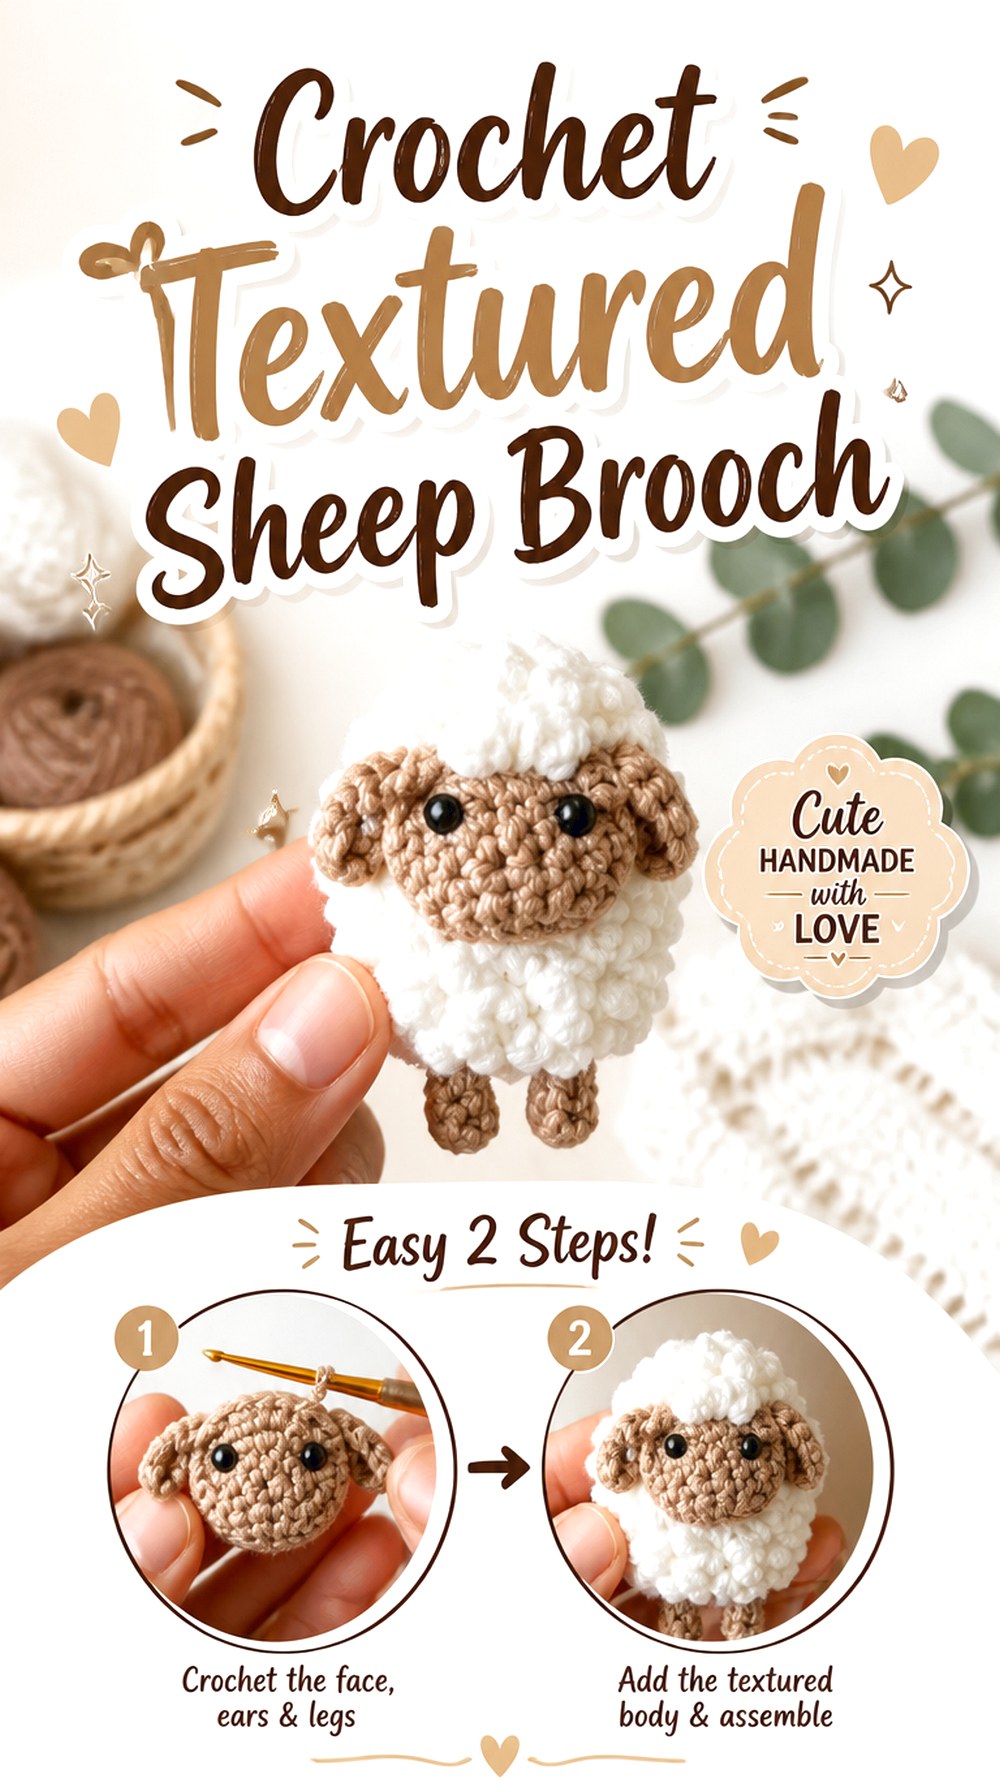
The sheep brooch introduces texture as its defining feature. hello stitches’ tutorial uses a fur-style crochet effect for the sheep, giving the finished accessory a visibly different surface from the smooth flowers, leaves, fruit, and character motifs elsewhere in the roundup.
This is a strong option when stitch texture itself is part of the design. The main checkpoint is maintaining enough definition that the sheep’s overall form remains visible beneath the textured surface. A decorative texture can add character, but excess bulk can also change how a small brooch sits against fabric.
Learn the Texture Before the Brooch
The creator notes that the fur crochet stitch can involve a learning curve. If that technique is unfamiliar, practice a small sample first rather than troubleshooting it after the brooch is partly assembled.
A sample also lets you see how your yarn behaves. Some fibers make loops and texture stand out more clearly than others.
Keep the Silhouette Readable
Textural stitches can visually soften edges. Periodically check the entire motif rather than focusing only on producing consistent texture.
If the body is becoming much bulkier than expected after a yarn substitution, compare it with the other components before continuing. A miniature animal needs enough contrast between its major shapes to remain identifiable.
Avoid Catching the Surface With the Backing
When sewing on the pin hardware, work from a stable rear area rather than allowing securing stitches to pull through highly textured loops on the front.
Once attached, open and close the pin several times while watching the front. The hardware should operate without distorting the body or snagging the decorative surface.
Original Tutorial and Creator Credit
Creator: hello stitches
10. Crochet 3D Cat Brooch
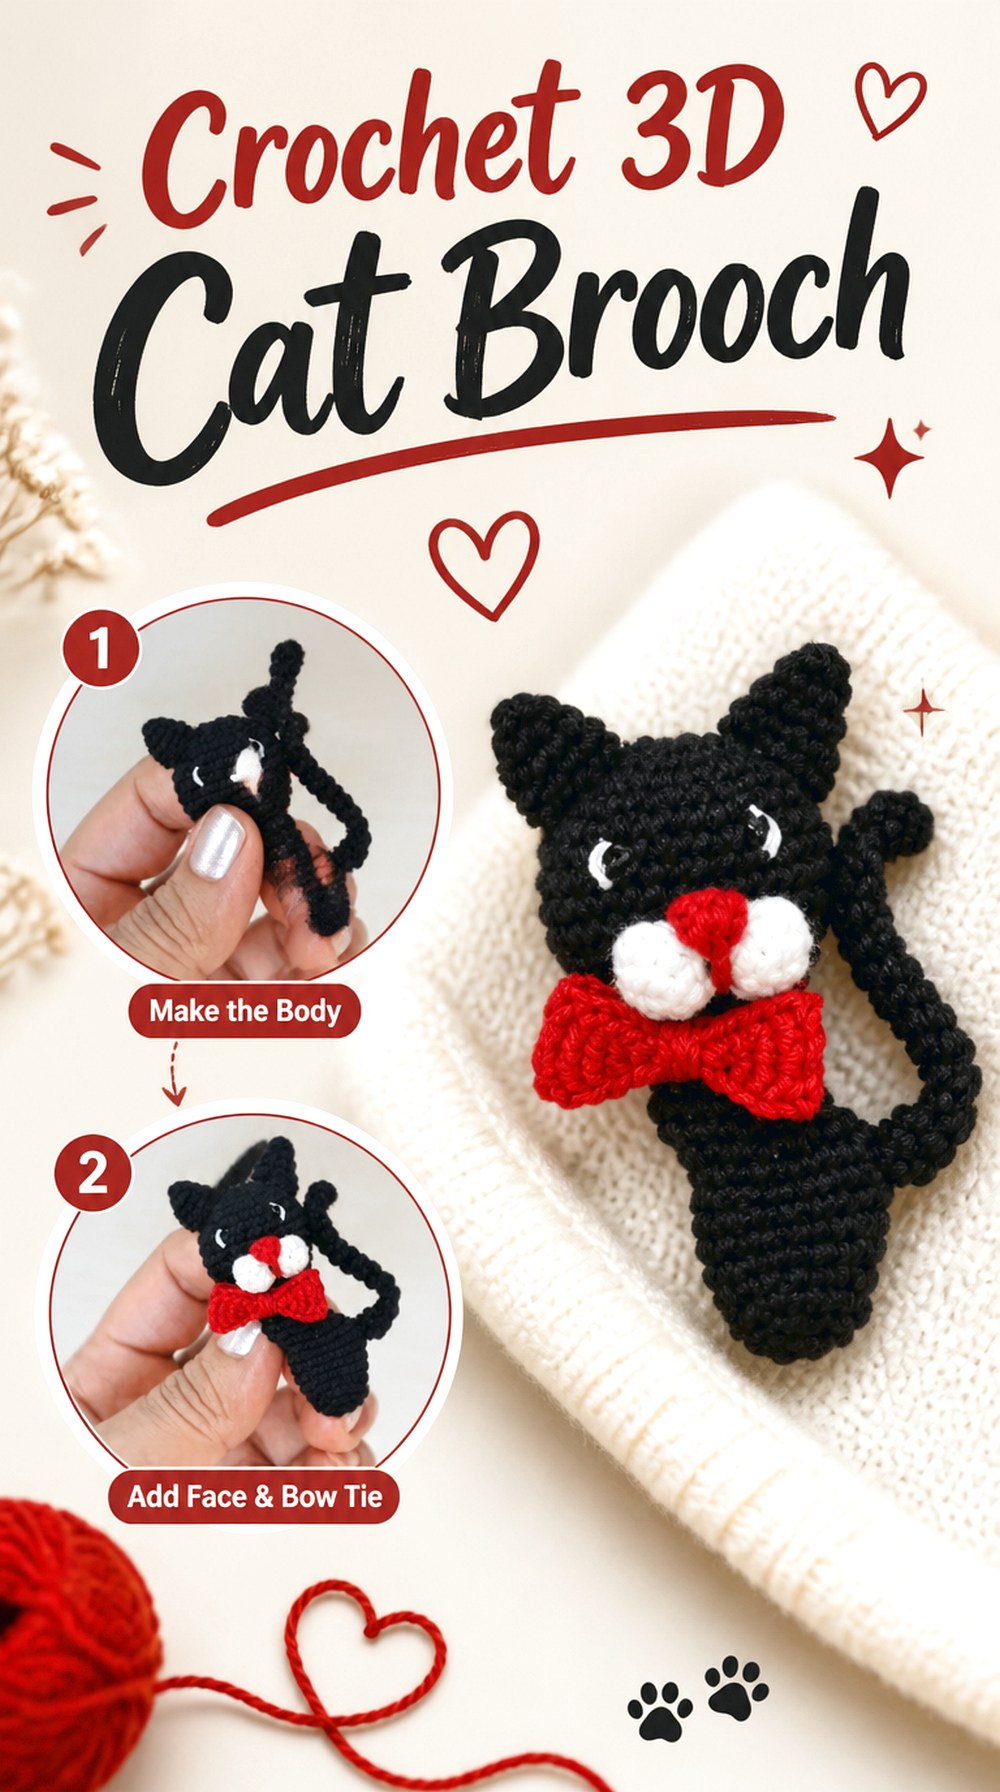
A three-dimensional cat creates a playful alternative to flat animal appliqués. Sure It’s tutorial is explicitly designed around a crochet cat brooch and describes the project as a 3-D brooch, with additional finishing materials used to complete the character.
Because facial elements and body shaping carry much of the personality, this type of accessory rewards careful finishing. It is also more likely than a flat motif to project away from the garment, so pin placement and the intended fabric become meaningful choices rather than afterthoughts.
Finish the Face Before Final Mounting
Small character brooches can look dramatically different after the eyes and other facial details are positioned. Complete those visual decisions before fixing the final wearing angle.
Then hold the cat upright and look at the expression from normal viewing distance. Tiny placement differences that look insignificant on the worktable can be obvious once the finished piece is worn.
Support the Dimensional Form
A three-dimensional brooch can tip forward if the pin is attached too low or to an unstable area. Temporarily place the hardware first and test the cat against the type of material you plan to use.
The goal is not to flatten the character but to support it where its structure is already strongest.
Be Deliberate With Beads and Hardware
The source lists beads and a brooch pin among its materials. Those additions require secure attachment and make recipient suitability worth considering.
For an accessory likely to be handled frequently, inspect small sewn or glued components periodically instead of assuming they will remain permanently fixed.
Original Tutorial and Creator Credit
Creator: Sure It
11. Crochet Strawberry Brooch

The strawberry brings a compact fruit motif into the collection. susuDalfong’s tutorial is specifically for a crochet strawberry brooch and describes the design as a layered construction that includes the leafy stem area.
Its tapered fruit shape immediately separates it from the circular flowers and animal characters. It is also easy to reinterpret through color: realistic red is only one direction. What matters more is preserving enough contrast between the berry and leafy top for the motif to remain readable at brooch scale.
Keep the Berry Shape Clean
Fruit motifs rely heavily on silhouette. Before adding the pin, view the strawberry vertically and make sure the pointed lower section has not been pulled sideways during finishing.
If the piece includes layers, distribute attachment stitches so they support the form without creating obvious puckering on the front.
Make the Leafy Top Part of the Composition
The green top is not merely an extra color; it visually explains the fruit shape. Check whether it remains visible when the brooch is worn.
If you change the scale of the berry, reassess the proportion of the top as well. Enlarging only one component can make a familiar motif look unexpectedly unbalanced.
Decide Whether Embellishment Is Necessary
Seeds or other surface details can increase recognition, but a tiny brooch can become crowded quickly. If you add decorative elements beyond the source, step back after each change.
There is a point where additional contrast stops clarifying the fruit and starts competing with its simple silhouette.
Original Tutorial and Creator Credit
Creator: 수수달퐁susuDalfong
12. Crochet Owl Brooch
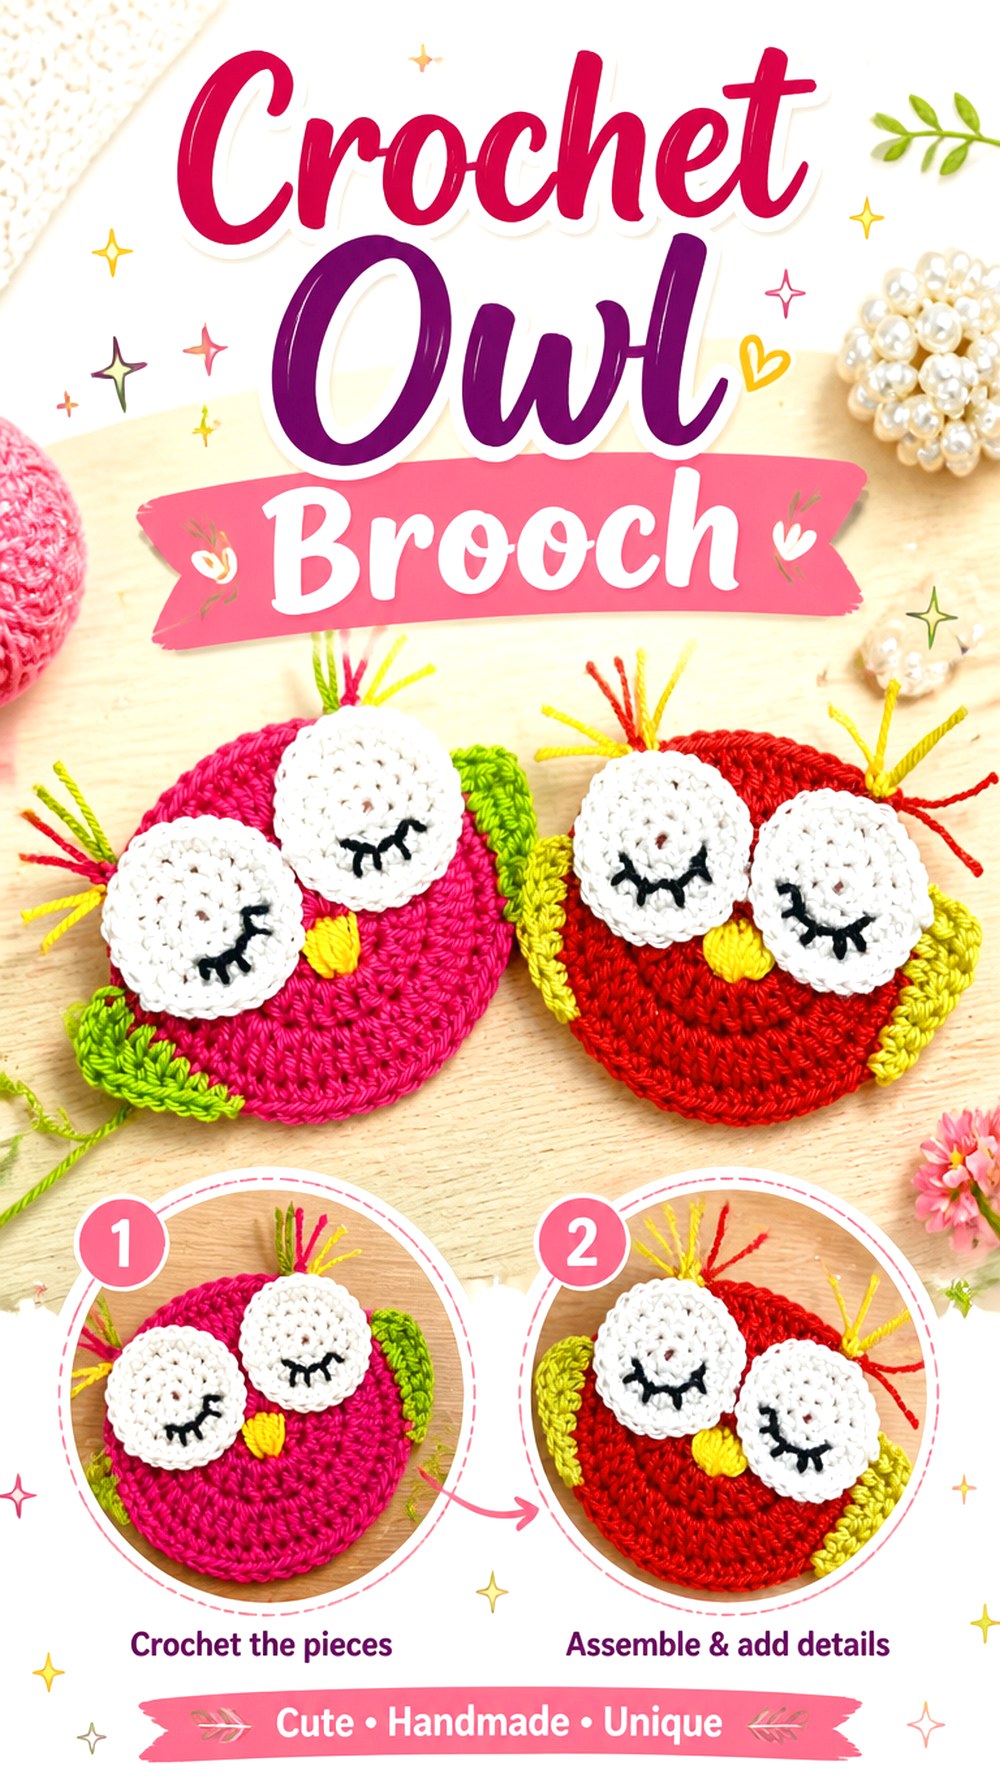
An owl offers a compact animal shape with strong facial emphasis. The original video from do with reyhane is specifically titled “Crochet owl brooch,” providing a direct project match.
This motif works best when the face remains the visual center. Compared with the sheep’s texture or the cat’s dimensional construction, the owl can be approached as a graphic character in which eye placement, body proportions, and the relationship between the front and backing determine whether the finished piece looks clean.
Keep the Eyes as a Pair
Whatever finishing method the source uses, assess both eyes together rather than positioning one perfectly and then forcing the second to match the remaining space.
Temporarily mark or place them first. Even small differences in height can change the expression of a miniature owl dramatically, which may be charming but should ideally be intentional.
Stabilize Without Flattening the Front
If several components meet in the body area, the reverse can become thicker than expected. A tidy backing can help organize that area, but it should not pull facial or wing details inward.
After attaching the pin, compare the front with a photo taken before mounting. That makes unintended distortion easier to notice.
Think About Where a Character Pin Will Be Used
An owl can work on garments, bags, project pouches, or other textile accessories, but those locations expose it to different amounts of abrasion.
If the finished piece has projecting details, choose a placement where it is less likely to catch repeatedly on straps, zippers, or outerwear.
Original Tutorial and Creator Credit
Creator: do with reyhane
13. Crochet Mushroom Brooch

The mushroom gives the roundup a woodland motif without duplicating the acorn arrangement. MYBAGZING Crochet Studio’s tutorial is explicitly designed as a mushroom brooch for clothing and bags and separates the recognizable cap and stem into the finished accessory.
The cap-to-stem proportion is the most important visual relationship. A broad cap can create a charming graphic silhouette, but it also places much of the visual weight above the narrower lower section. That means the hardware position deserves attention even if the finished brooch itself is lightweight.
Check the Cap While Holding It Upright
A mushroom that looks balanced on a table may tilt once worn. Before securing the pin, hold the finished motif vertically and check whether the cap folds forward.
If it does, first investigate backing position and fabric support rather than automatically making the entire mushroom rigid.
Use Color Without Losing the Shape
Classic cap colors make the motif instantly recognizable, but they are not required. Pastels, neutrals, autumn shades, or high-contrast combinations can work as long as the cap and stem remain visually distinct.
For highly variegated yarn, check whether the color changes compete with the small silhouette rather than helping it.
Avoid Excess Stuffing or Bulk
If you adapt the design toward a more dimensional form, remember that extra stuffing changes both depth and weight. A compact brooch does not need to behave like a miniature plush toy.
Aim for enough form to support the intended shape while keeping the backing area stable and reasonably flat against the wearer.
Original Tutorial and Creator Credit
Creator: MYBAGZING Crochet Studio
14. Crochet Personalized Heart Brooch

Lucy Croft’s heart brooch design takes the familiar heart motif in a more dimensional direction and adds a felt area that can carry an embroidered message. The original Simply Yarn tutorial works the heart using an amigurumi-style construction and then finishes it specifically as a brooch.
That personalization makes this idea distinct from purely decorative motifs. The heart can function as a small message piece, but restraint matters: on a brooch-sized surface, lettering and embellishment need enough space to remain readable rather than turning into visual clutter.
Plan the Message Before Embroidering
If you want to personalize the felt section, sketch or test the lettering at the actual finished size first. A word that looks simple on paper may become difficult to read when reduced.
Short messages, initials, or a single small motif can often communicate more clearly than trying to fit a long phrase onto a miniature accessory.
Keep Stuffing Even
For any stuffed heart, uneven fill can change the point, lobes, and front surface. Add or redistribute stuffing before closing the final area rather than trying to correct the shape through the backing afterward.
The rear still needs to remain stable enough for the brooch hardware, so avoid concentrating all the fullness directly where the pin will sit.
Mixed Materials Change Care
This project combines crochet with felt, embroidery, stuffing, and metal hardware. That means care should account for the entire object rather than the yarn alone.
Follow the yarn label and creator guidance, and avoid assuming a wash method is suitable for every added material or personalized embellishment.
Original Tutorial and Creator Credit
Creator/Site: Lucy Croft / Simply Yarn
15. Crochet Fox Brooch
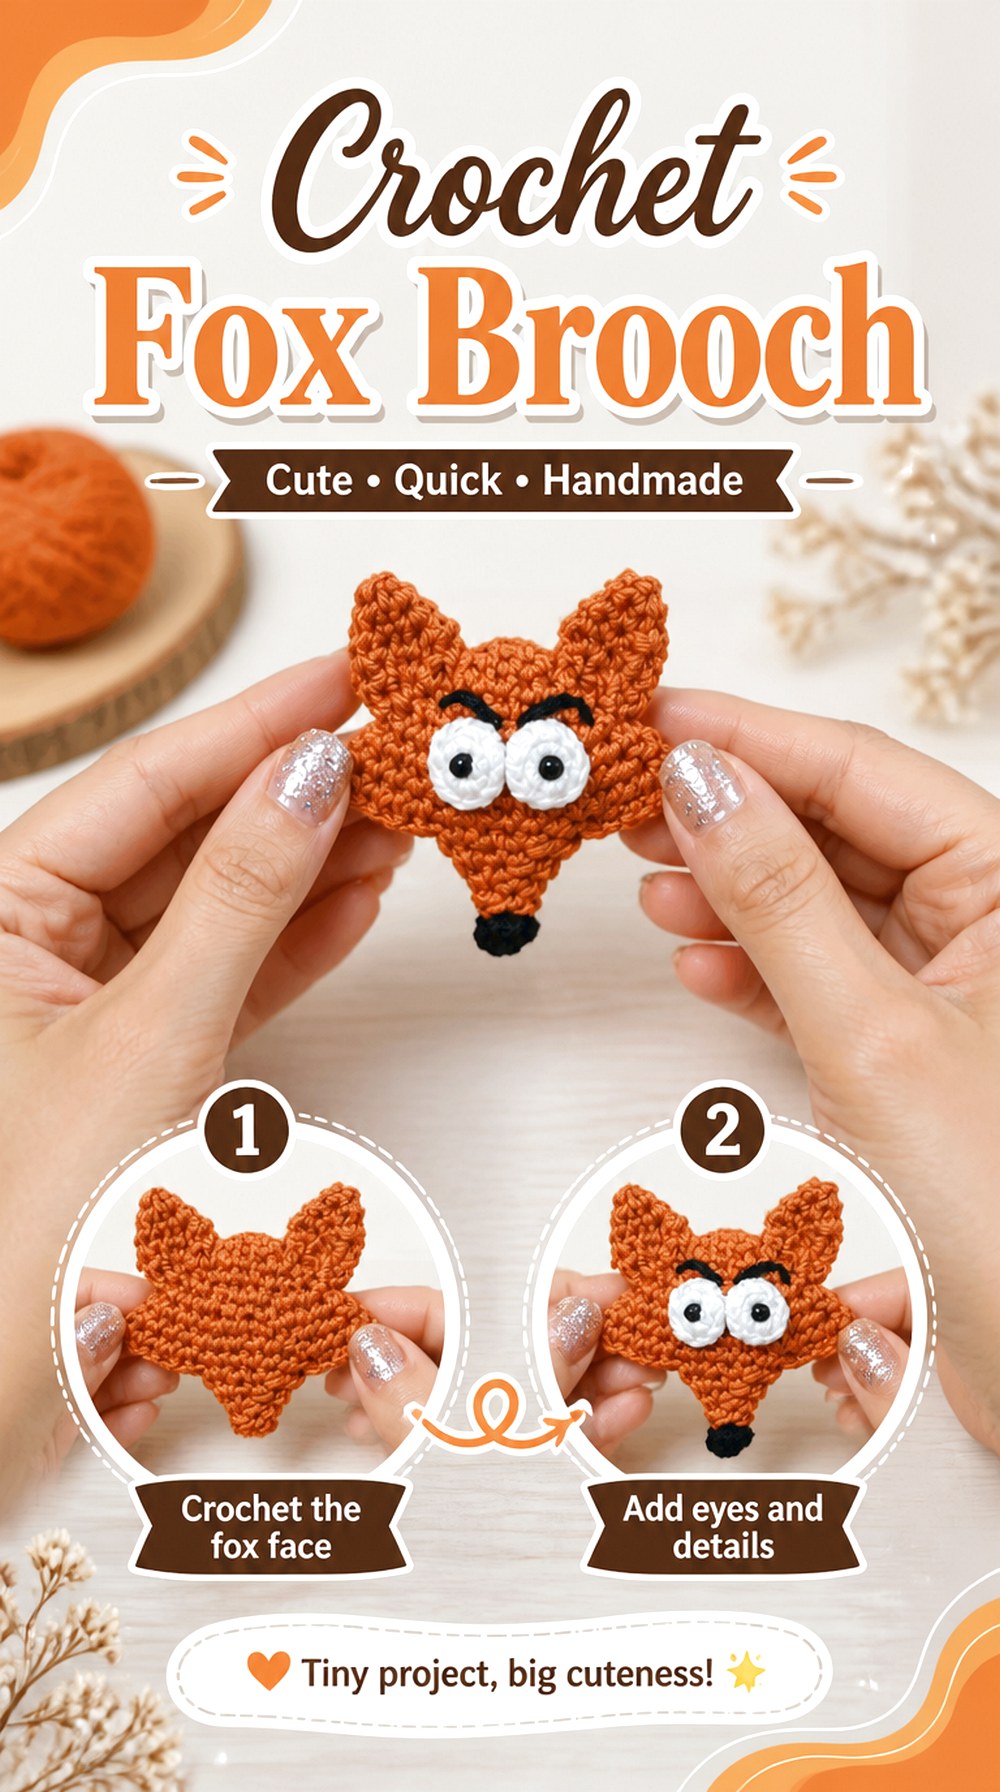
A fox brings a recognizable woodland animal into the list while remaining different from the rounder sheep, owl, and cat concepts. Lilium Handmade’s source is specifically a fox brooch crochet tutorial and is presented for left-handed crocheters.
The fox is a good finale for this collection because its identity depends on shape and facial contrast rather than floral layering or heavy surface texture. When making any miniature animal pin, focus on whether the ears, face, and overall outline still read clearly once the piece is viewed from several feet away.
Preserve the Fox Silhouette
Pointed ears and the general head or body outline help communicate the motif. During assembly, avoid pulling those defining areas inward merely to produce a perfectly flat back.
Look at the accessory against the color of the garment you expect to use. Strong background contrast can help small silhouette details remain visible.
Treat Facial Placement as Finishing, Not Decoration
A small shift in facial details can change the entire expression of a miniature animal. Position temporary markers first if needed and compare the result from directly in front.
Once satisfied, secure the details according to the original tutorial rather than relying on loosely attached embellishments that could move during regular handling.
A Left-Handed Source Can Be a Better Match
The source tutorial is explicitly identified as left-handed. For a left-handed crocheter, that can remove some of the mental mirroring required when following a right-handed demonstration.
Right-handed readers should choose a tutorial orientation they can follow comfortably rather than reconstructing unfamiliar movements solely to use this particular source.
Original Tutorial and Creator Credit
Creator: Lilium Handmade
Comparing the 15 Crochet Brooch Styles
The most useful way to choose between these projects is by finished structure rather than motif alone.
| Brooch Style | Overall Character | Main Checkpoint |
|---|---|---|
| Rose cluster | Layered, bouquet-like | Balance several separate components |
| Poppy | Botanical and detailed | Preserve petal and center definition |
| Sunflower | Bold and radial | Keep repeated petals visually even |
| Daisy | Flat and graphic | Avoid unnecessary backing bulk |
| Peony | Deeply ruffled | Support the dimensional flower |
| Ginkgo leaf | Flat and botanical | Preserve the fan-shaped edge |
| Acorn and oak leaf | Mixed flat/3D structure | Secure assembly components carefully |
| Butterfly | Dimensional character | Protect wings and fine details |
| Sheep | Highly textured | Keep the silhouette readable |
| Cat | 3D animal | Balance the body on the pin |
| Strawberry | Compact fruit | Maintain berry-to-leaf proportion |
| Owl | Graphic animal face | Position facial details carefully |
| Mushroom | Woodland silhouette | Support the wider cap |
| Heart | Stuffed and personalized | Plan embellishment at small scale |
| Fox | Defined animal silhouette | Preserve ears and facial readability |
A flat daisy or ginkgo leaf is a sensible direction when you want less depth against a garment. For a statement accessory, the rose cluster or ruffled peony offers more volume. The acorn arrangement, butterfly, cat, sheep, and personalized heart involve more finishing decisions, while the fruit and woodland motifs emphasize clear recognizable shapes.
Conclusion
These 15 crochet brooch ideas show how much can change within one small accessory category. A ginkgo leaf and daisy can remain relatively flat and graphic, while a peony, butterfly, cat, or heart builds noticeably more dimension. Roses create a clustered arrangement, the sunflower relies on radial repetition, and the acorn, strawberry, mushroom, sheep, owl, and fox introduce very different nature and character silhouettes.
Choose according to where the brooch will be worn as well as how it looks. Lightweight garments usually call for more attention to weight and balance, while bags and sturdier outerwear can accommodate more dimensional pieces. For exact construction, materials, and finishing, use the credited original tutorials near the end of each project section.
Frequently Asked Questions
What yarn is best for crochet brooches?
There is no single yarn that suits every brooch. Smooth yarn or crochet thread can emphasize stitch definition in leaves, flowers, and miniature details, while textured fibers may suit designs such as a sheep. Heavier yarn generally increases the finished scale and weight. Start with the original tutorial’s materials when possible, and treat substitutions as design changes that may require you to reconsider backing size, stiffness, and pin placement.
How do I stop a crochet brooch from tipping forward?
First check where the weight sits in relation to the pin rather than simply adding more stiffening. A dimensional flower or character may need the hardware positioned higher on its structural back. Temporarily pin the finished project to fabric similar to the intended garment and examine it upright. A firmer concealed backing can sometimes help, but it should support the crochet without becoming visible or flattening decorative details unnecessarily.
Can I turn any small crochet motif into a brooch?
Many motifs can be adapted, but not every motif automatically makes a practical pin. Check whether the piece has a stable area for attaching hardware, whether loose edges will fold, and whether the finished weight suits the fabric where it will be worn. For this roundup, the primary sources were chosen because they teach or directly present brooch projects rather than requiring readers to invent the conversion themselves.
Should a crochet brooch have felt on the back?
Felt can provide a clean surface for hardware or help conceal finishing on some designs, but it is not universally required. A tiny flat motif may need very little additional structure, while a layered flower or character may benefit from a more organized backing. Follow the original tutorial first. If adding felt independently, keep it hidden within the crochet silhouette and make sure it does not distort the front.
How can I resize a crochet brooch?
Changing yarn thickness and hook size can alter scale without rewriting a pattern, but it also changes fabric density, weight, and sometimes the proportions of small details. A larger brooch may require stronger backing support, while very fine yarn can make finishing more demanding. When exact sizing matters, check whether the original creator discusses substitutions rather than assuming every component will scale predictably.
Are crochet brooches suitable for children’s clothing?
That depends on the construction. Brooch pins are sharp hardware, and some designs may include beads, wire, stuffing, glued components, or other small parts. Do not assume a decorative crochet pin is child-safe simply because it is made from yarn. Consider the recipient, how the accessory will be used, and whether detachable or sharp components create an avoidable risk.
How should crochet brooches be cleaned and stored?
Follow the yarn label and any care guidance given by the original designer. Mixed-material brooches containing felt, beads, wire, glue, stuffing, or metal hardware may need different handling from ordinary crochet fabric. For storage, keep dimensional flowers and characters away from heavy items that can crush petals, ears, wings, or leaves. Check that the pin is closed before putting the brooch away.